6 results for cnc in tags

Clear

The Custom CNC Laser. Updates to the Gantry.

Welcome back to the ongoing overview of my custom CNC laser project! If you’ve been following along, you know that this endeavor has been an interesting and time-consuming project full of innovation and problem-solving. In the latest chapter, I encountered a challenge with the gantry that required some creative solutions.

Originally, the gantry’s y-axis boasted a single cart for travel. But as the project was coming together and I added the z-axis travel, stepper motors, and the diode laser module, it quickly became clear that the weight was taking its toll. The gantry assembly started to present a huge problem of weight distribution.

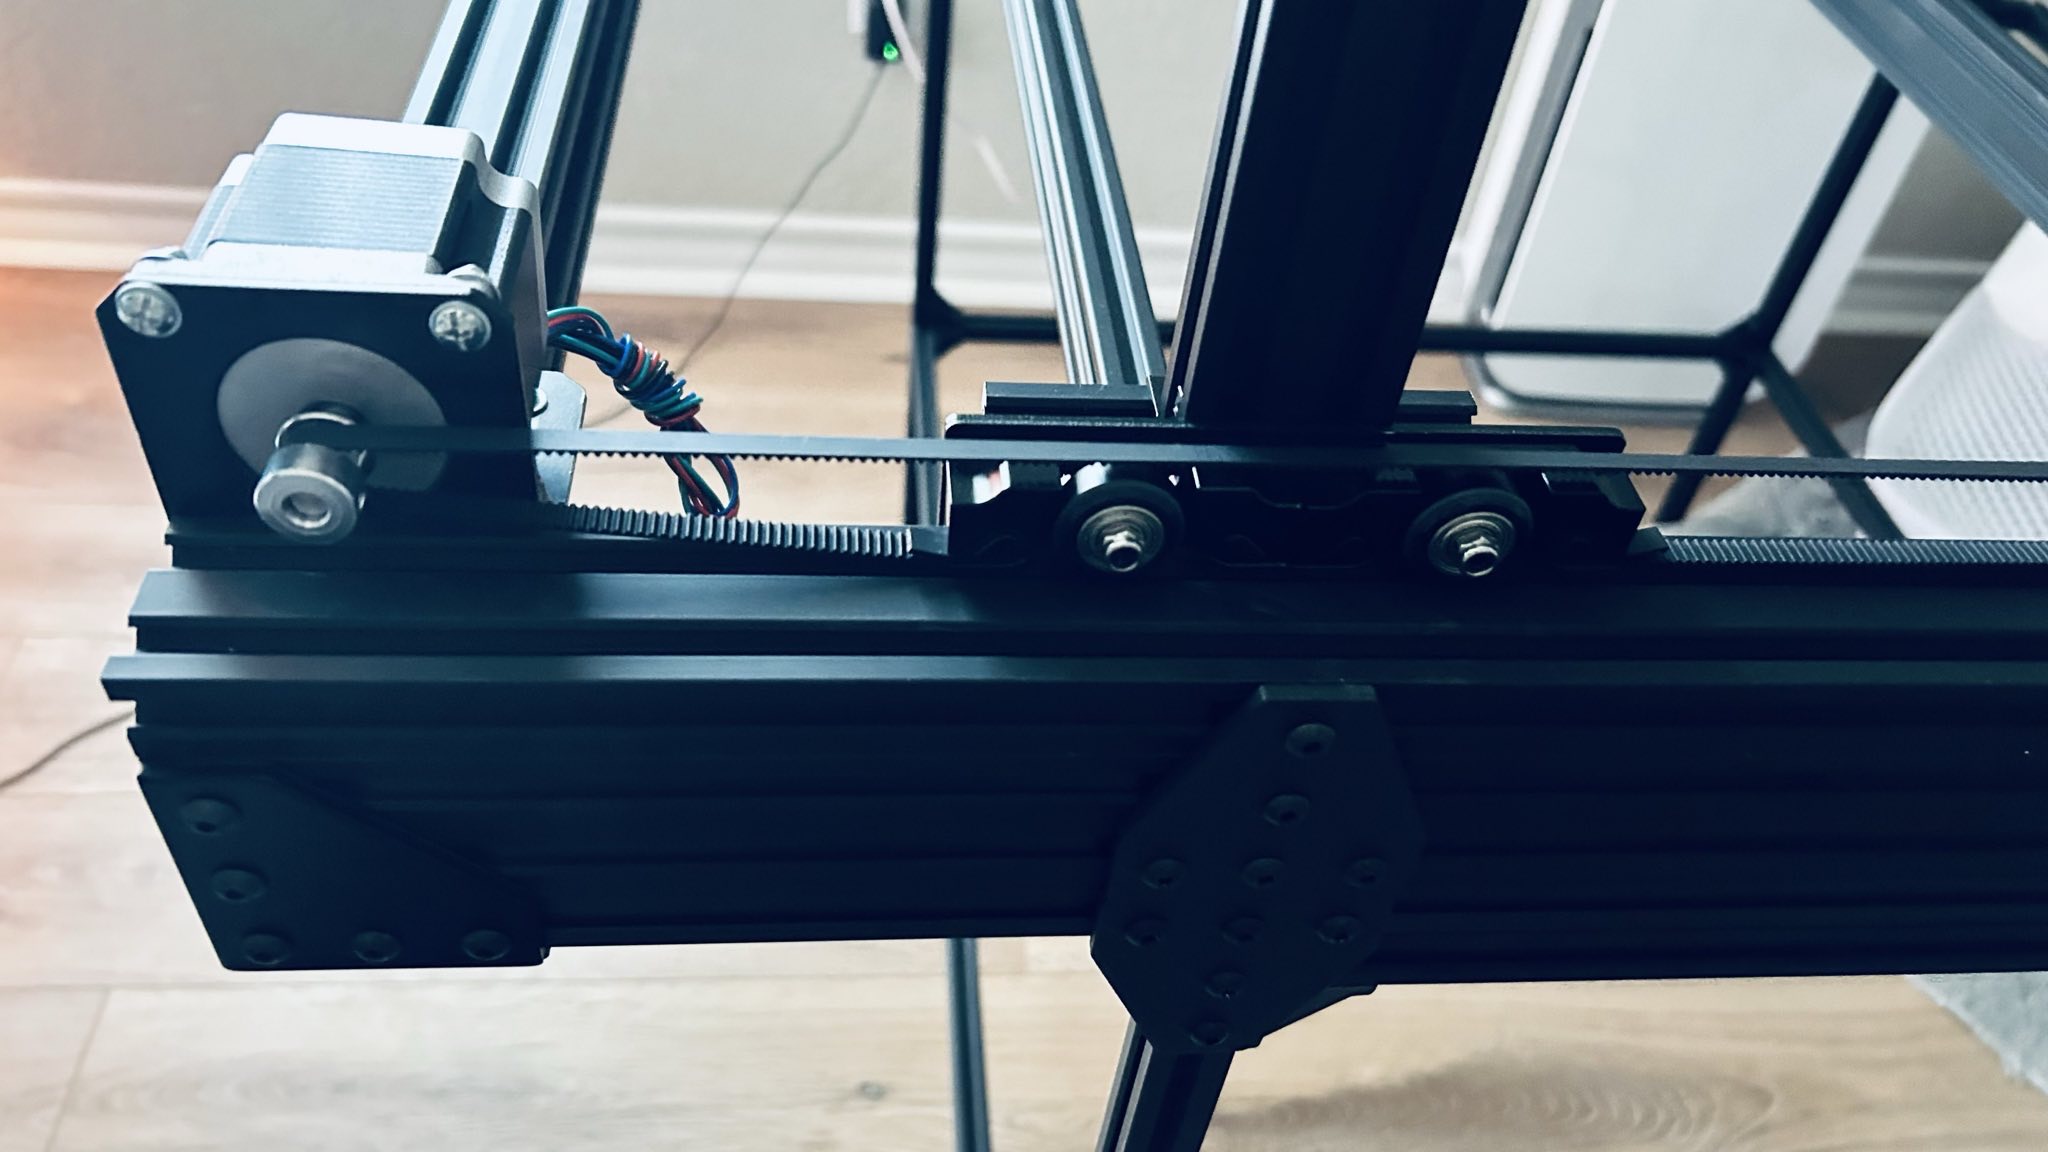
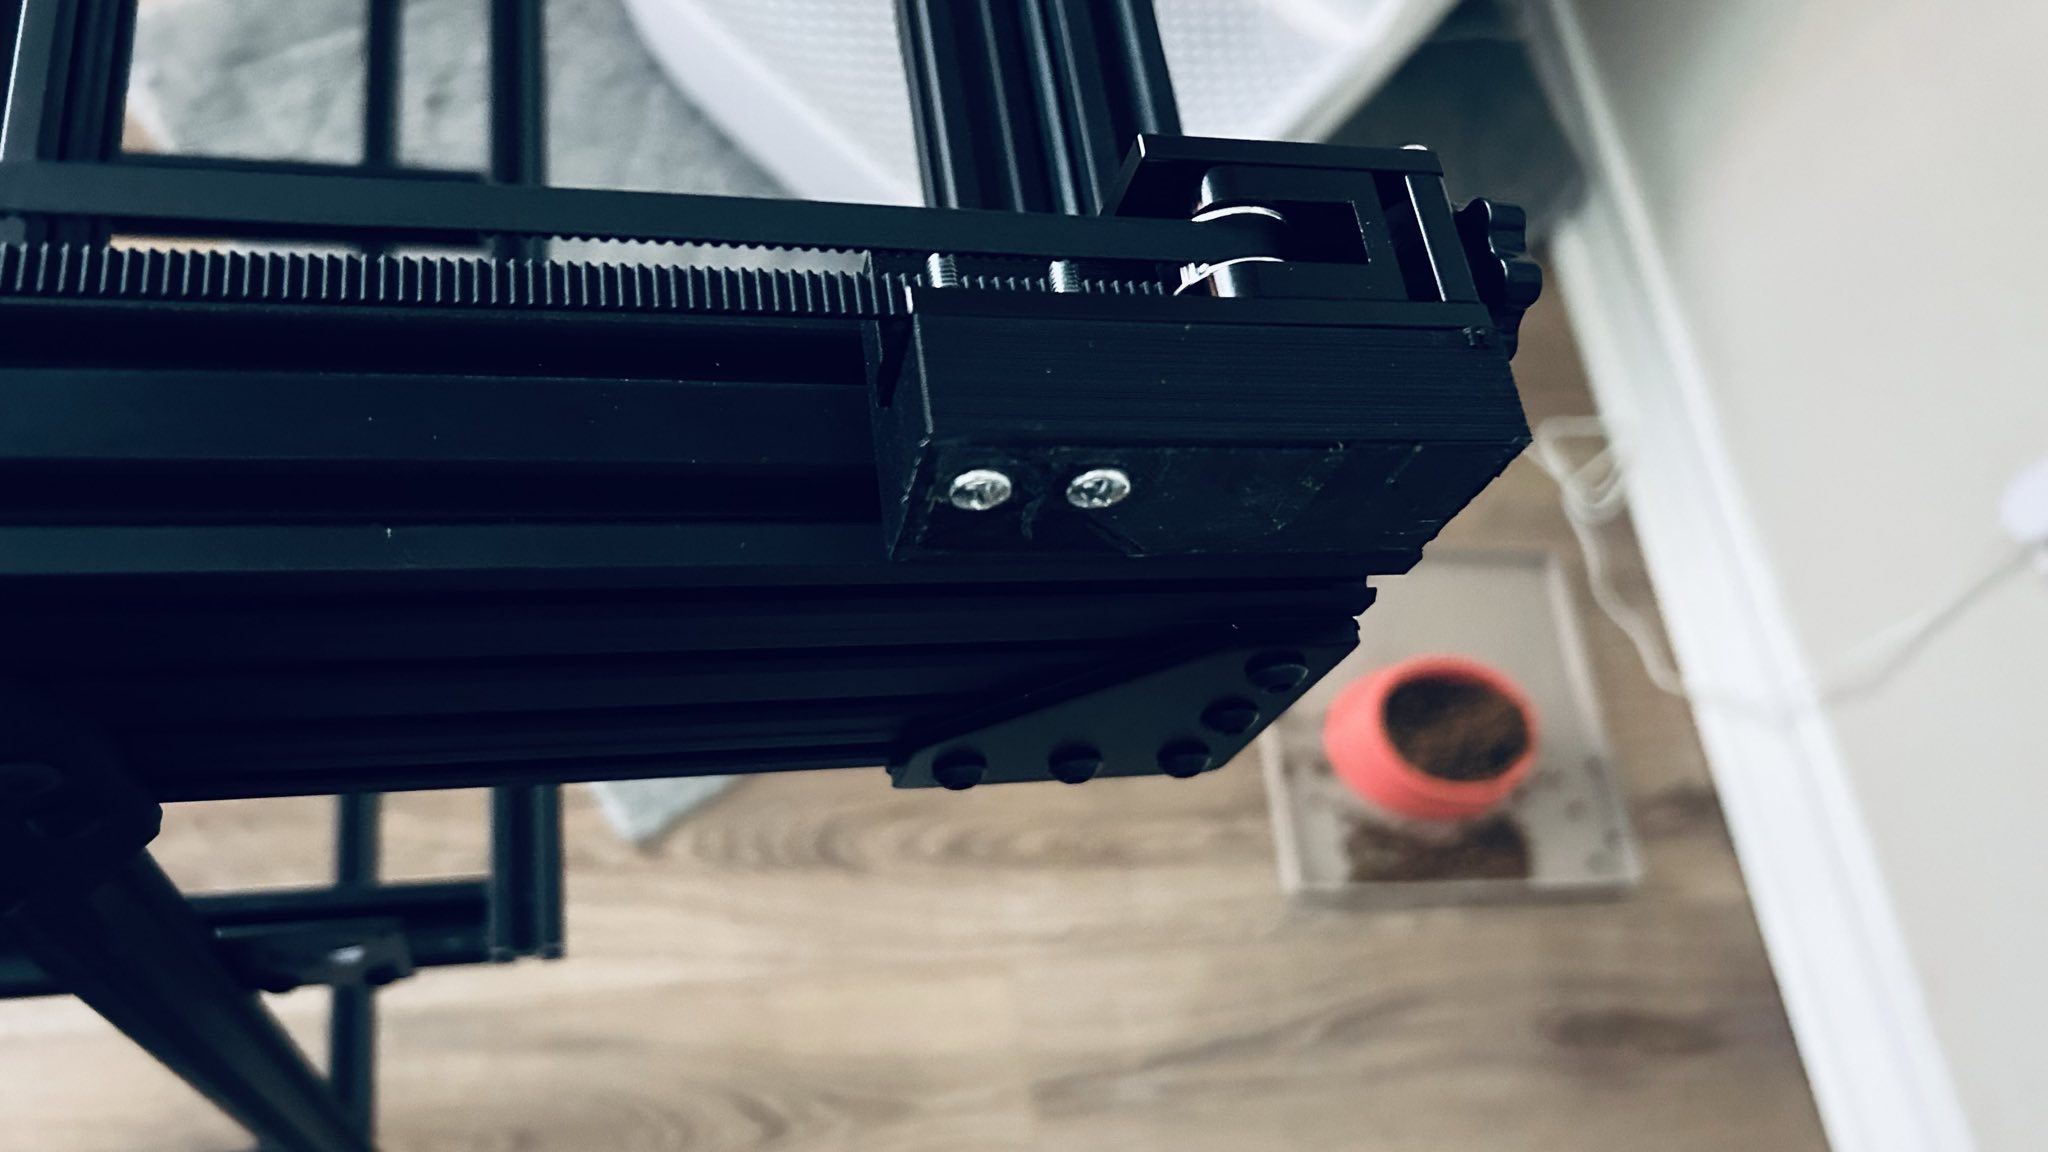
In a stroke of engineering brilliance (if I do say so myself), I decided to give the gantry a makeover. By adding an extra cart to both sides, I managed to distribute the weight more evenly. The result? A better design and a gantry that can support the weight without unneeded tension on the carts and rails.

Of course, implementing this change wasn’t without its challenges. It required a reconstruction of the gantry assembly, which felt a bit like performing surgery on a robot. But hey, who doesn’t love a good DIY medical procedure now and then? (insert corny laugh to a dumb joke).

Now, as I inch closer to the finish line, my focus shifts to re-attaching all the gantry parts, installing the cable chain, and mounting the electrical components.

Soon, all of this will start coming together and the project will come to life. In the meantime, I will continue to document my progress and share my journey.

If you’re just joining the party, you can catch up on the previous chapters of this process by checking out my other blog posts.

And, because everything is better with pictures… here are some updated photos to the changes I’ve made.
Settlers of Catan Board

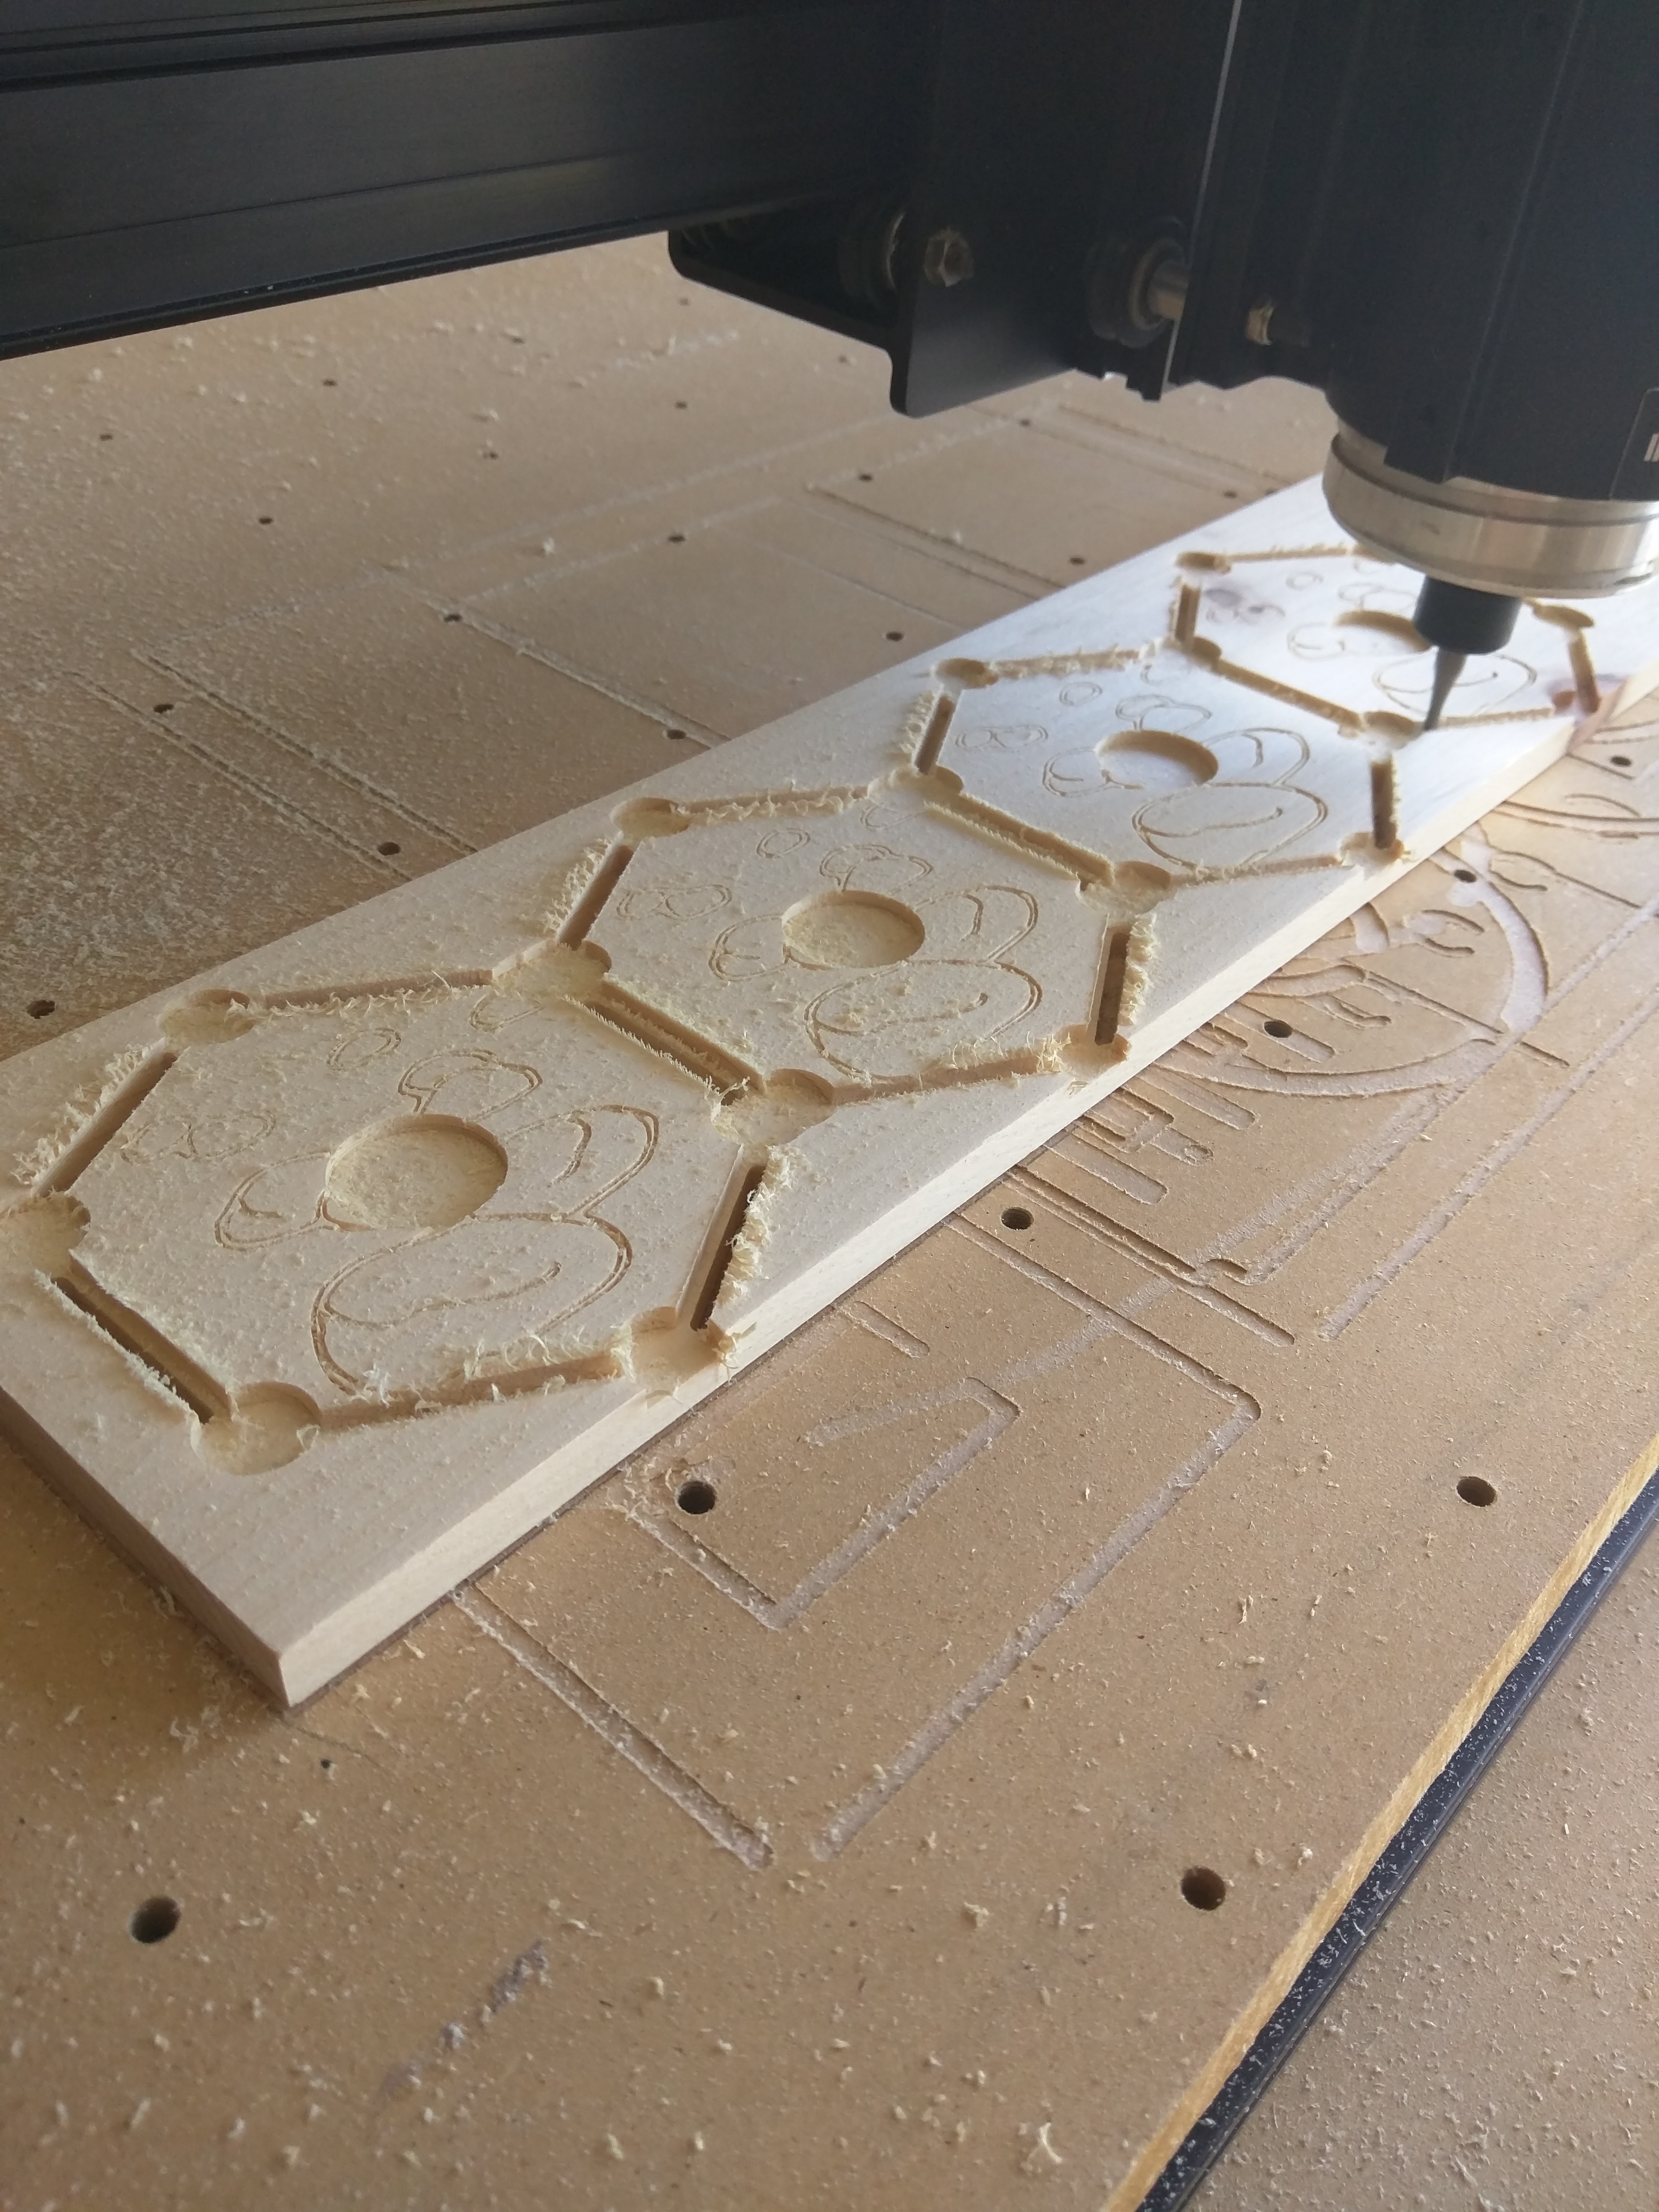
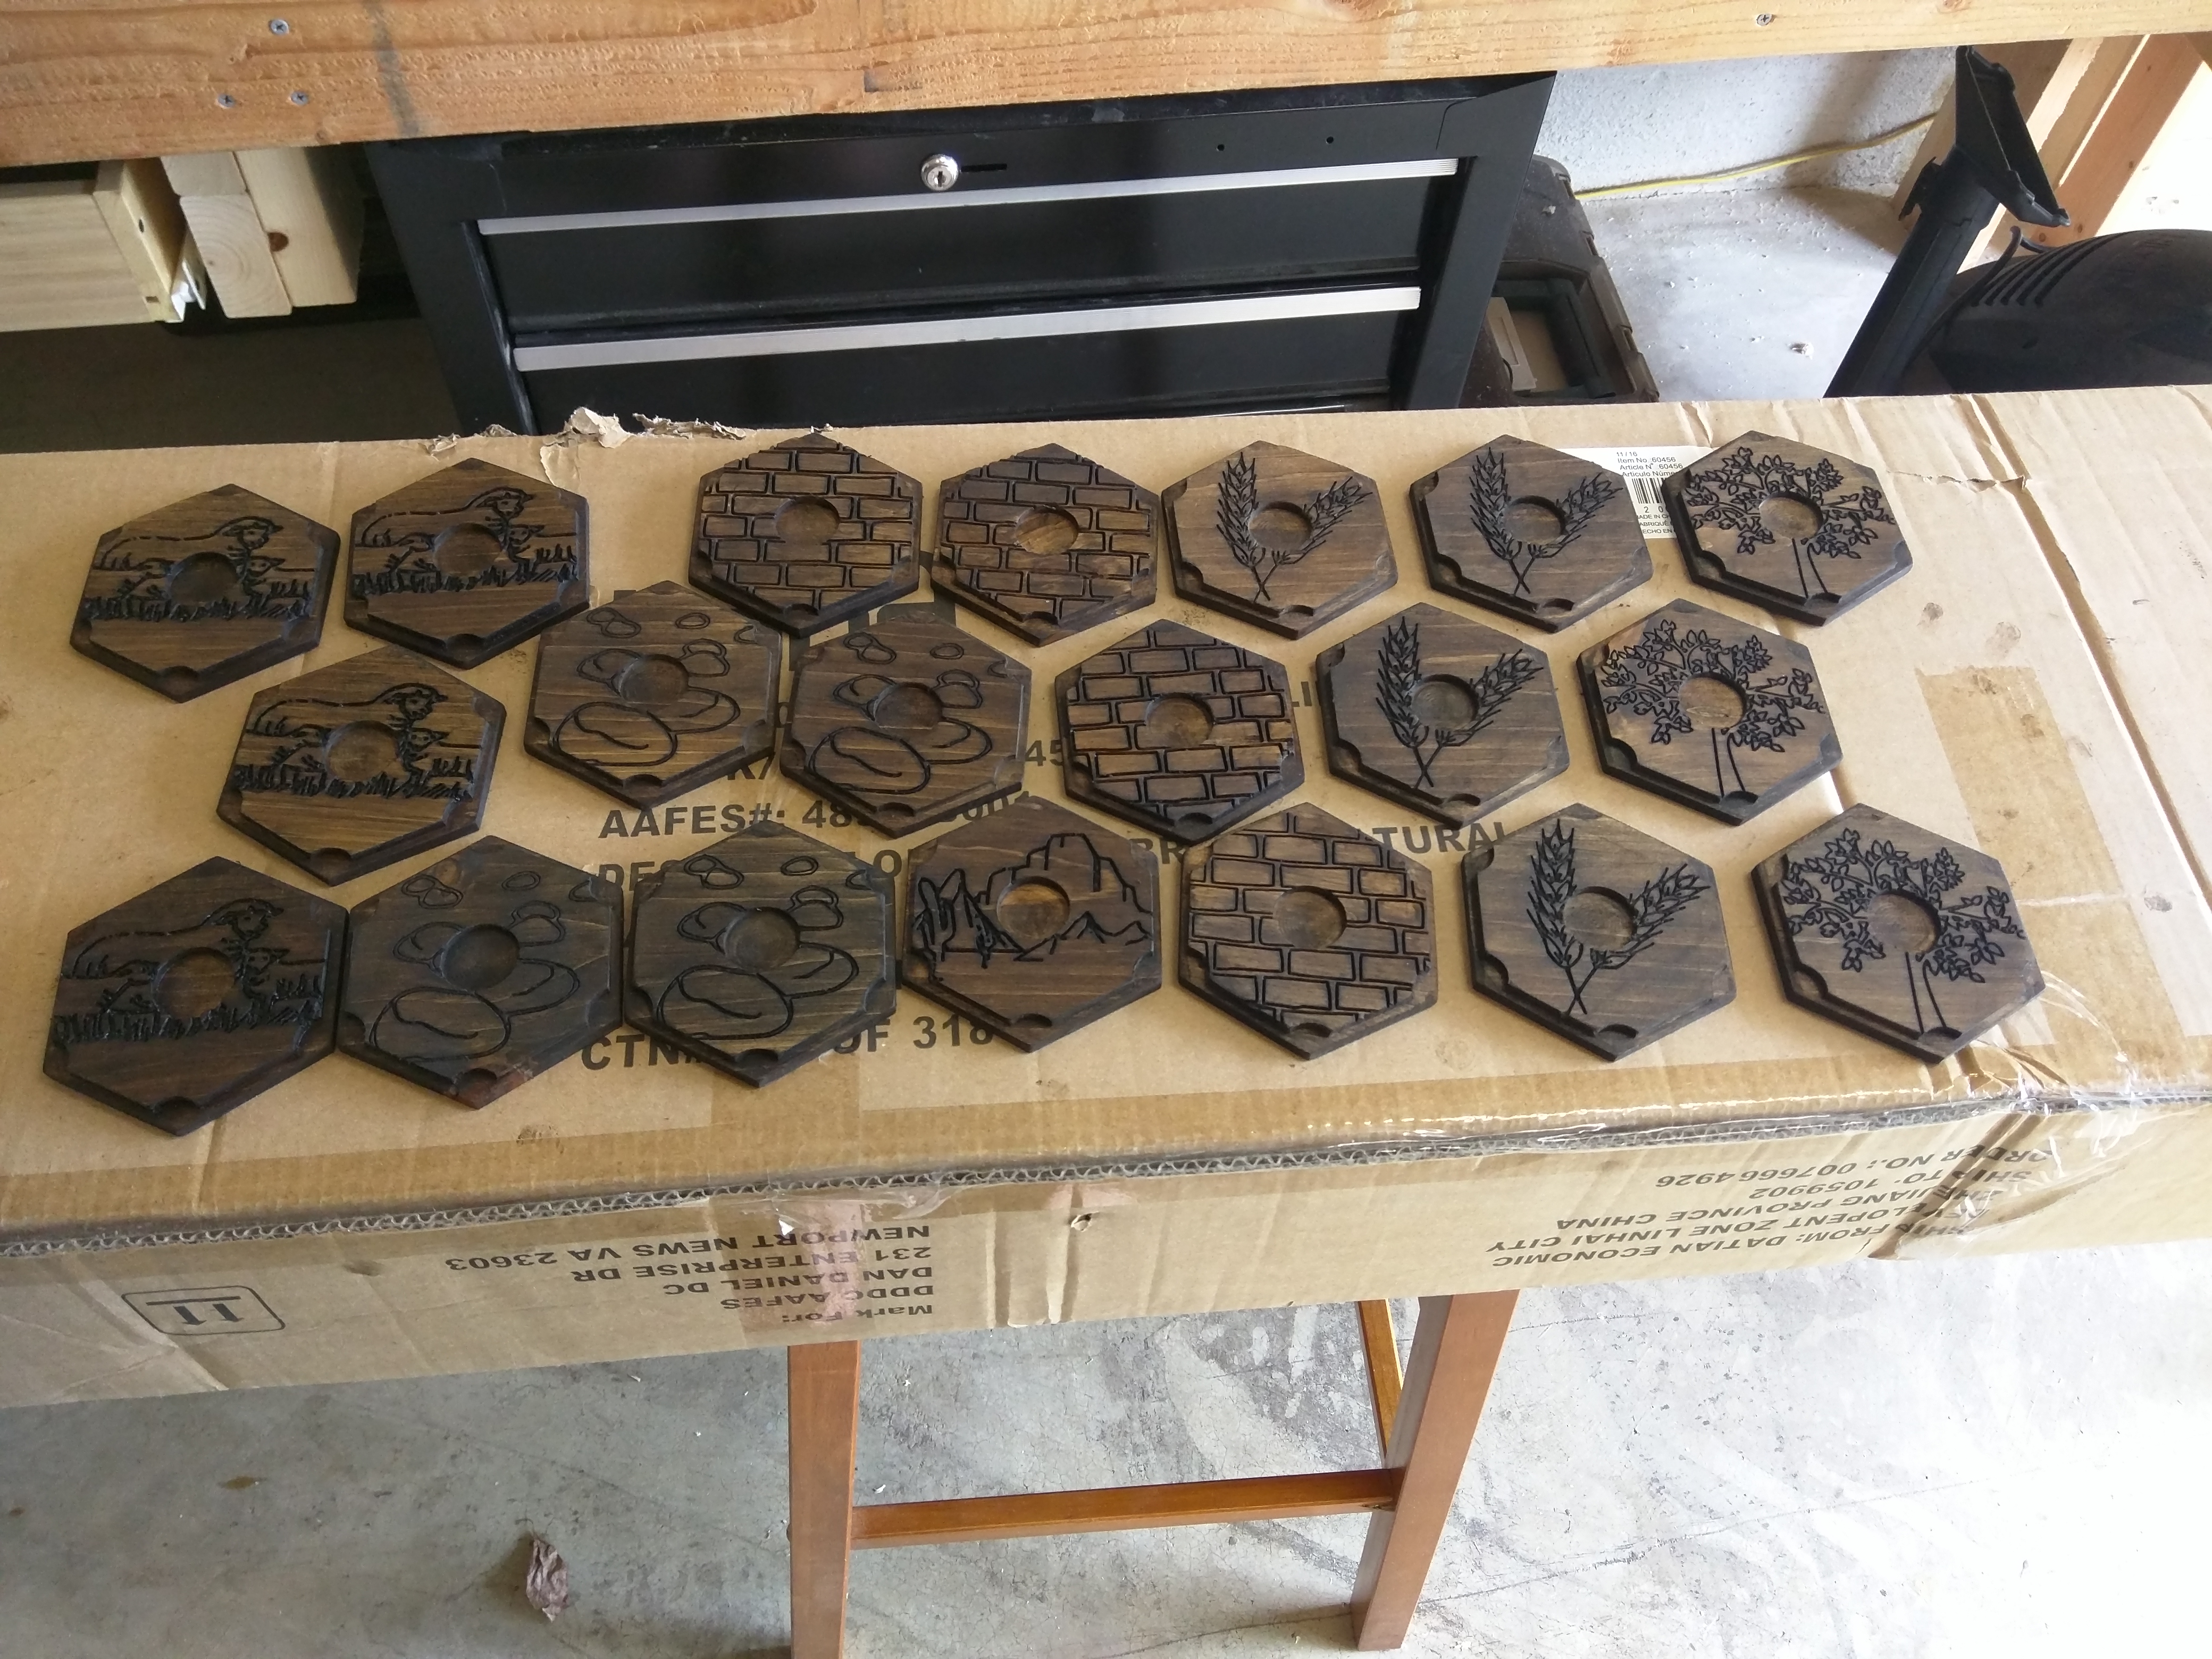
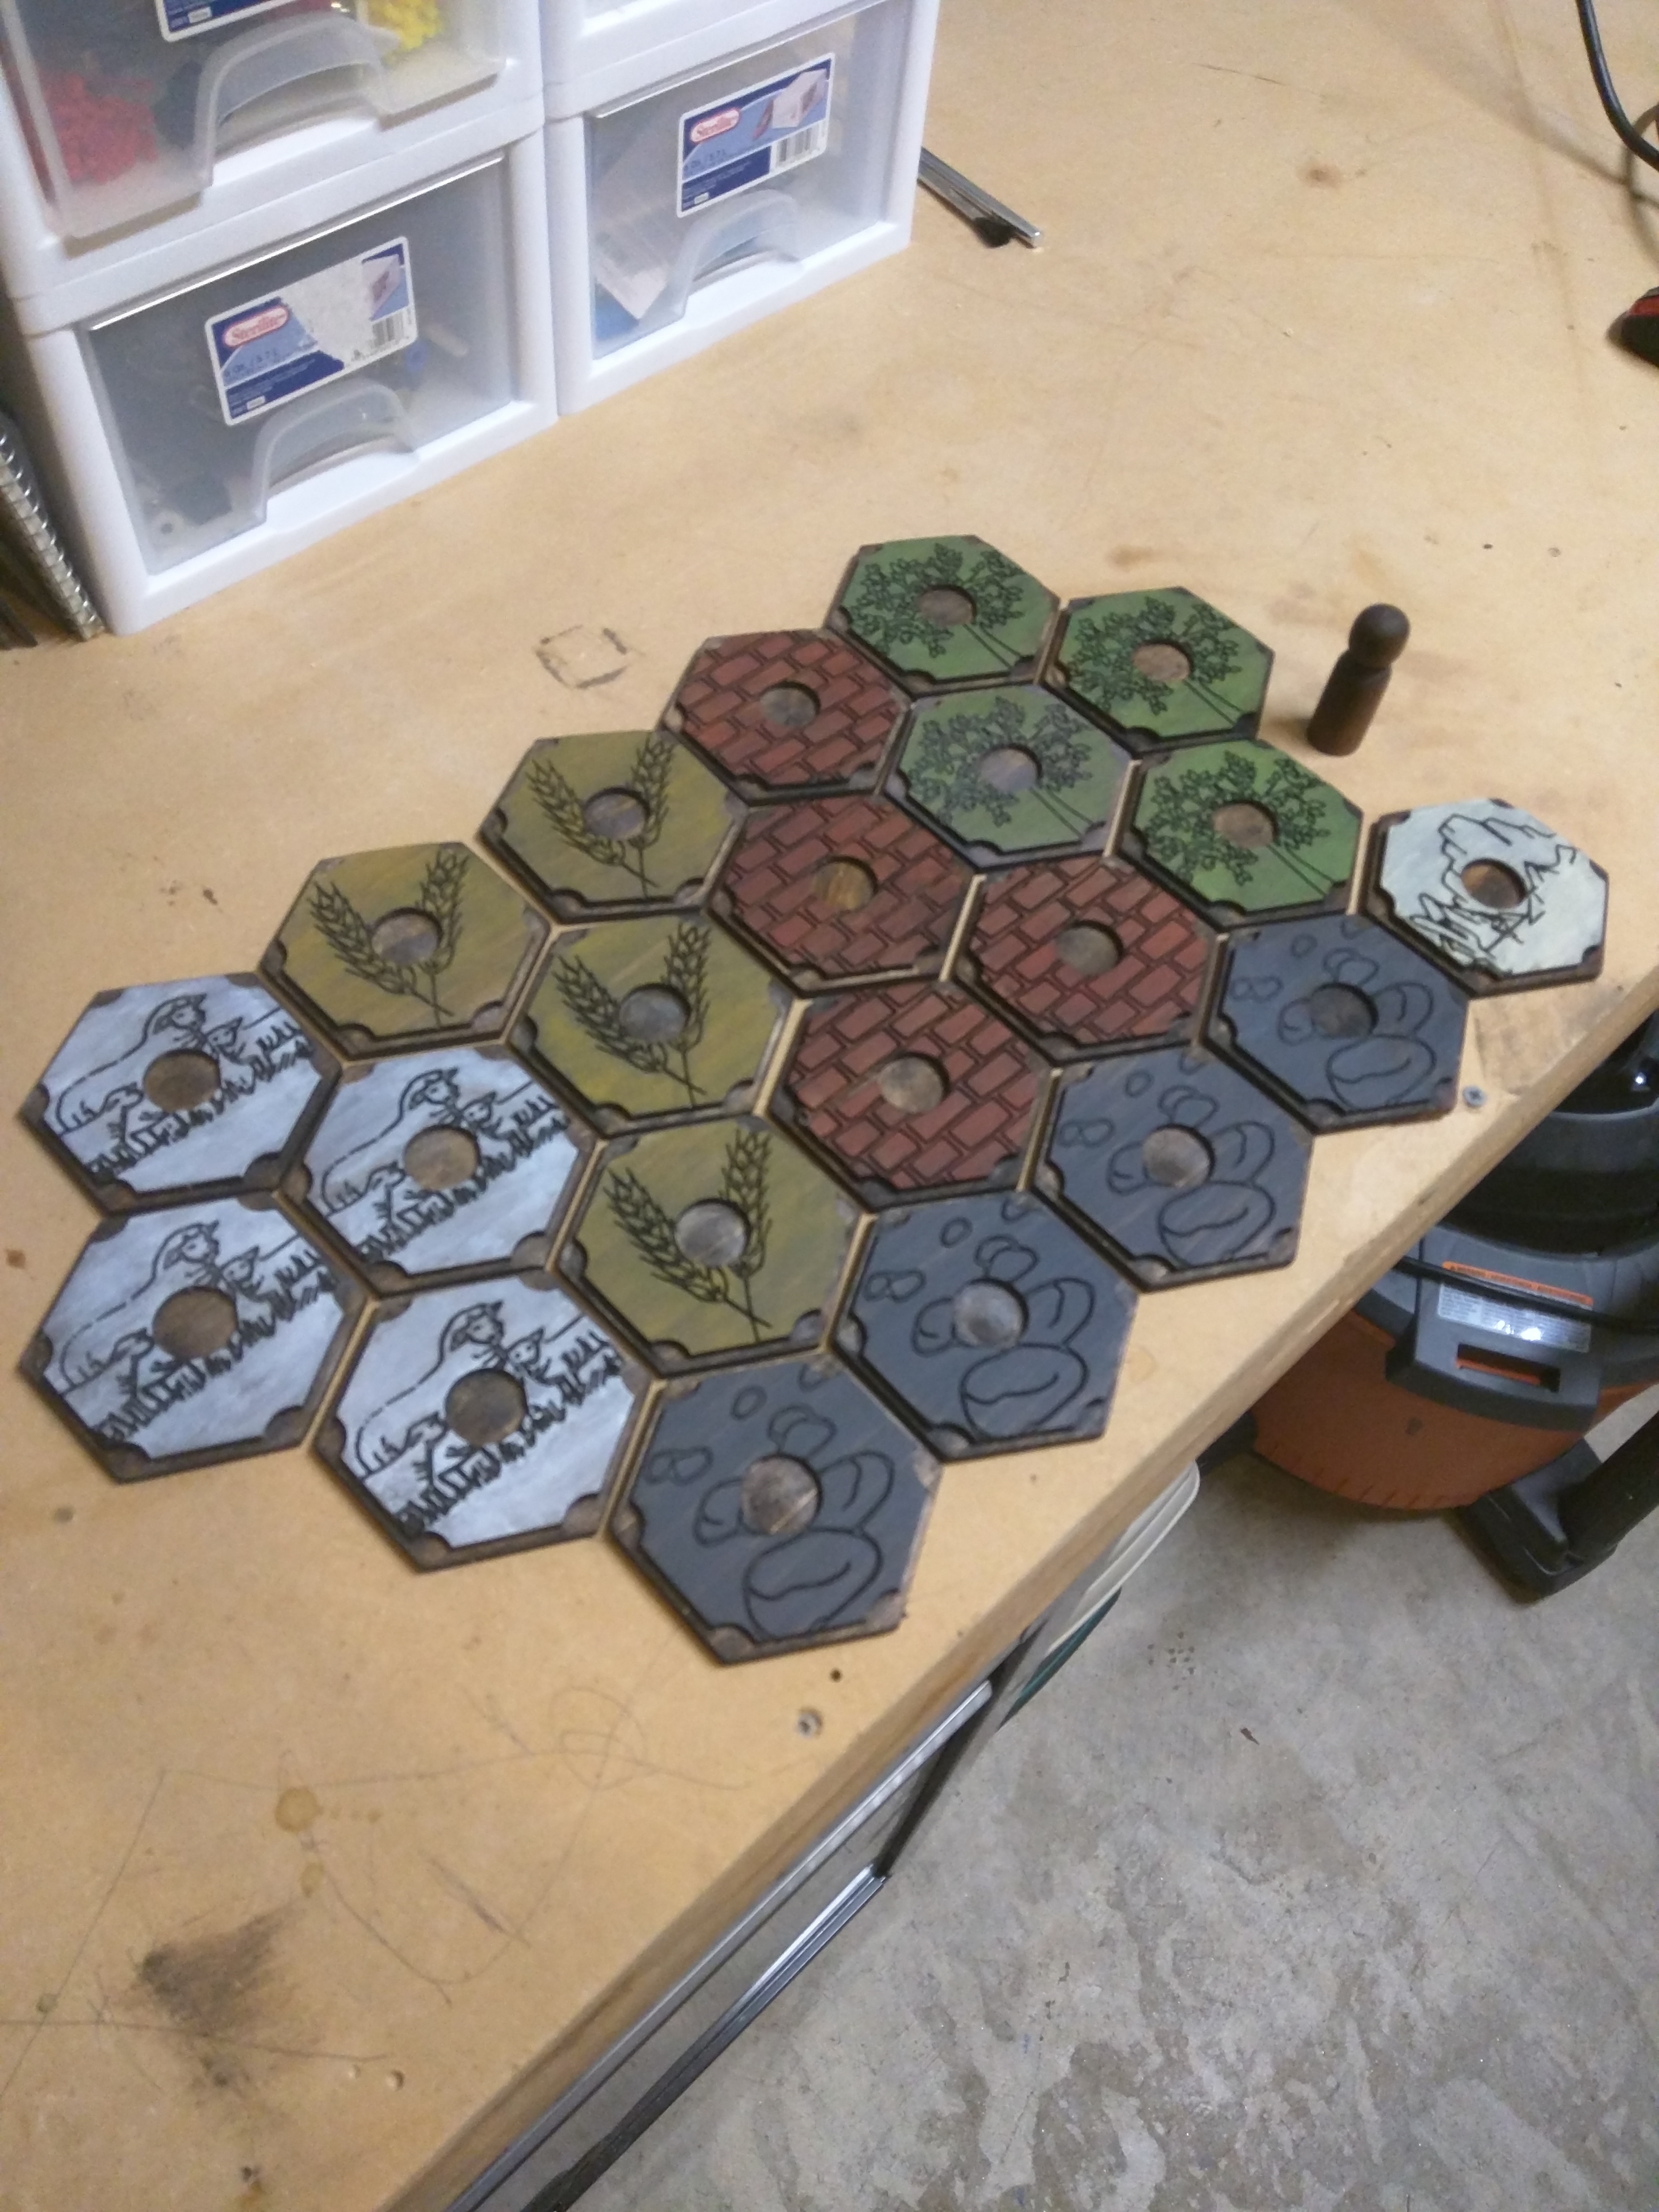
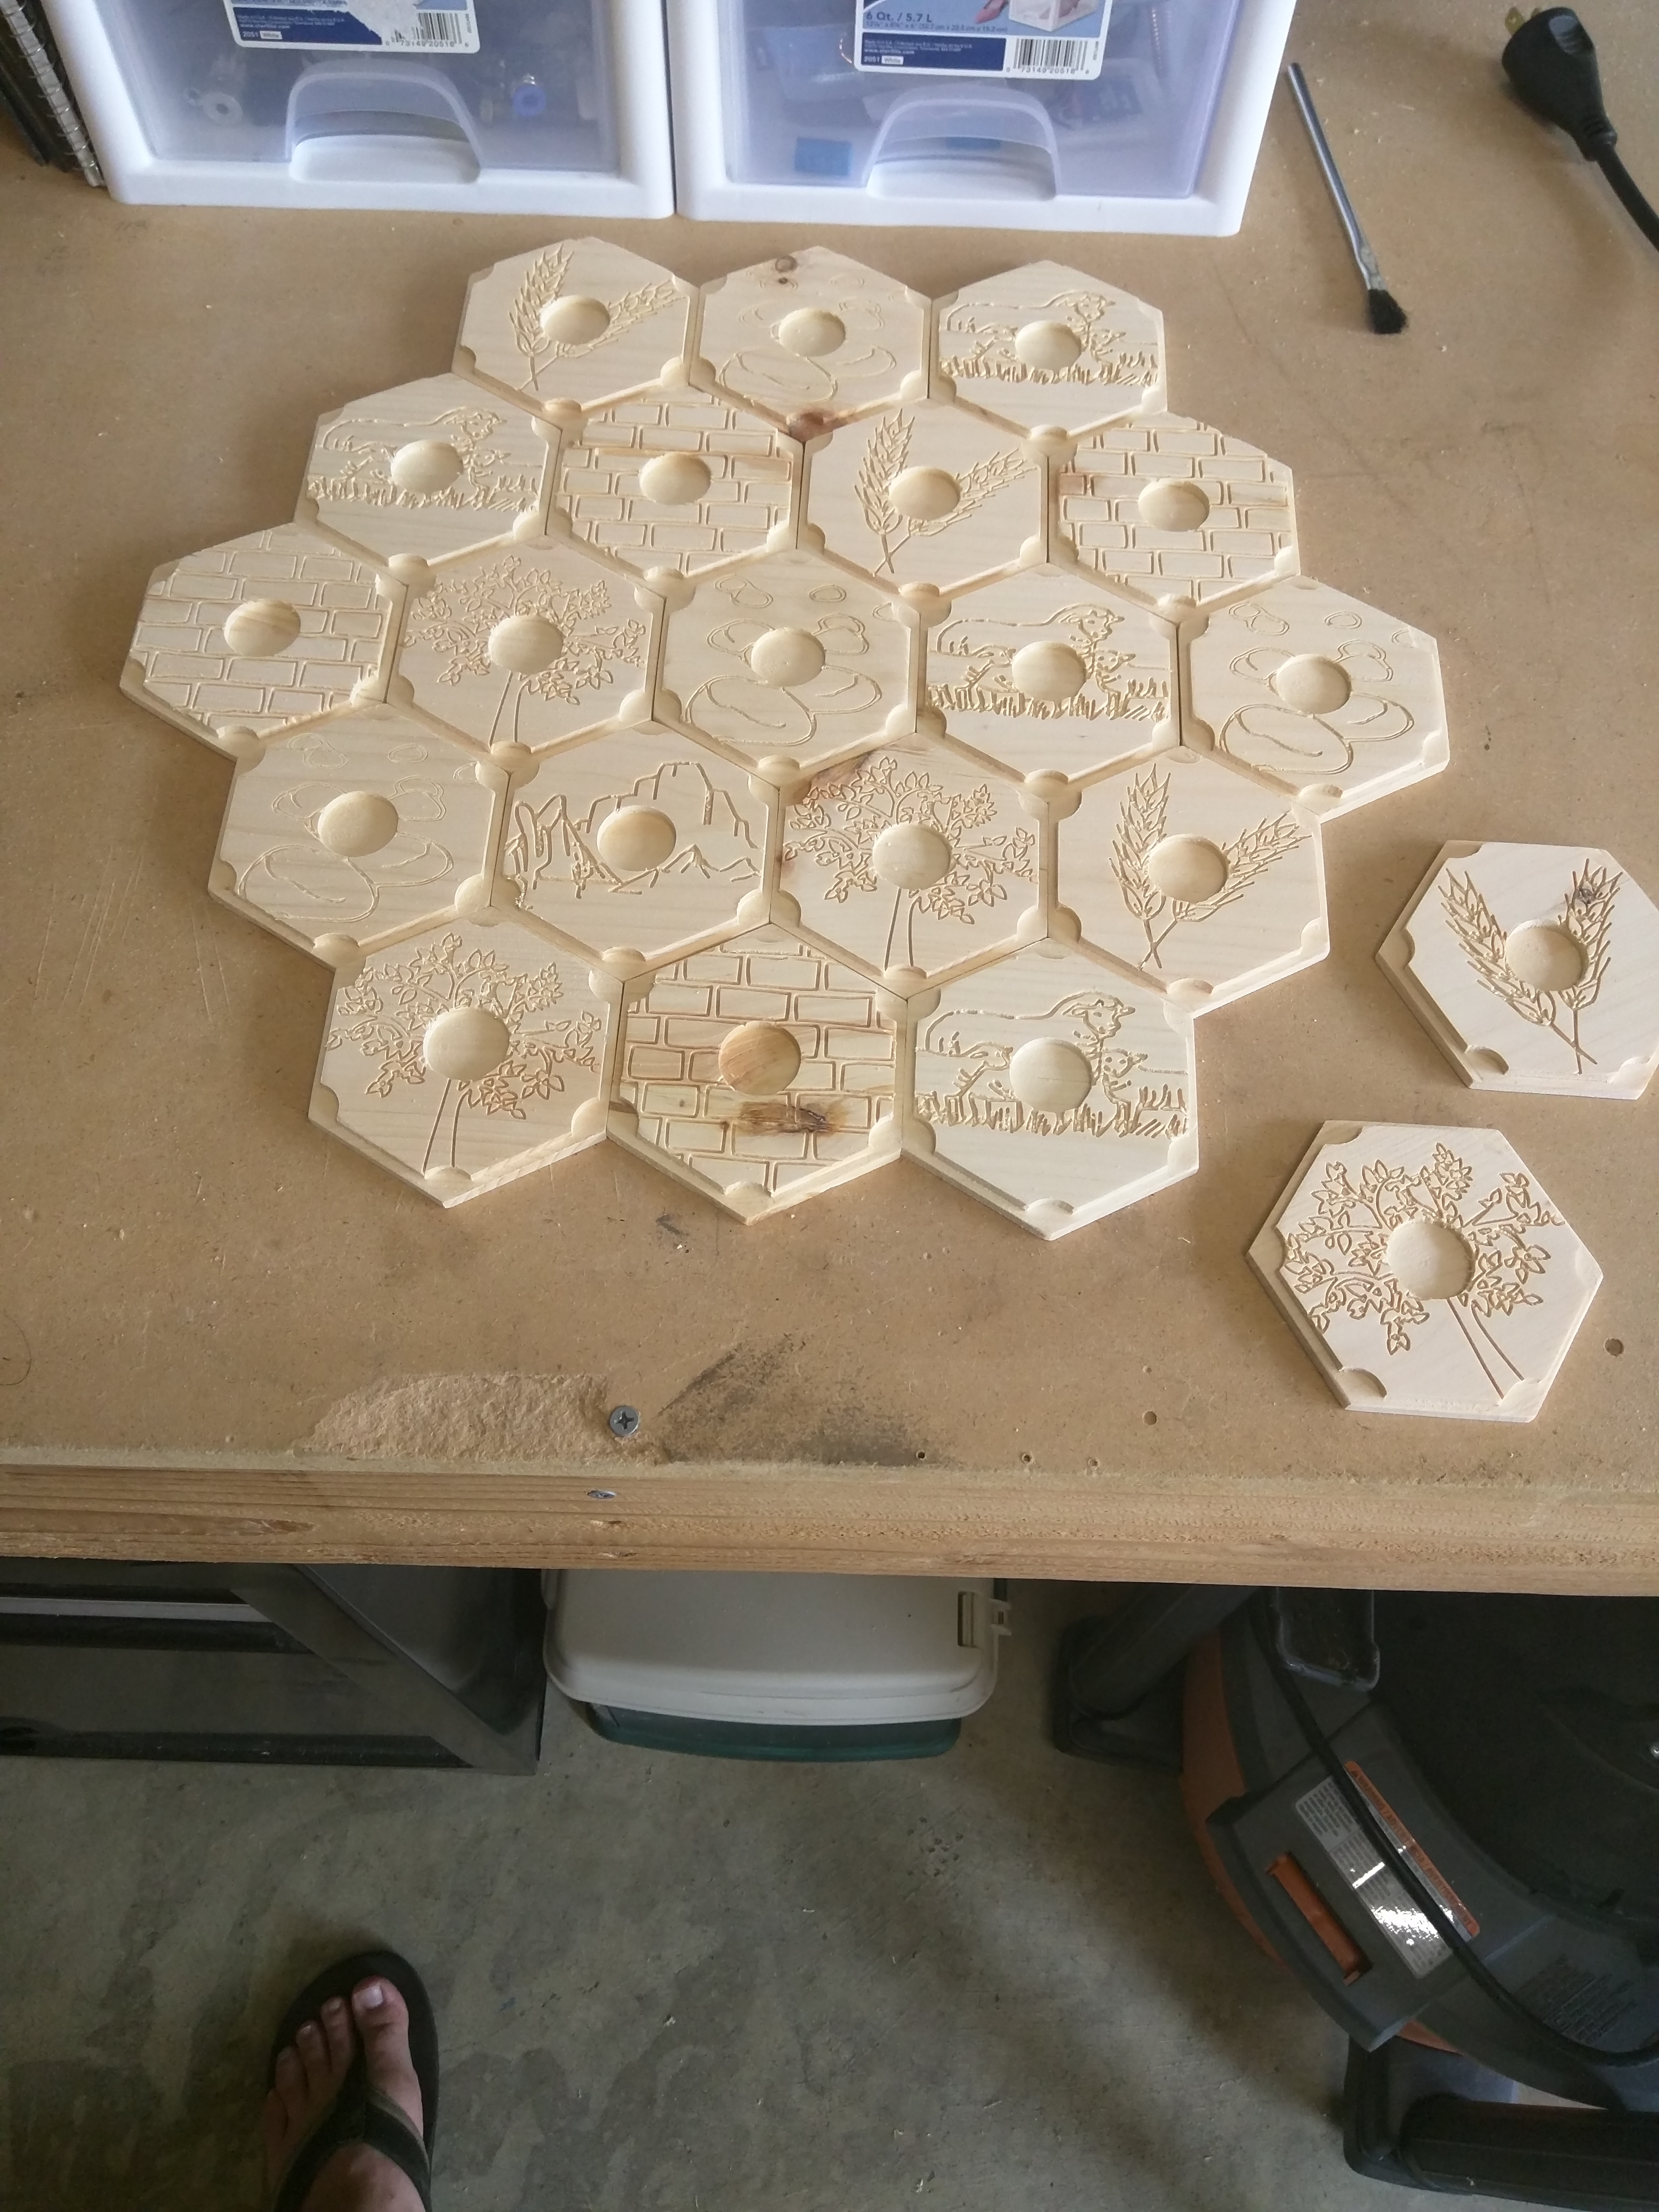
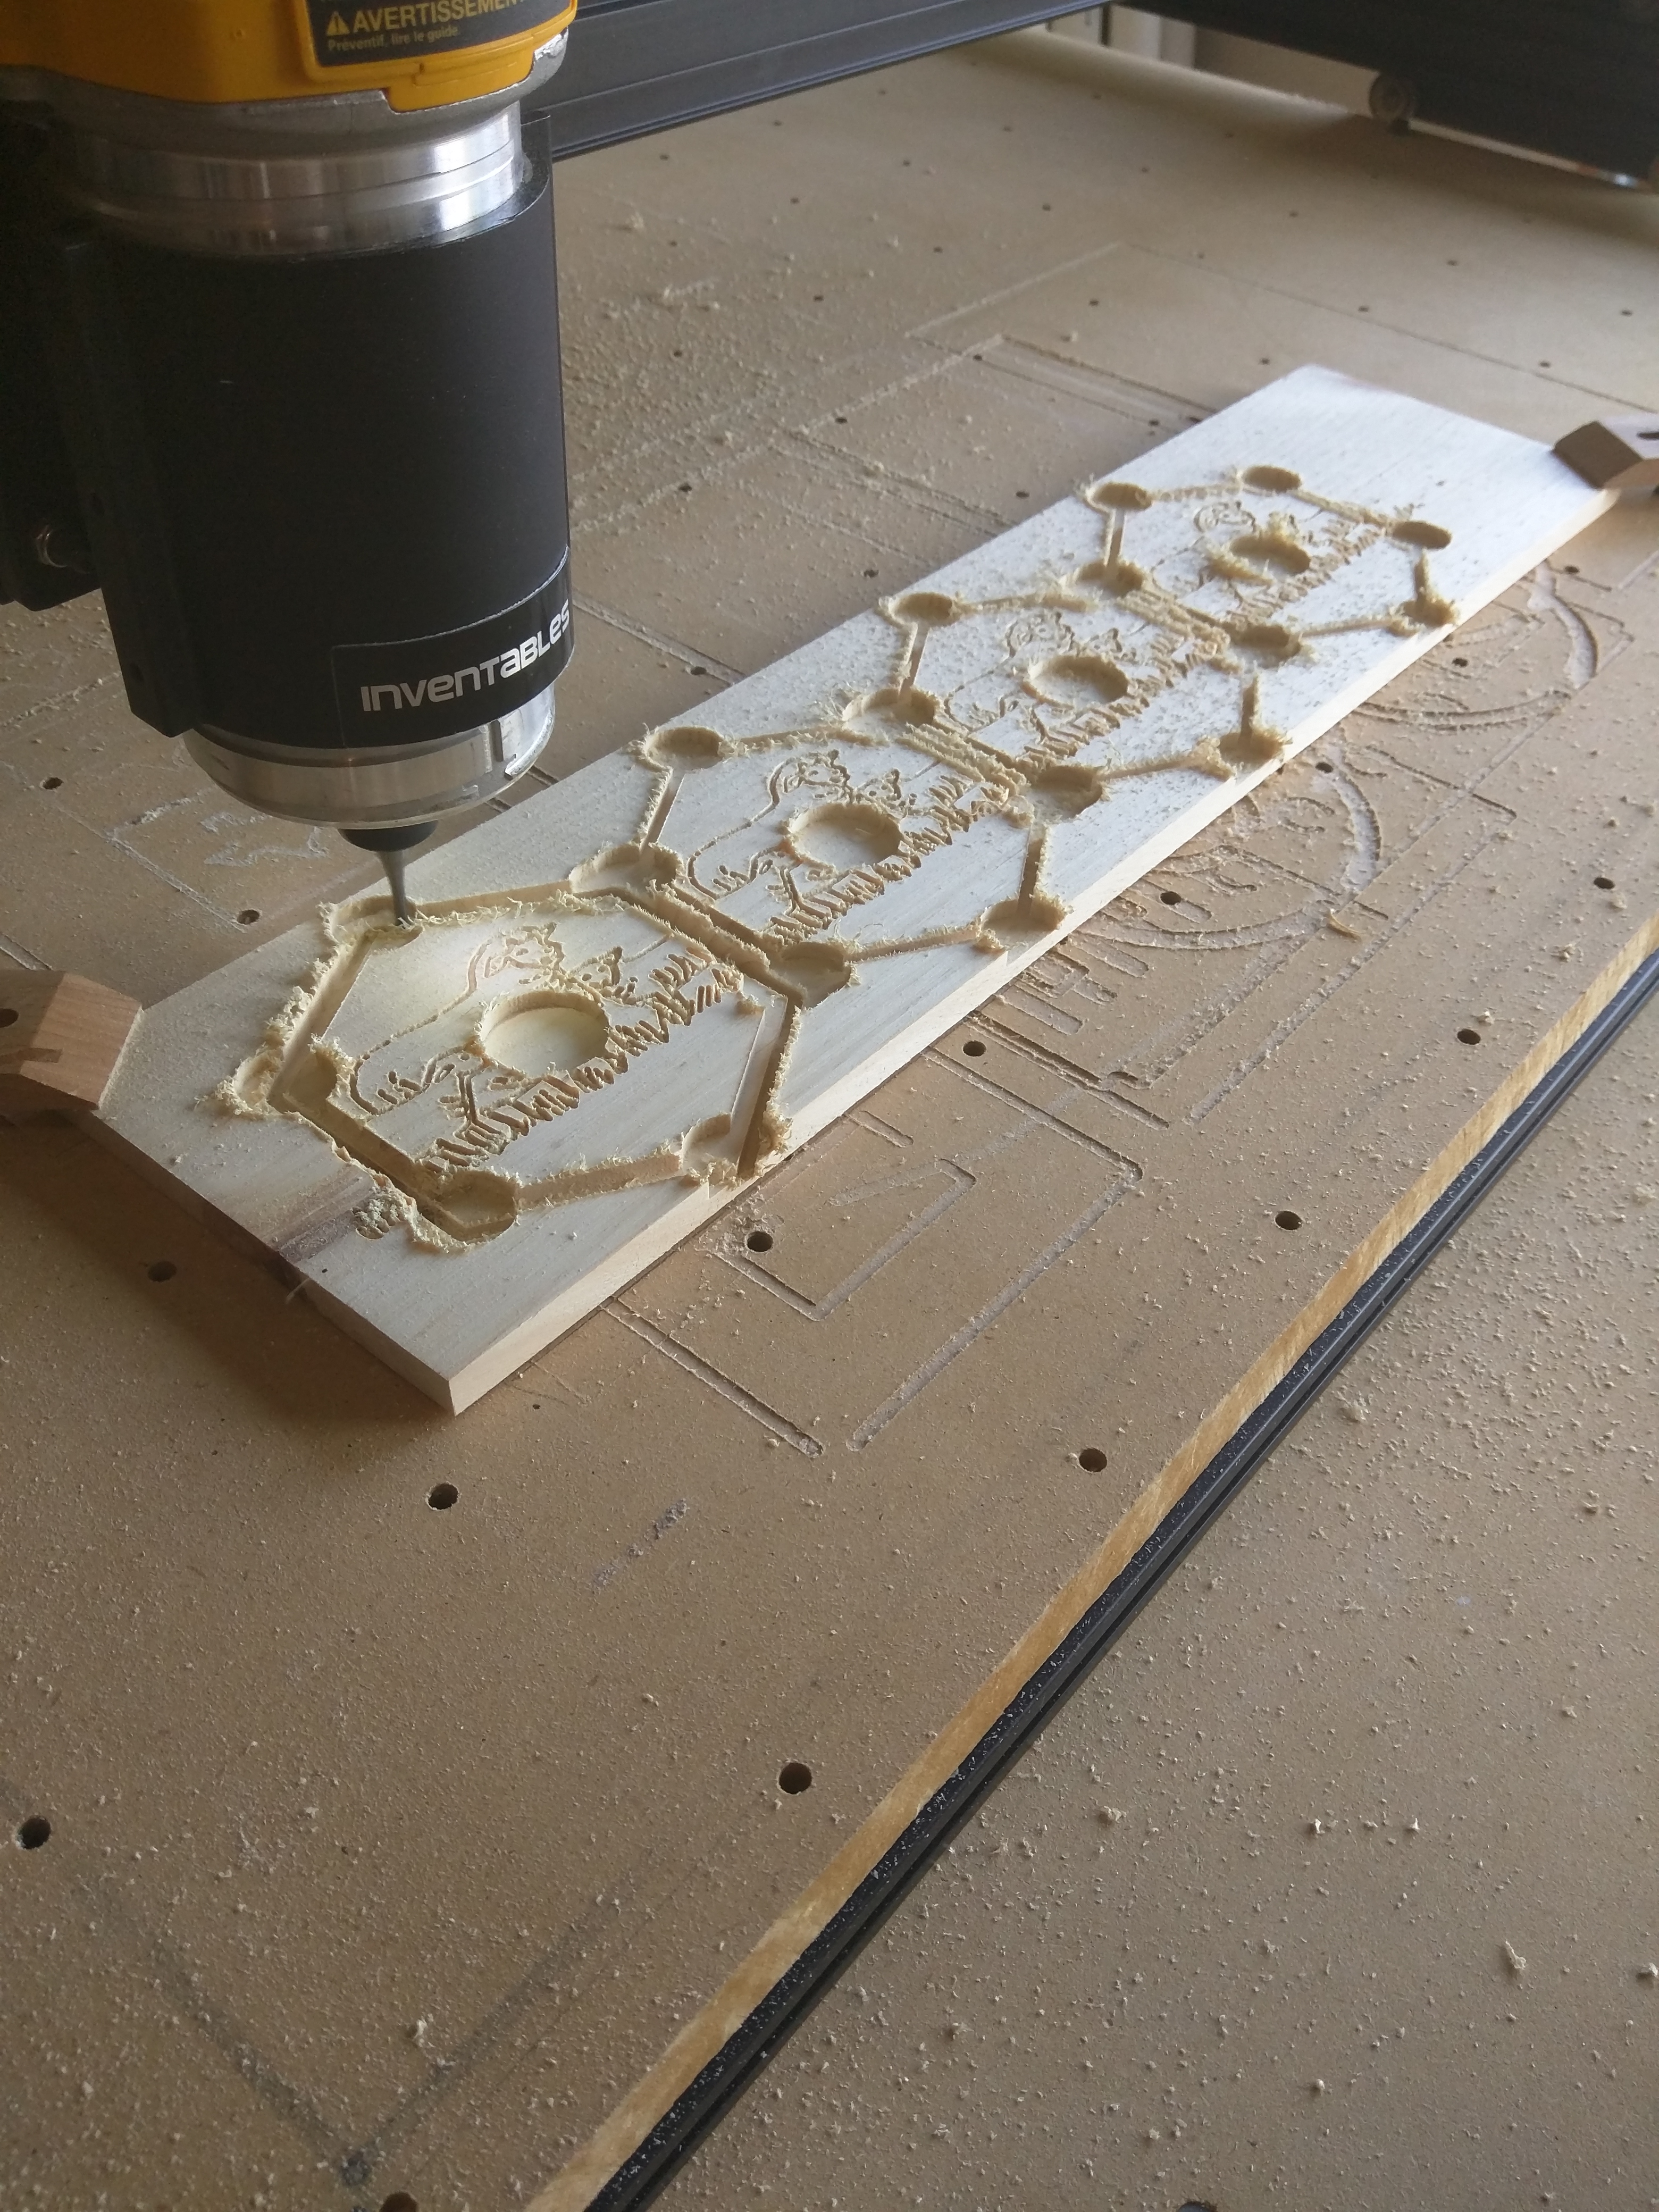
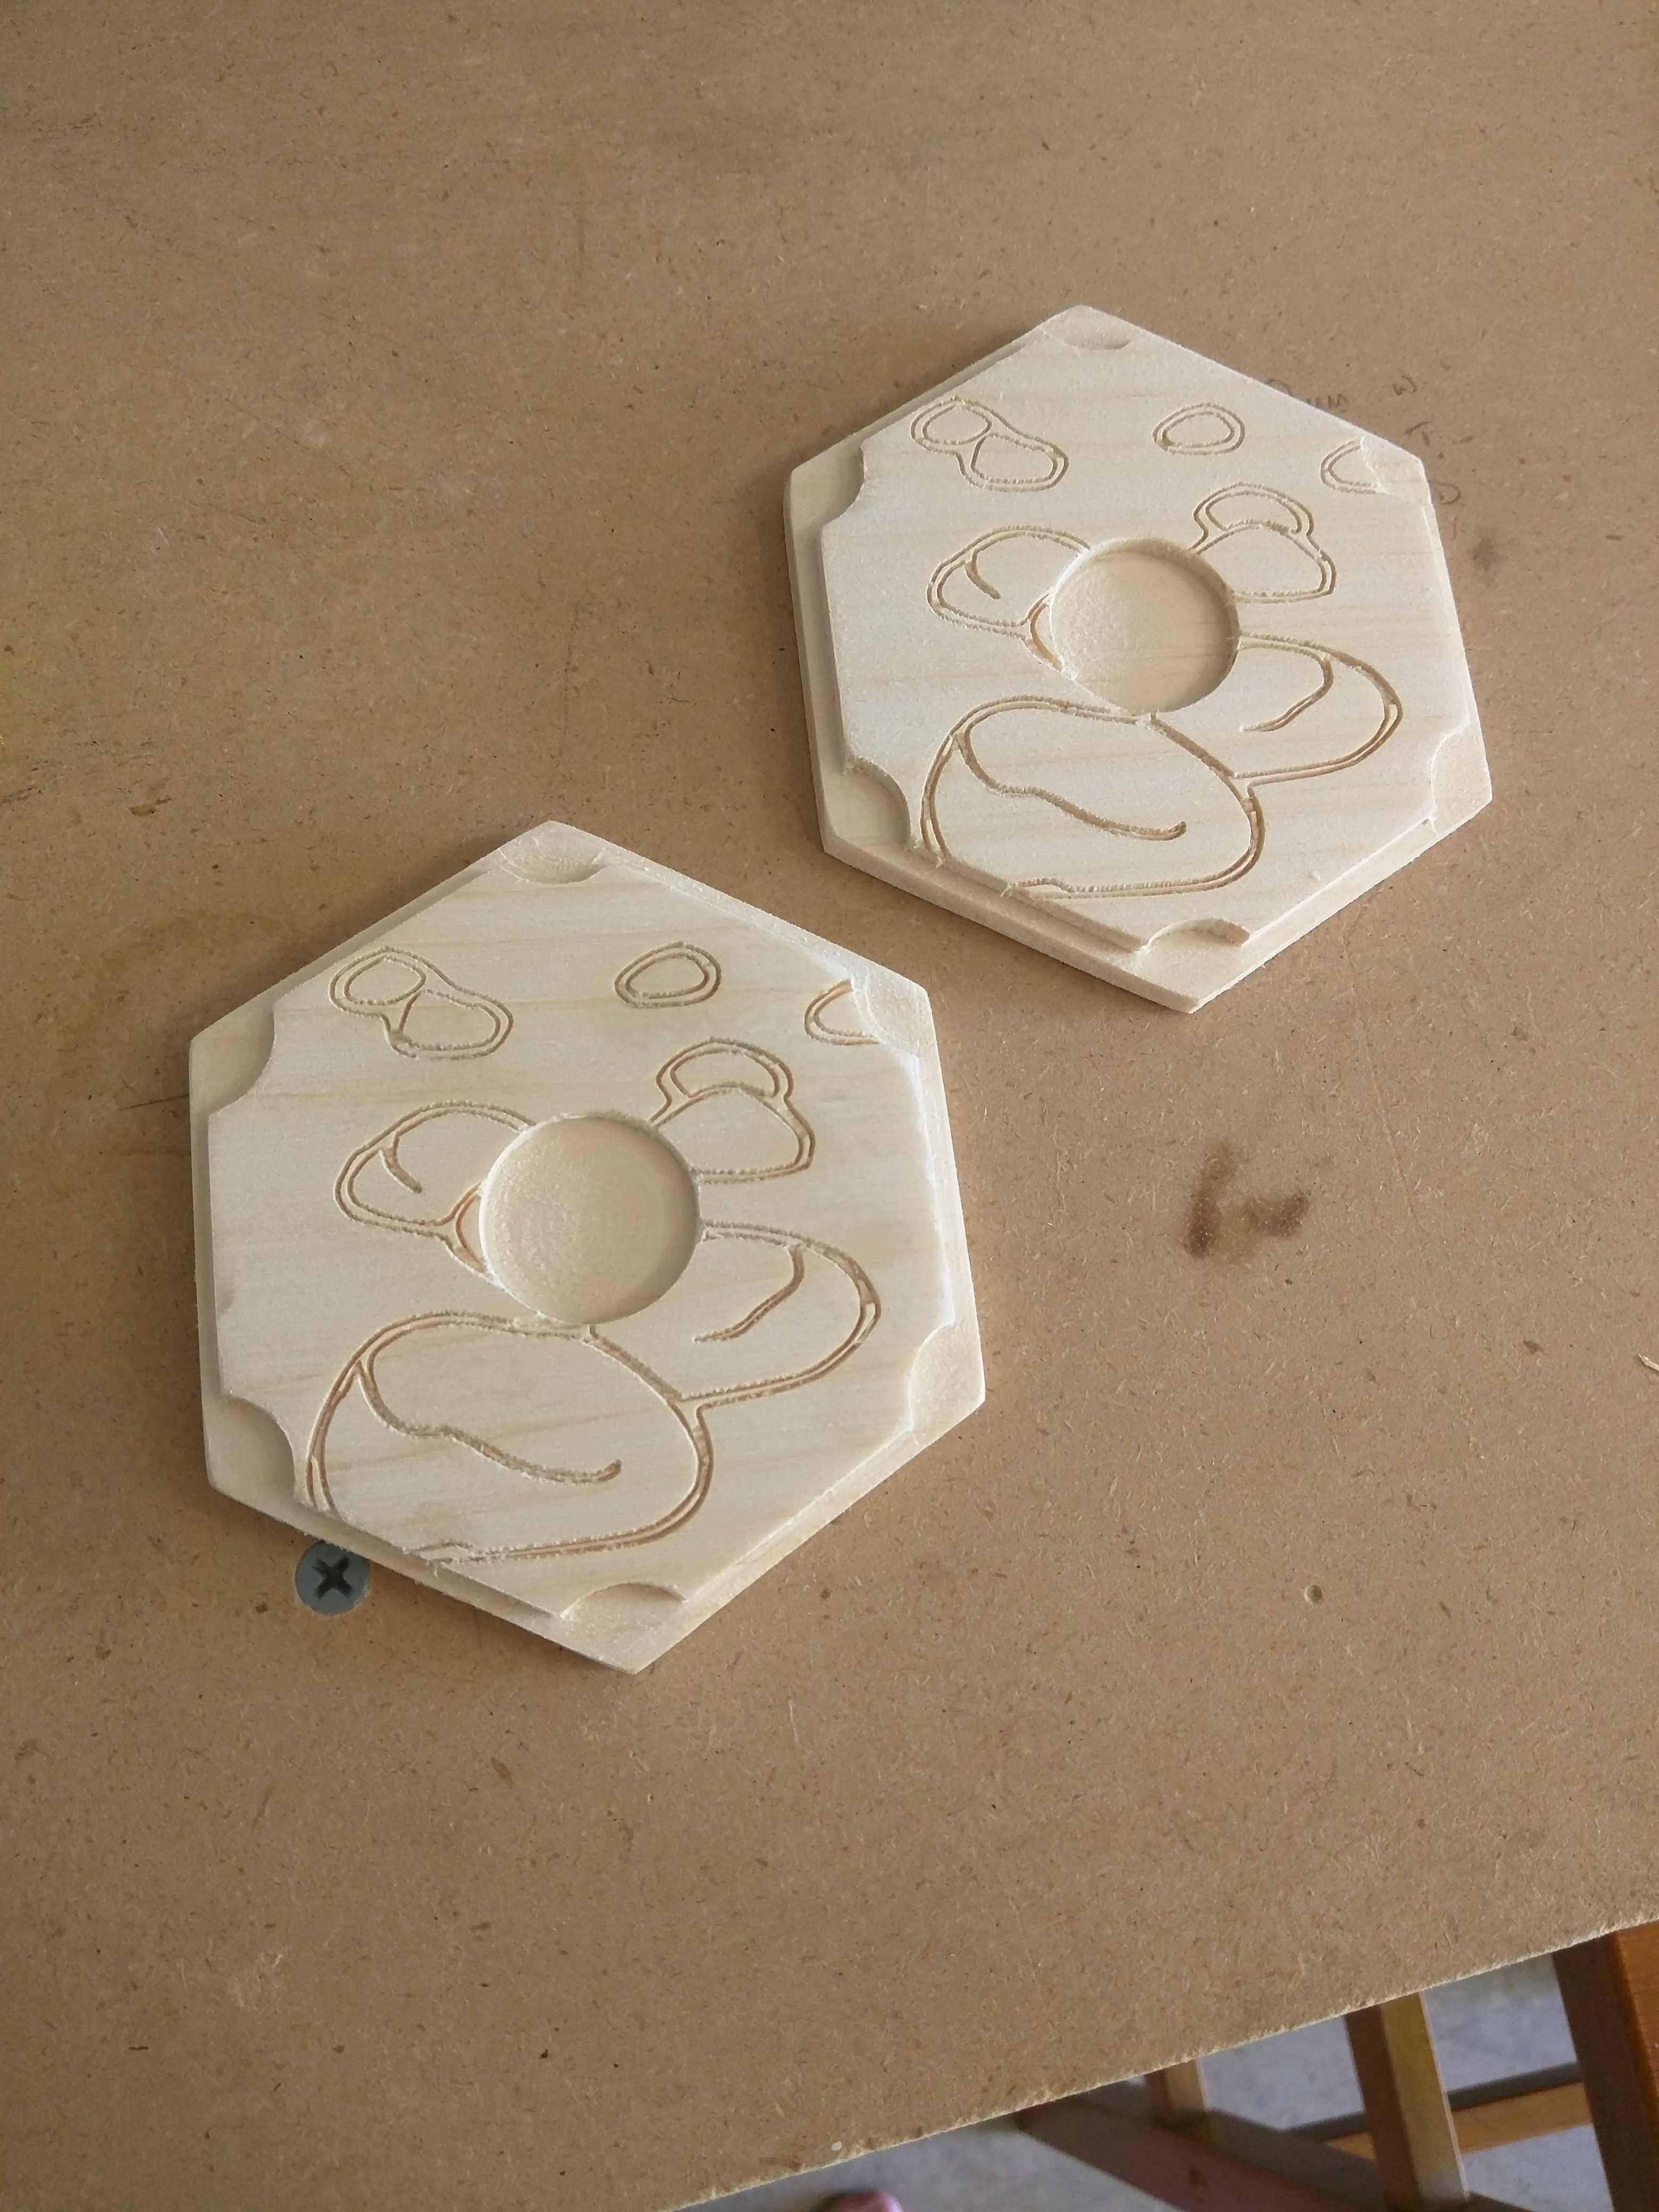
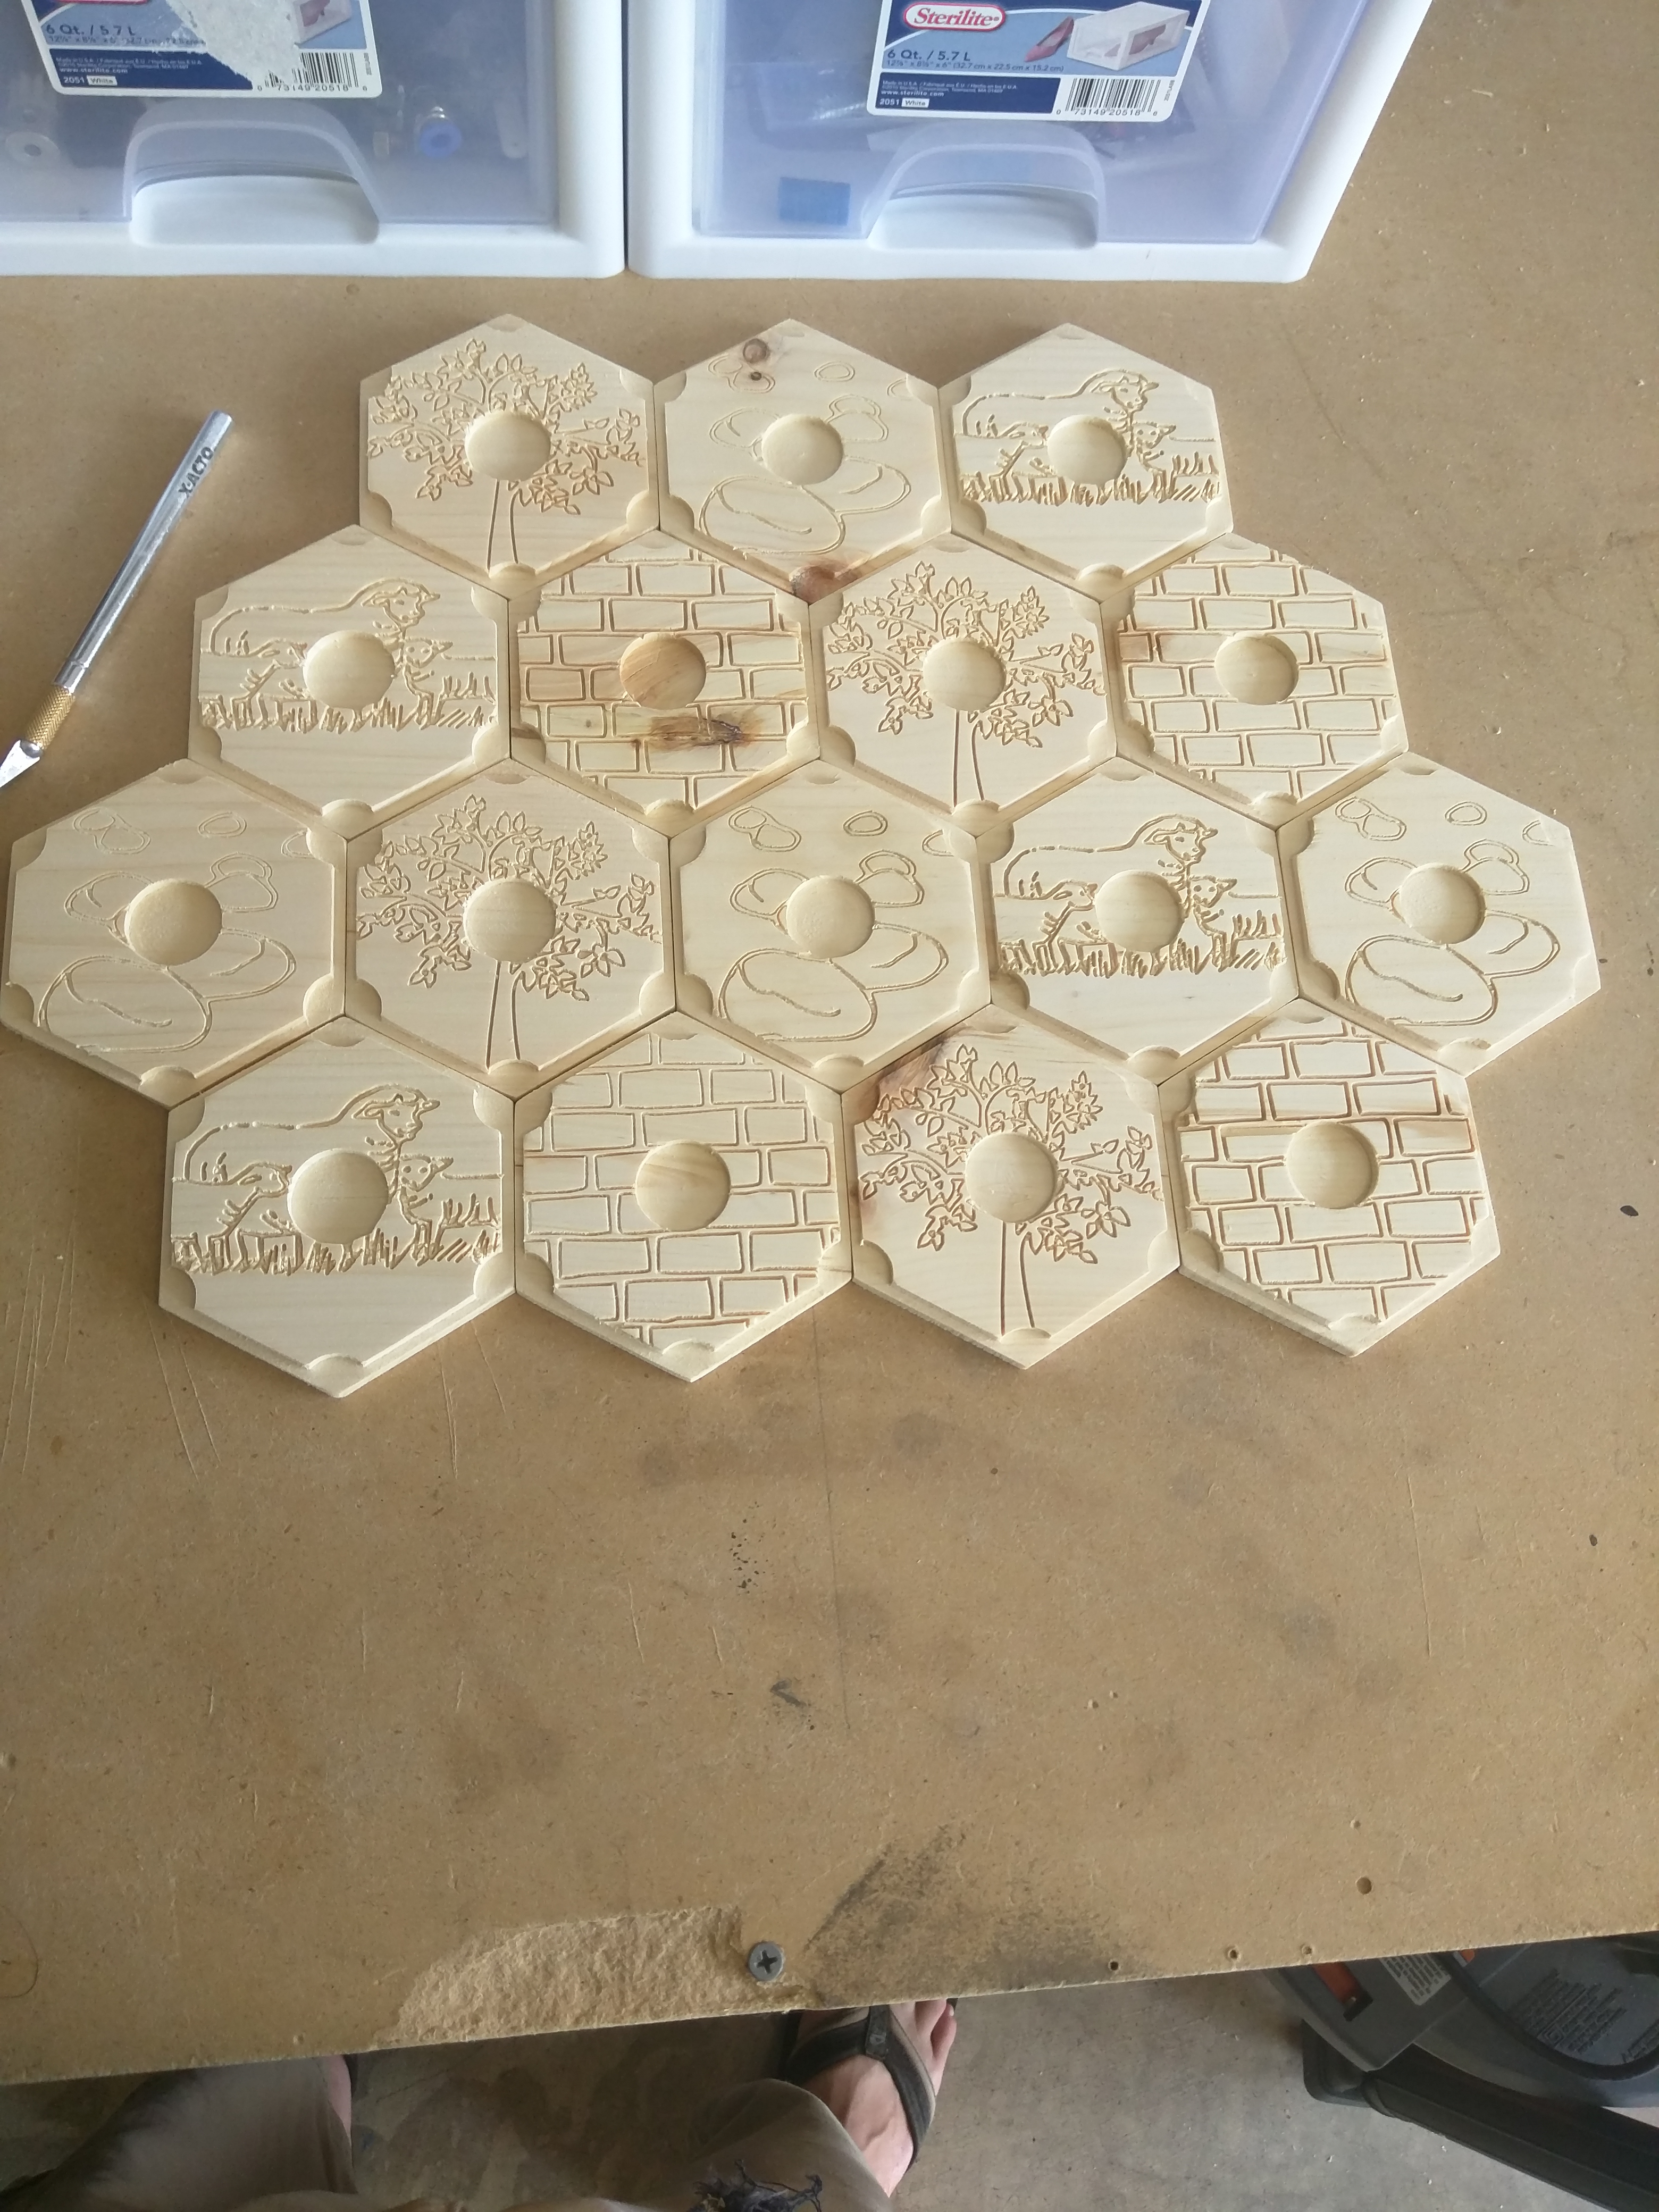
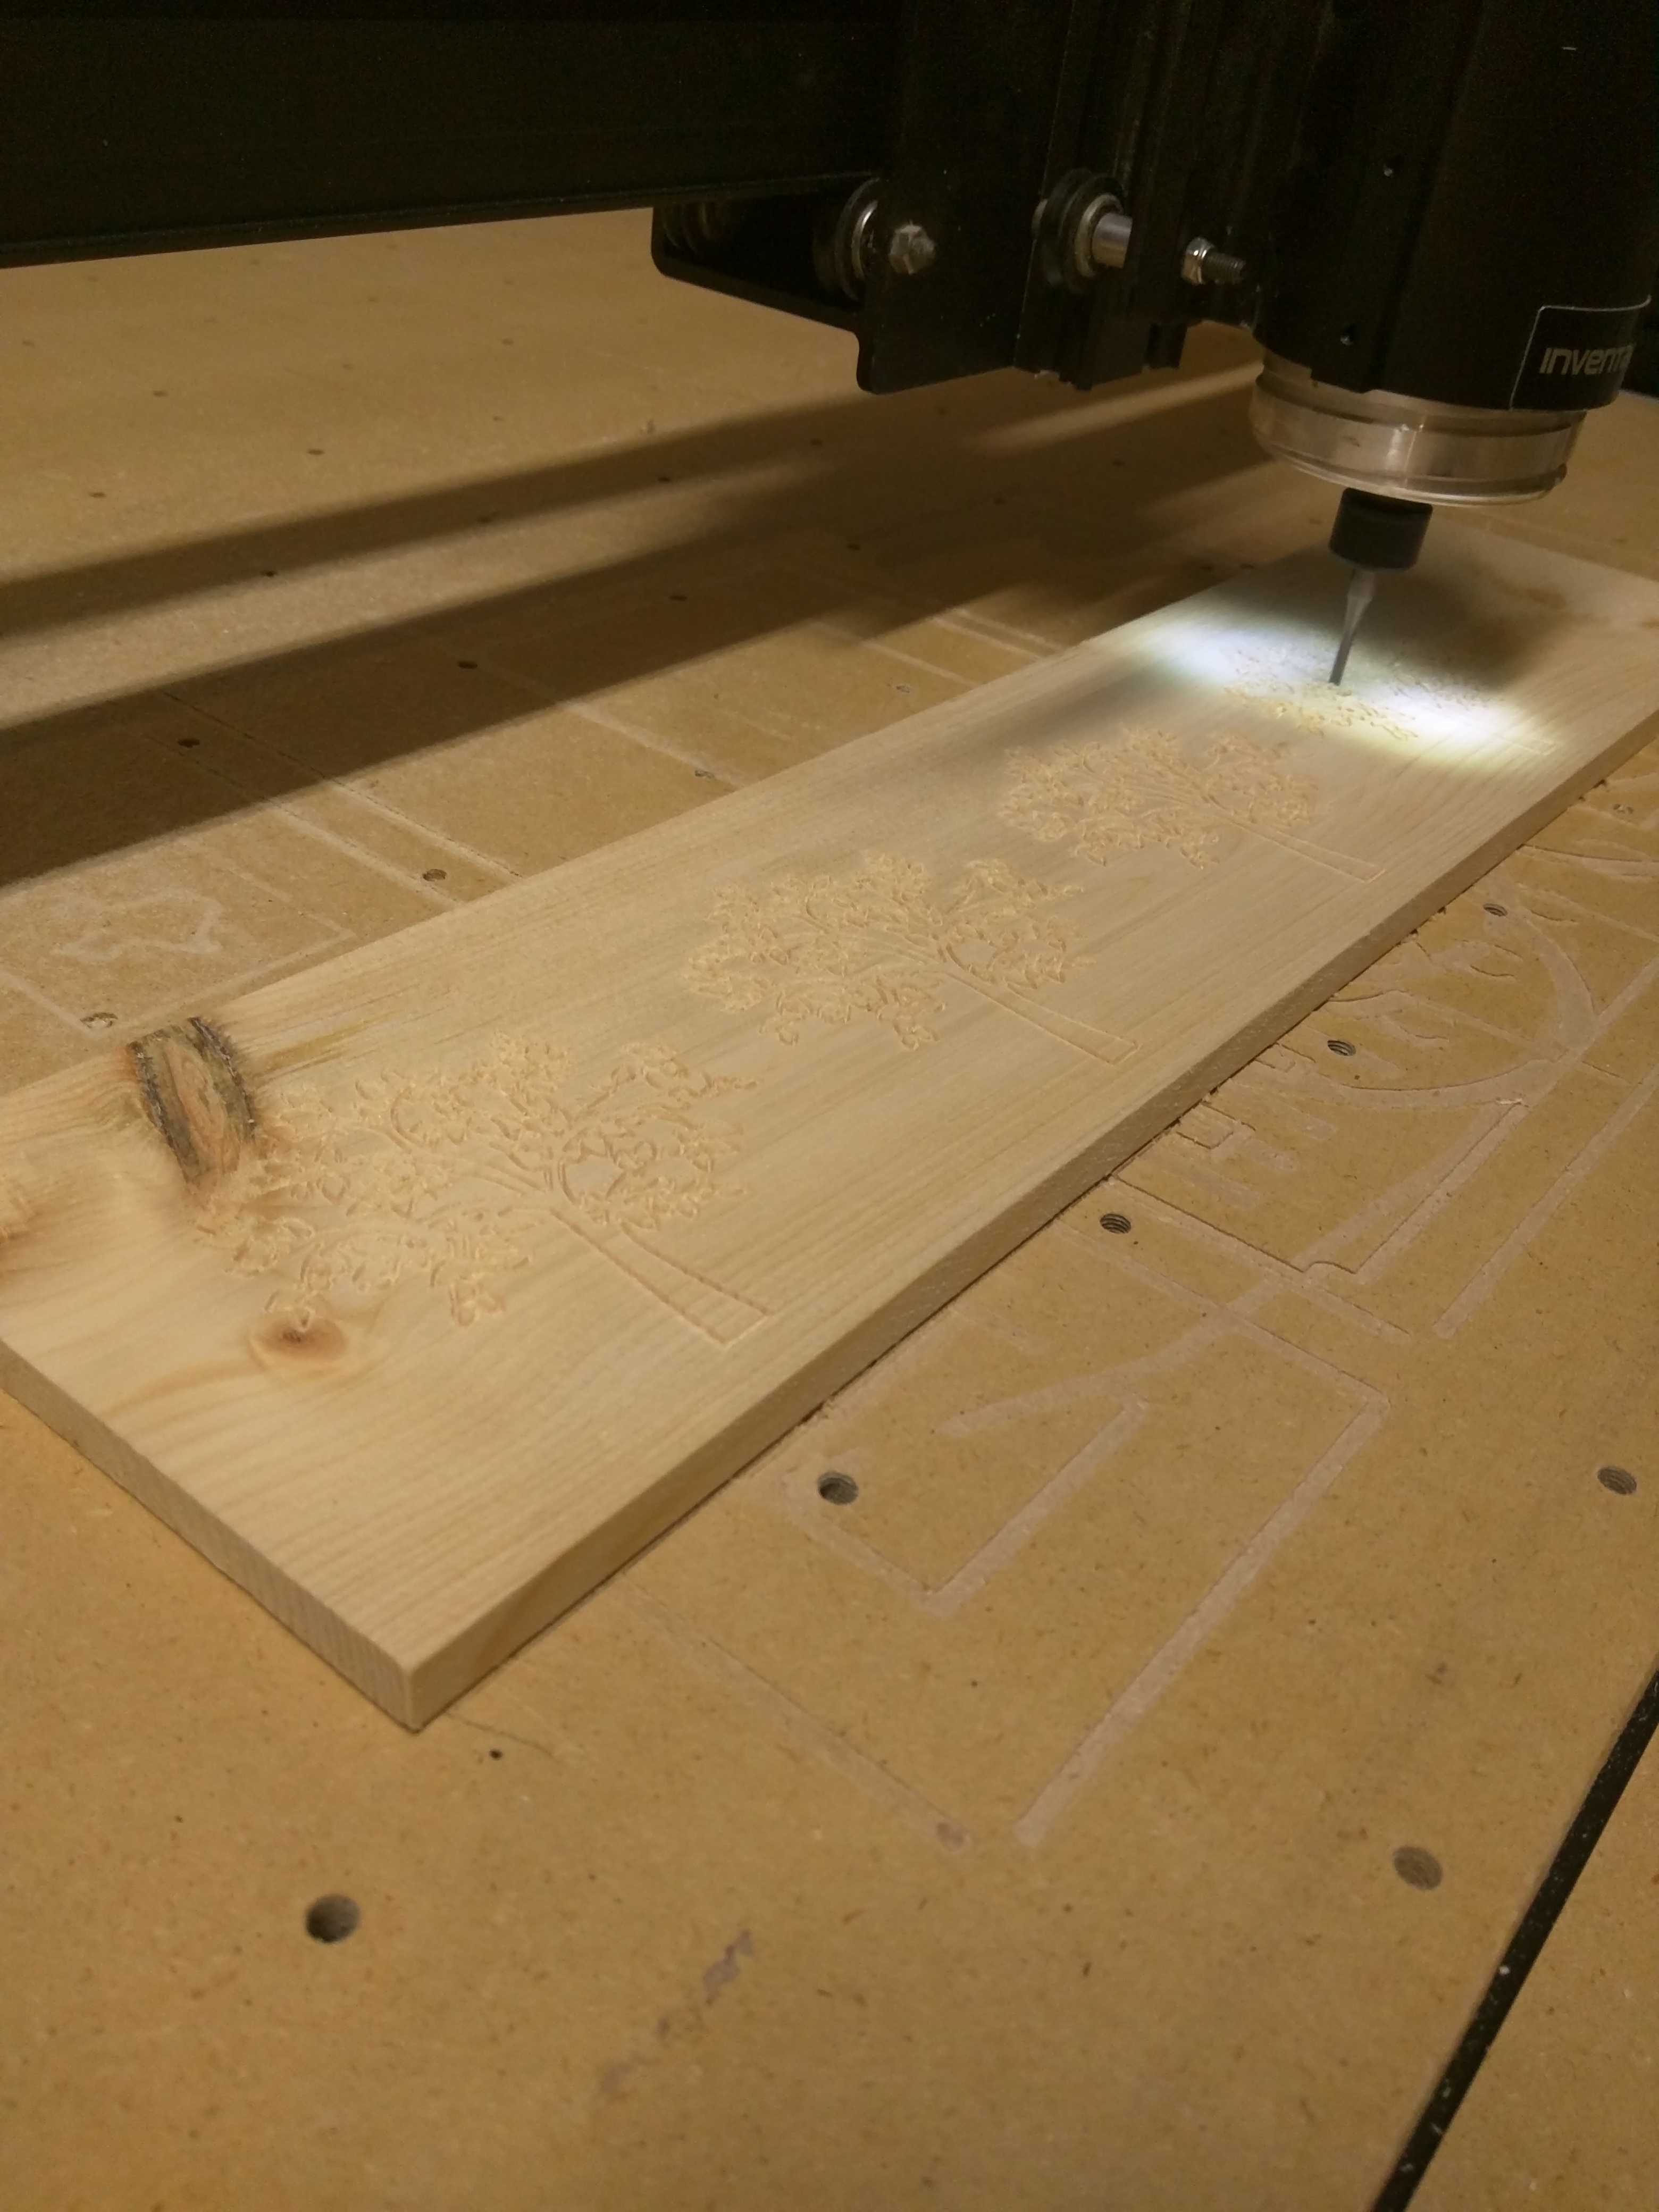
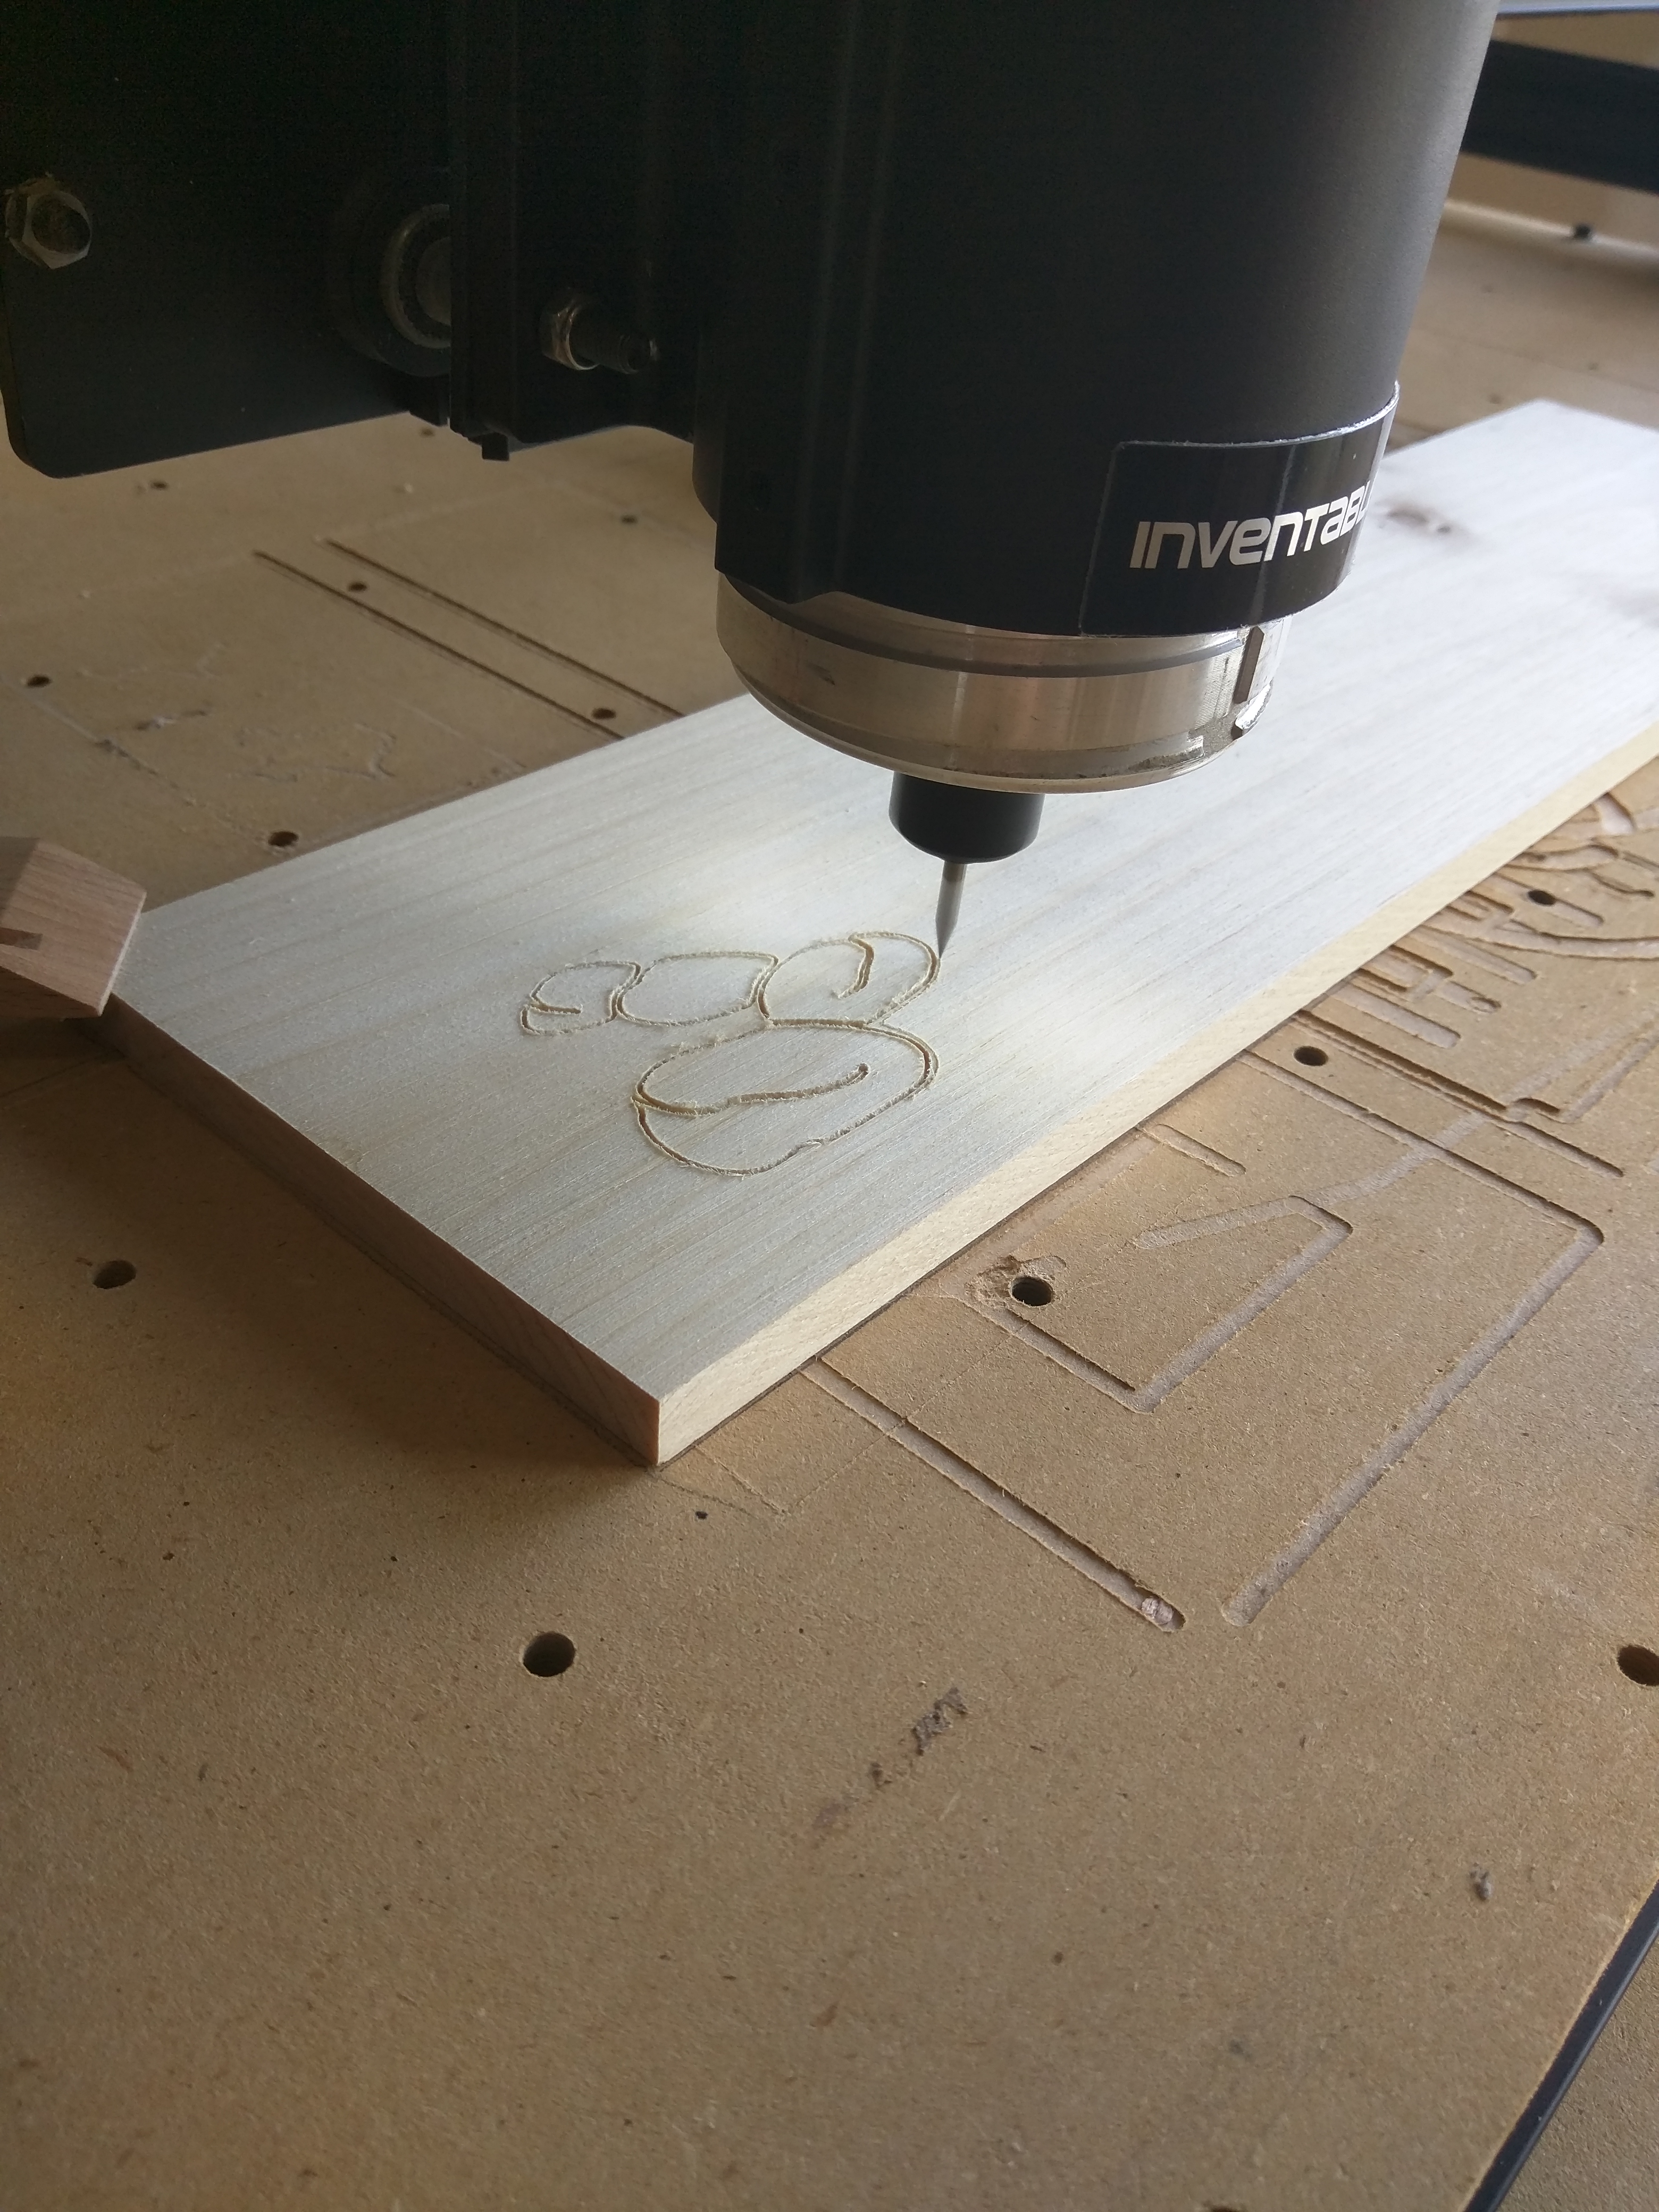
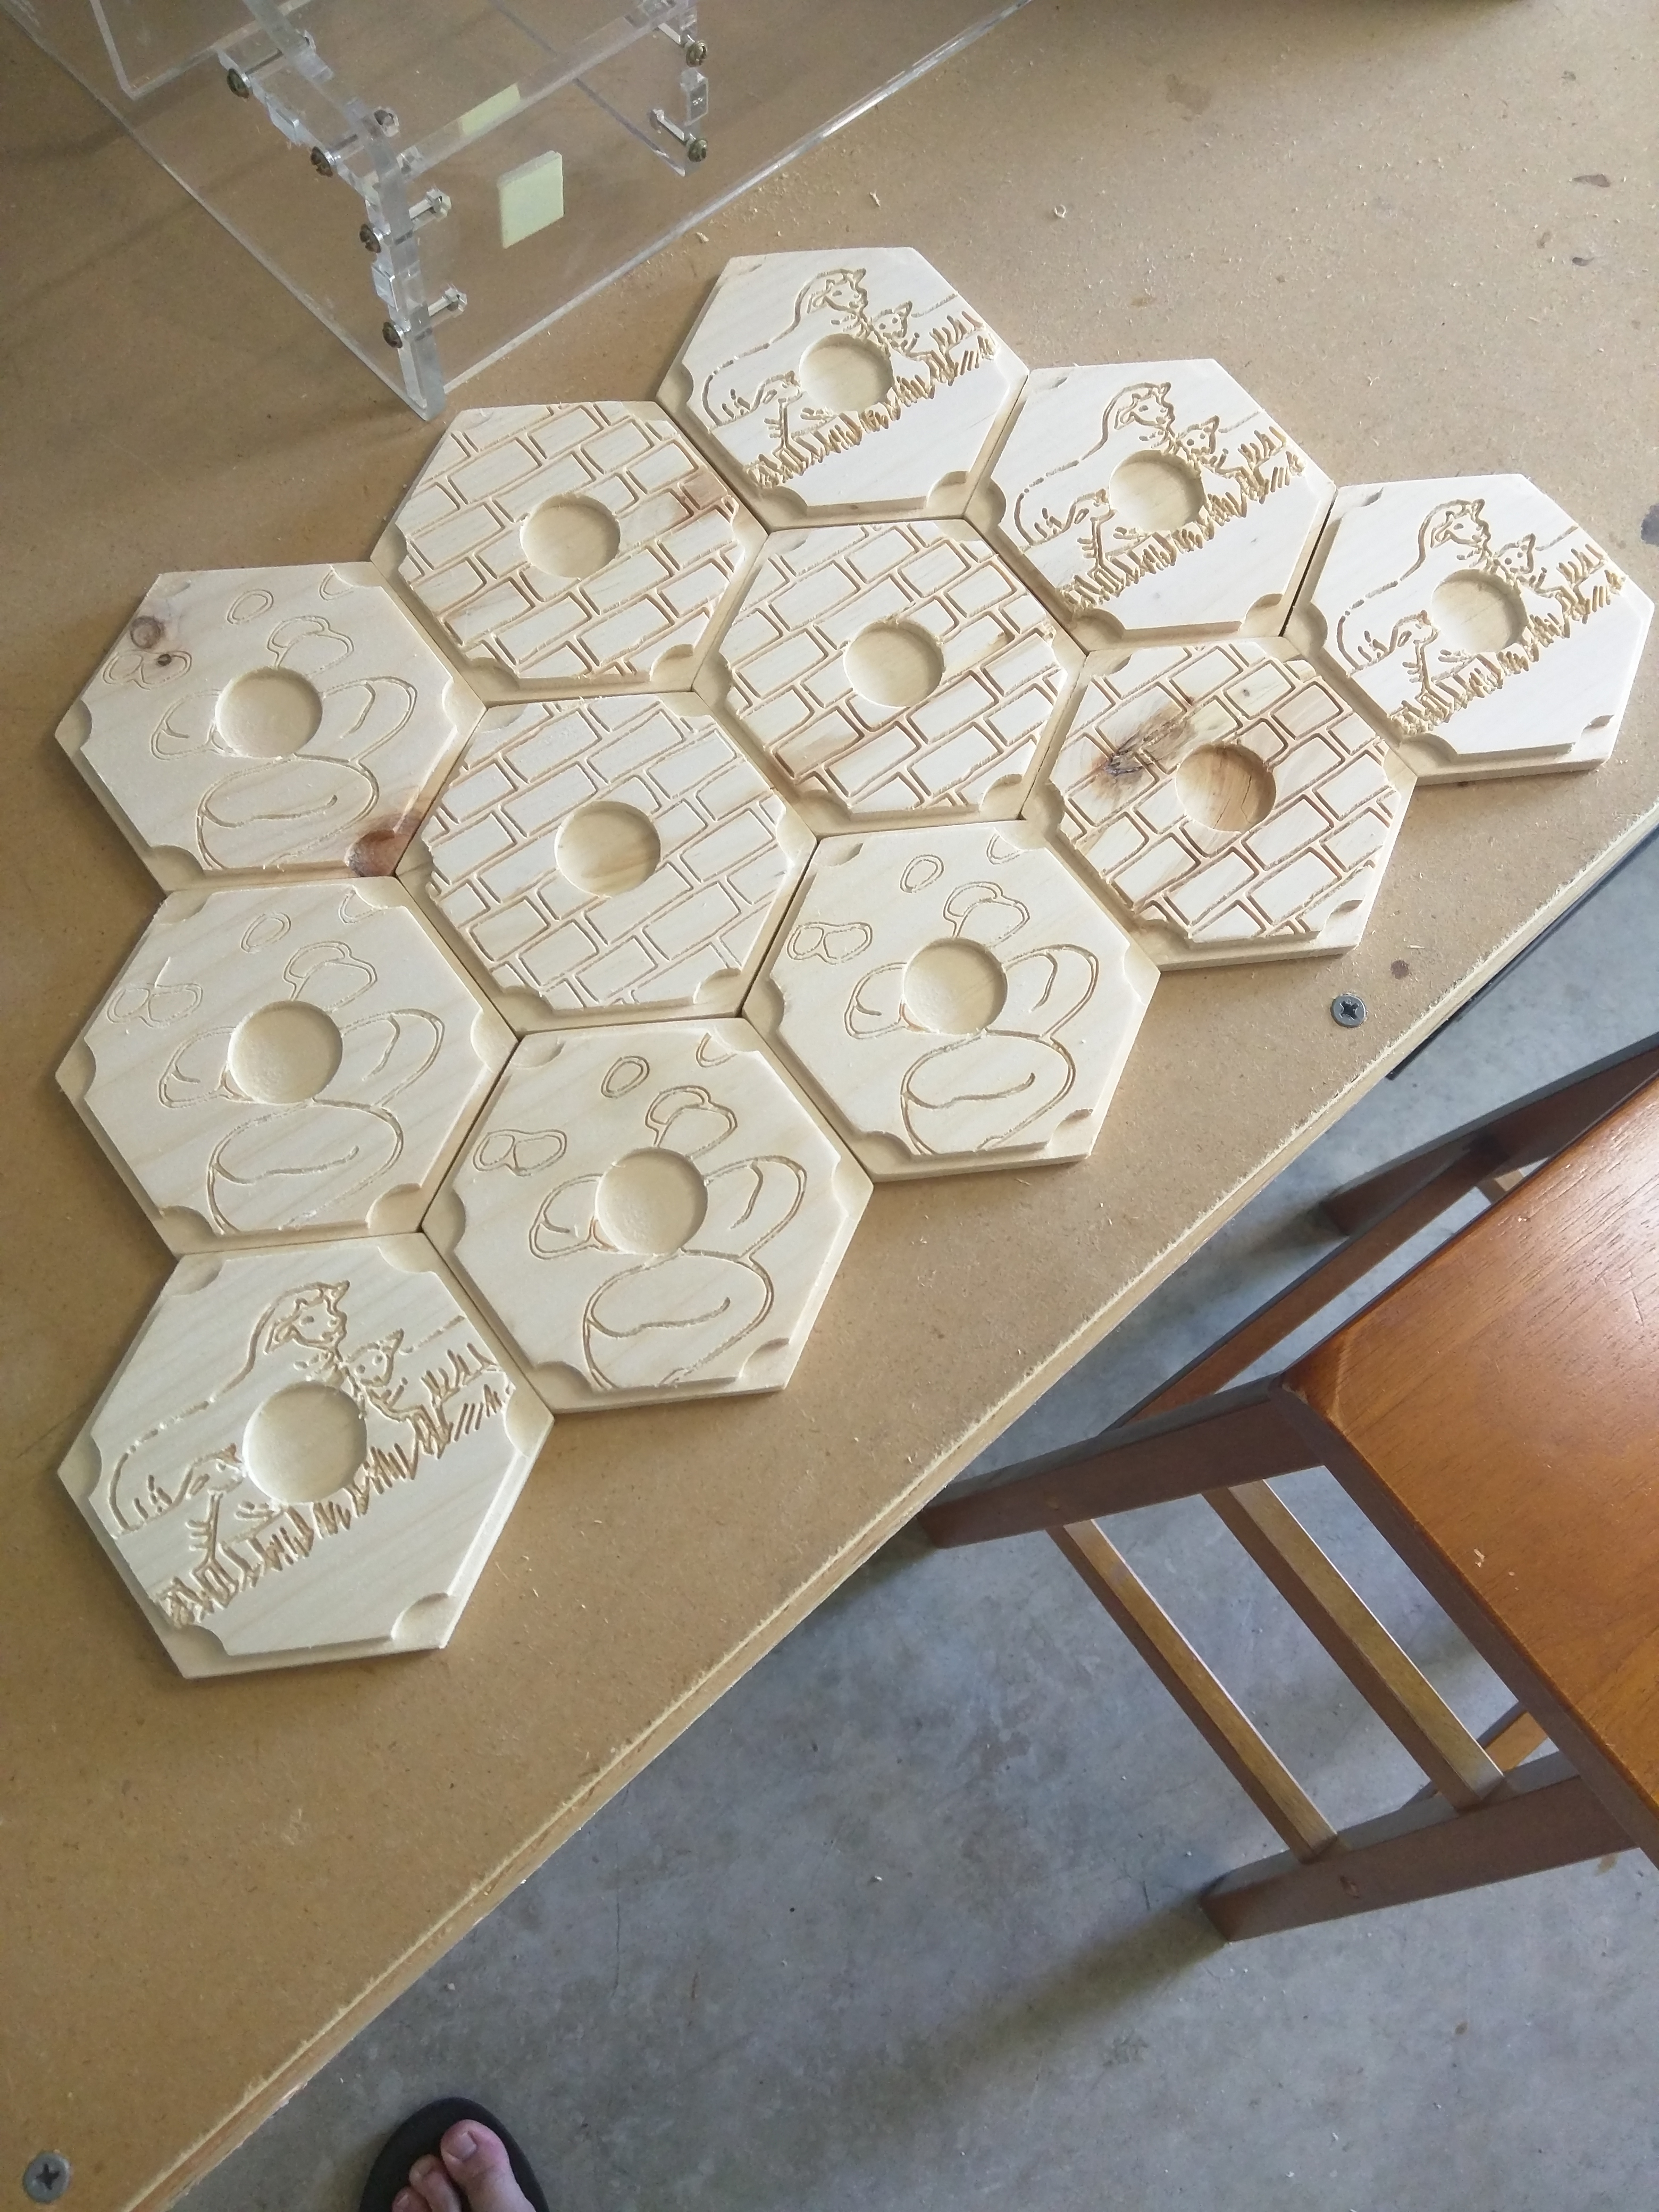
Here is one of the newest projects. I’ve been wanting to make something new and I’ve also wanted to teach my kids how to play Settlers of Catan. After looking at some of the custom boards, I decided to give it a shot and make my own.

Custom 3D Printer Case

Here are some of the latest photos of the custom case that I made for the Smoothieboard. I didn’t like the old mounted system, so I decided to gut the entire case and create a new one. One of my buddies cut the aluminum rails (as he wanted to create a case for his CNC Mill’s computer as well), and I cut the plexiglass on the CNC table. The result wasn’t too bad.

Additionally, I printed a fan holder for the top of the case.

Here is the old case/holder for the Smoothie Board.

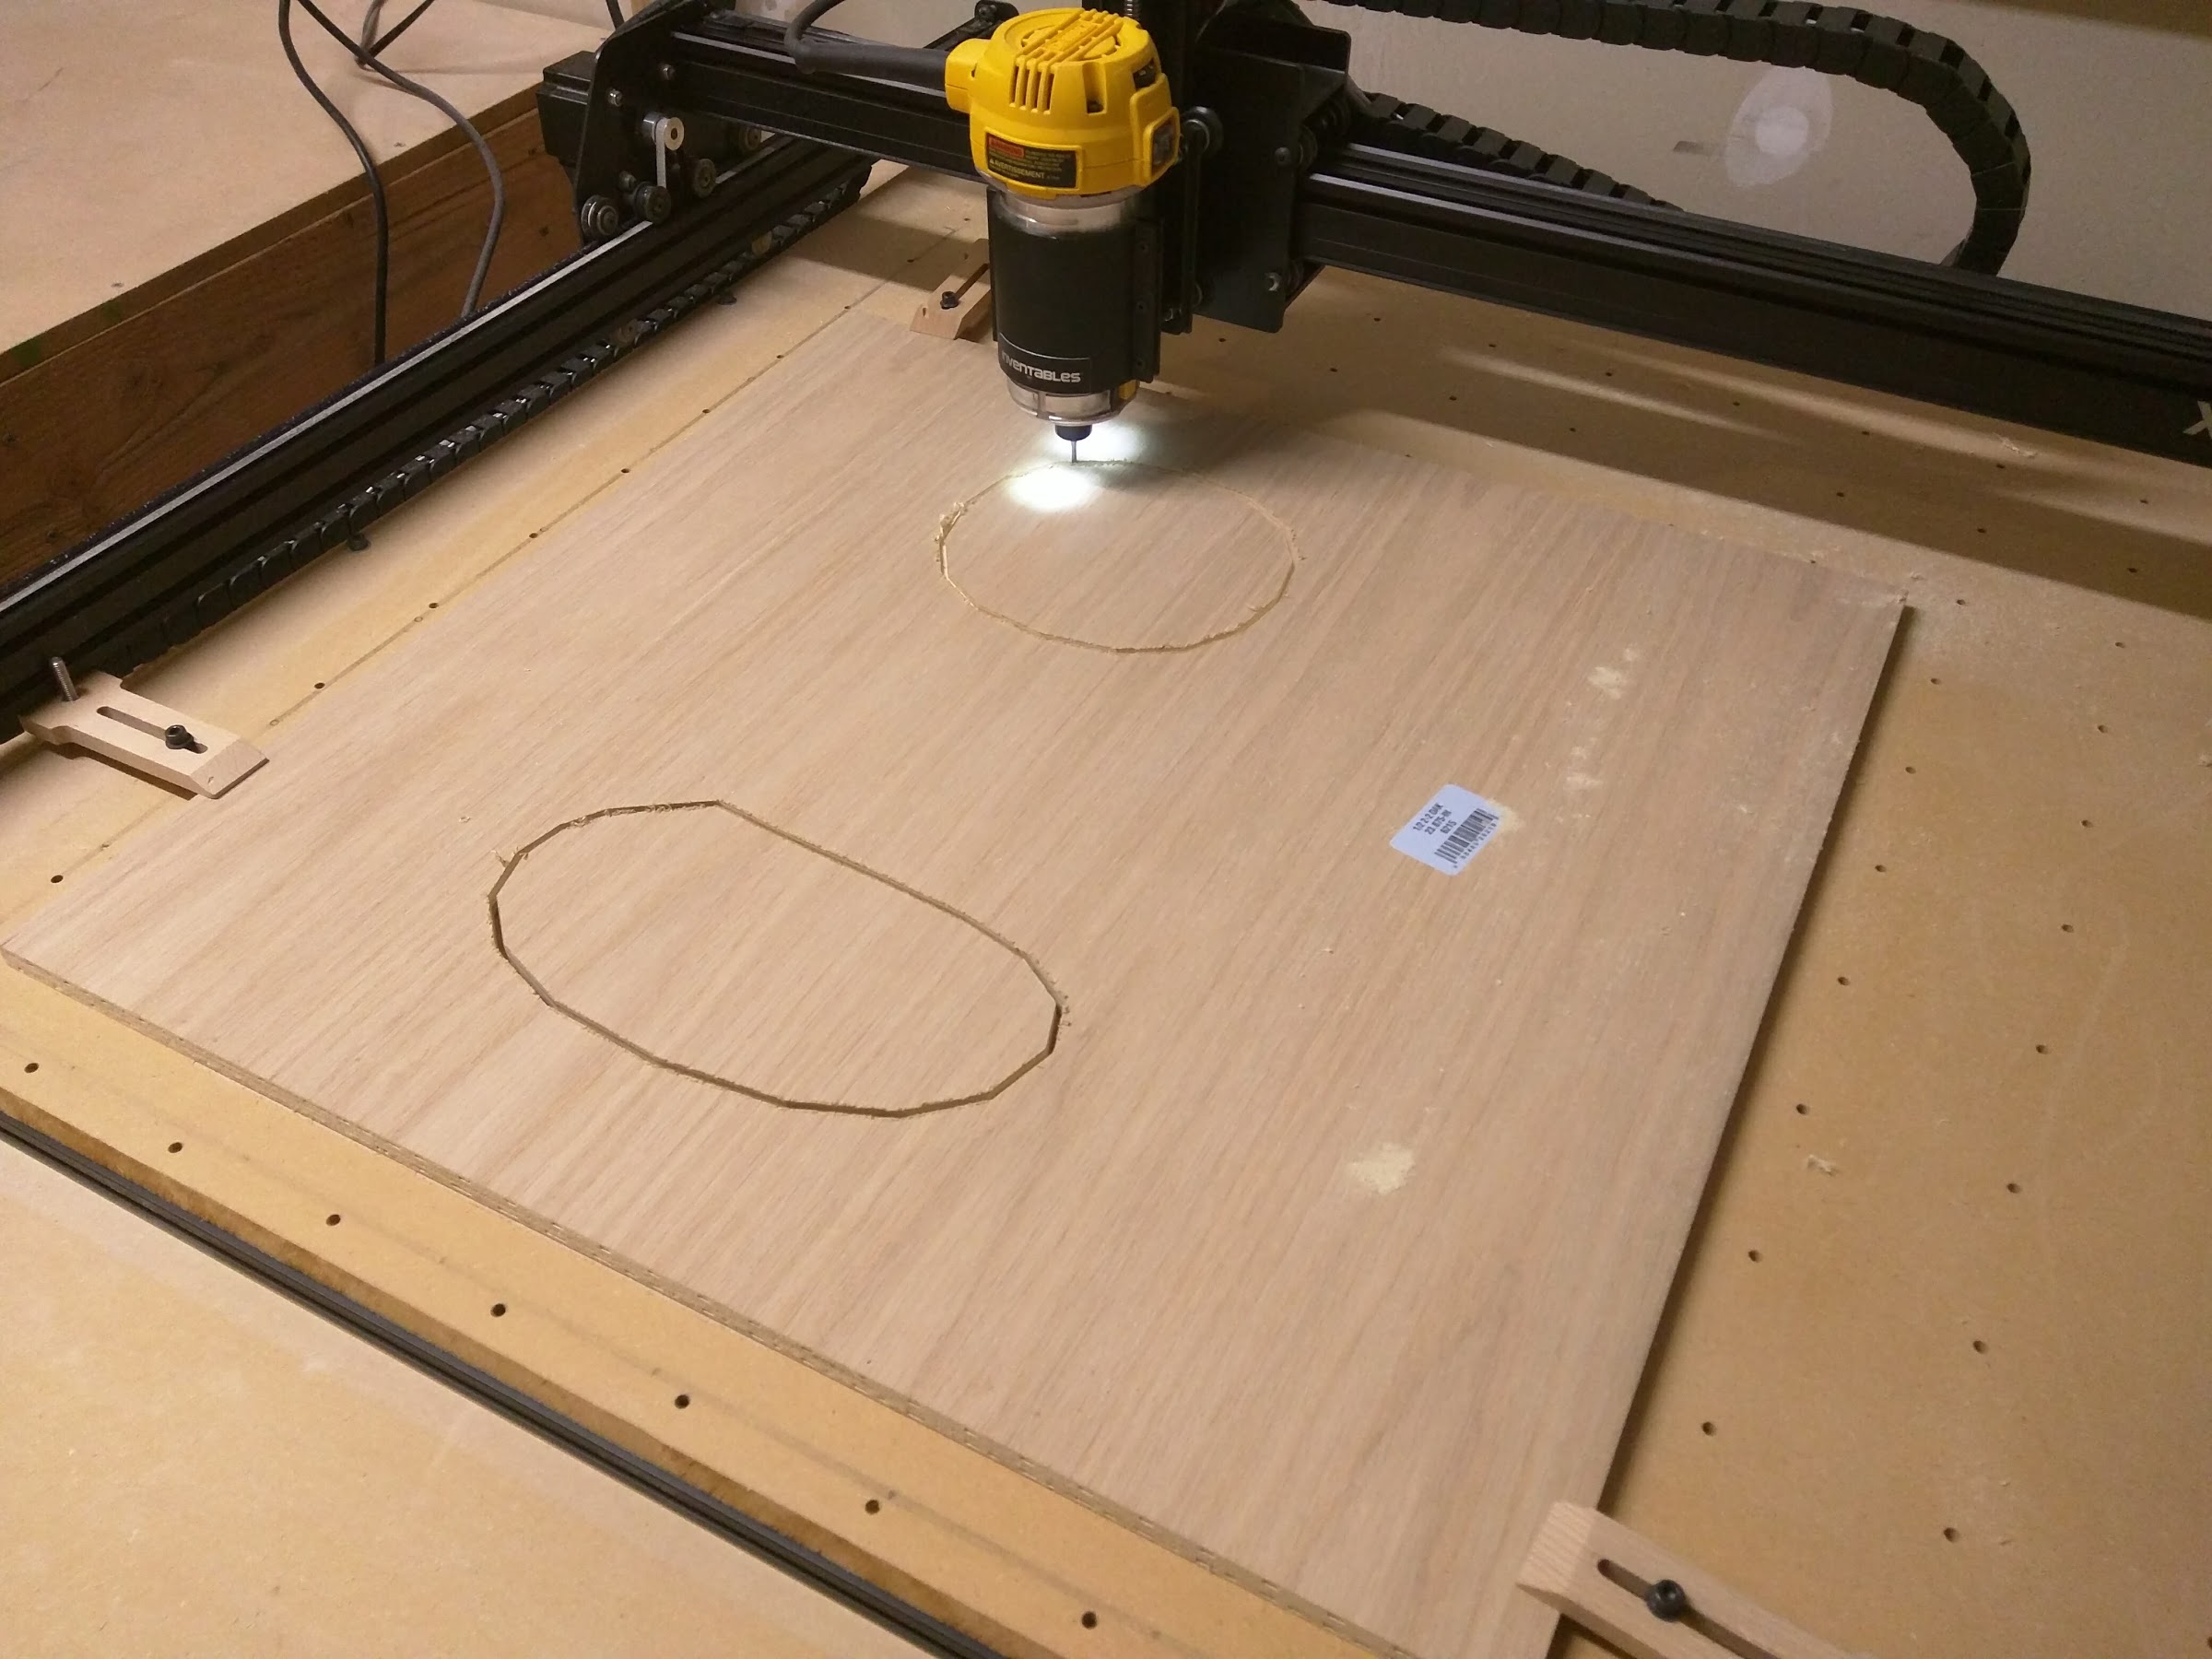
here is the machine doing some cuts

and.. here is the new case.

Custom Router Table

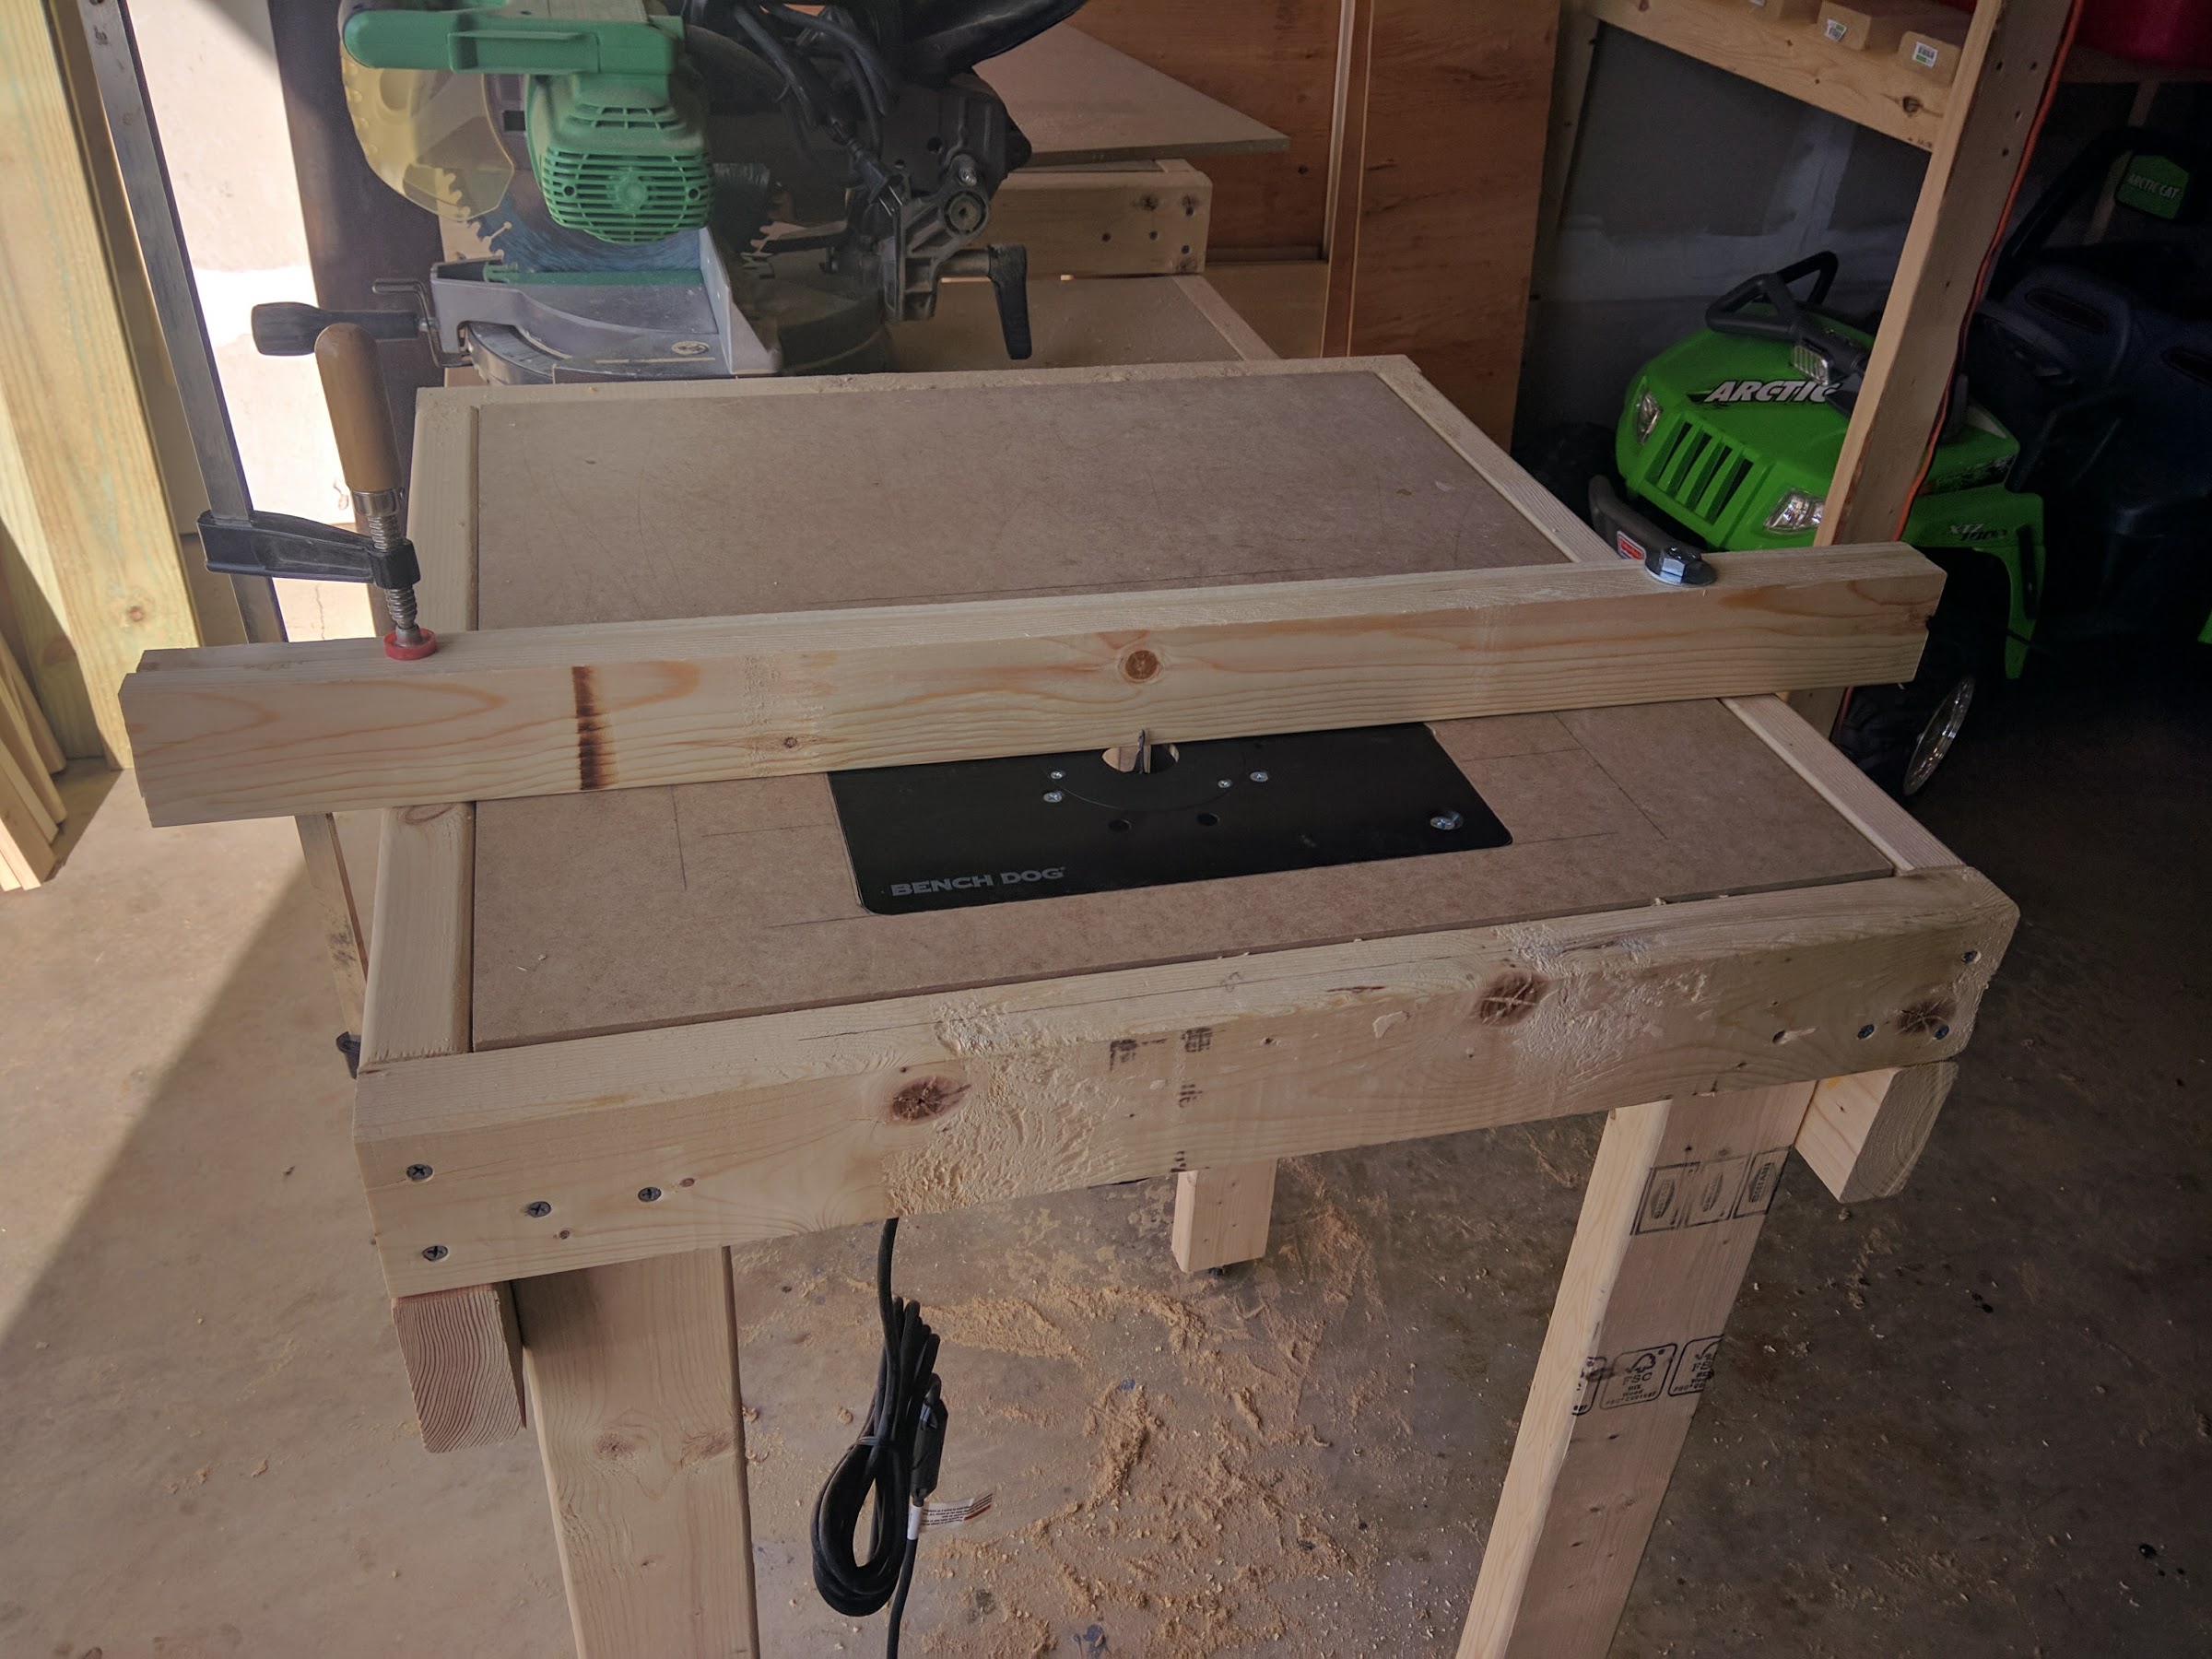
I just finished building my router table insert for my combined workbench. The process was fairly simple. I used a jigsaw to cut the insert hole, and then used a router to create an inset pocket on the top to hold the Bench Dog router plate. To make sure that it was flush, I used the plate to set the depth of the router bit before cutting it out. The fence is still on the way, and I will need to create a pocket for the router bit. I decided to go with extruded aluminum from 8020.net. I will stack two of them and bore a hole through them so that I can mount that to the table surface and pivot on the right side. This will allow me to secure it from the other side, then open and close the fence as needed for cuts.

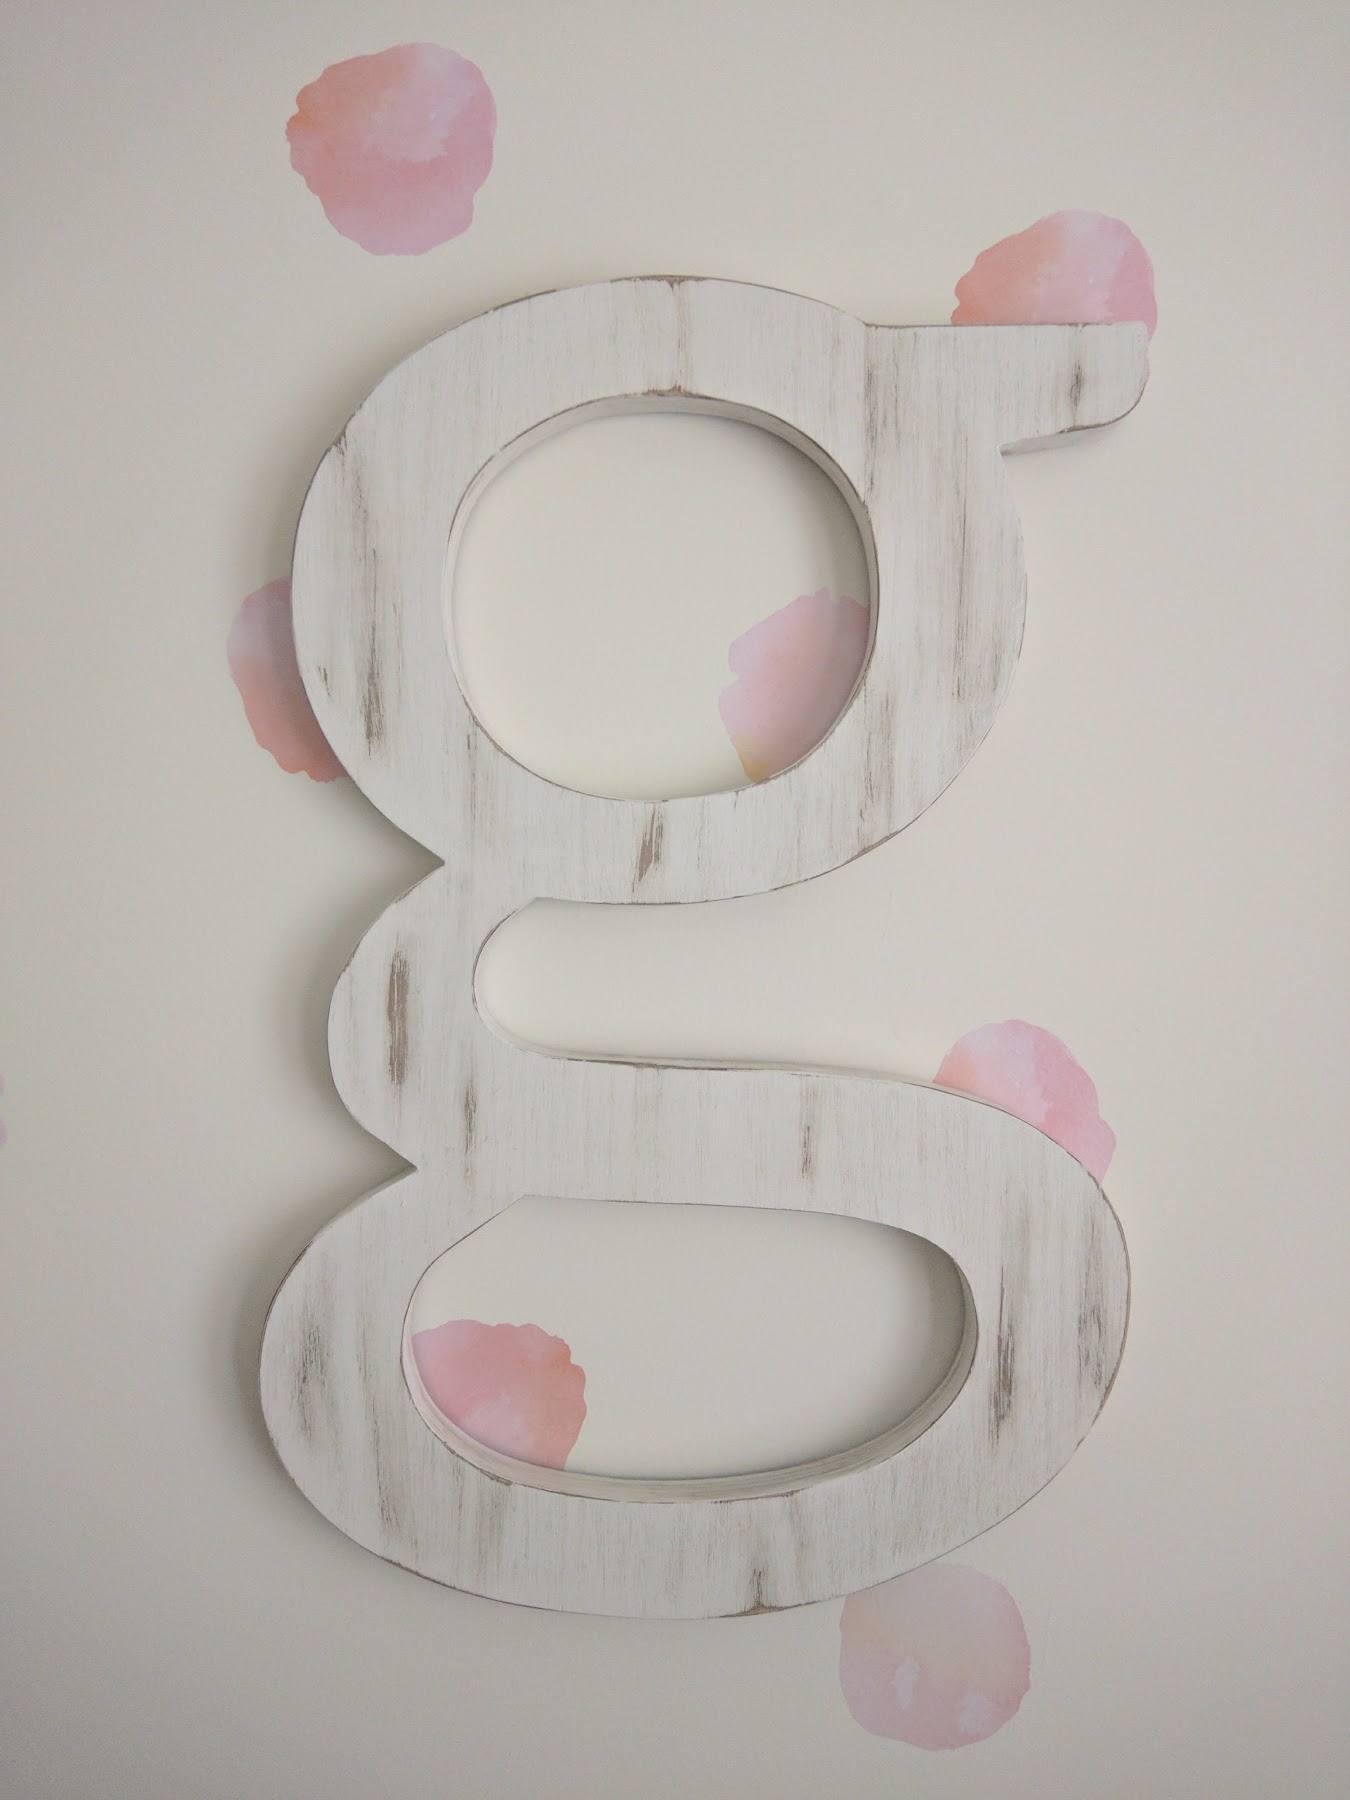
Custom Letter 'G' on CNC

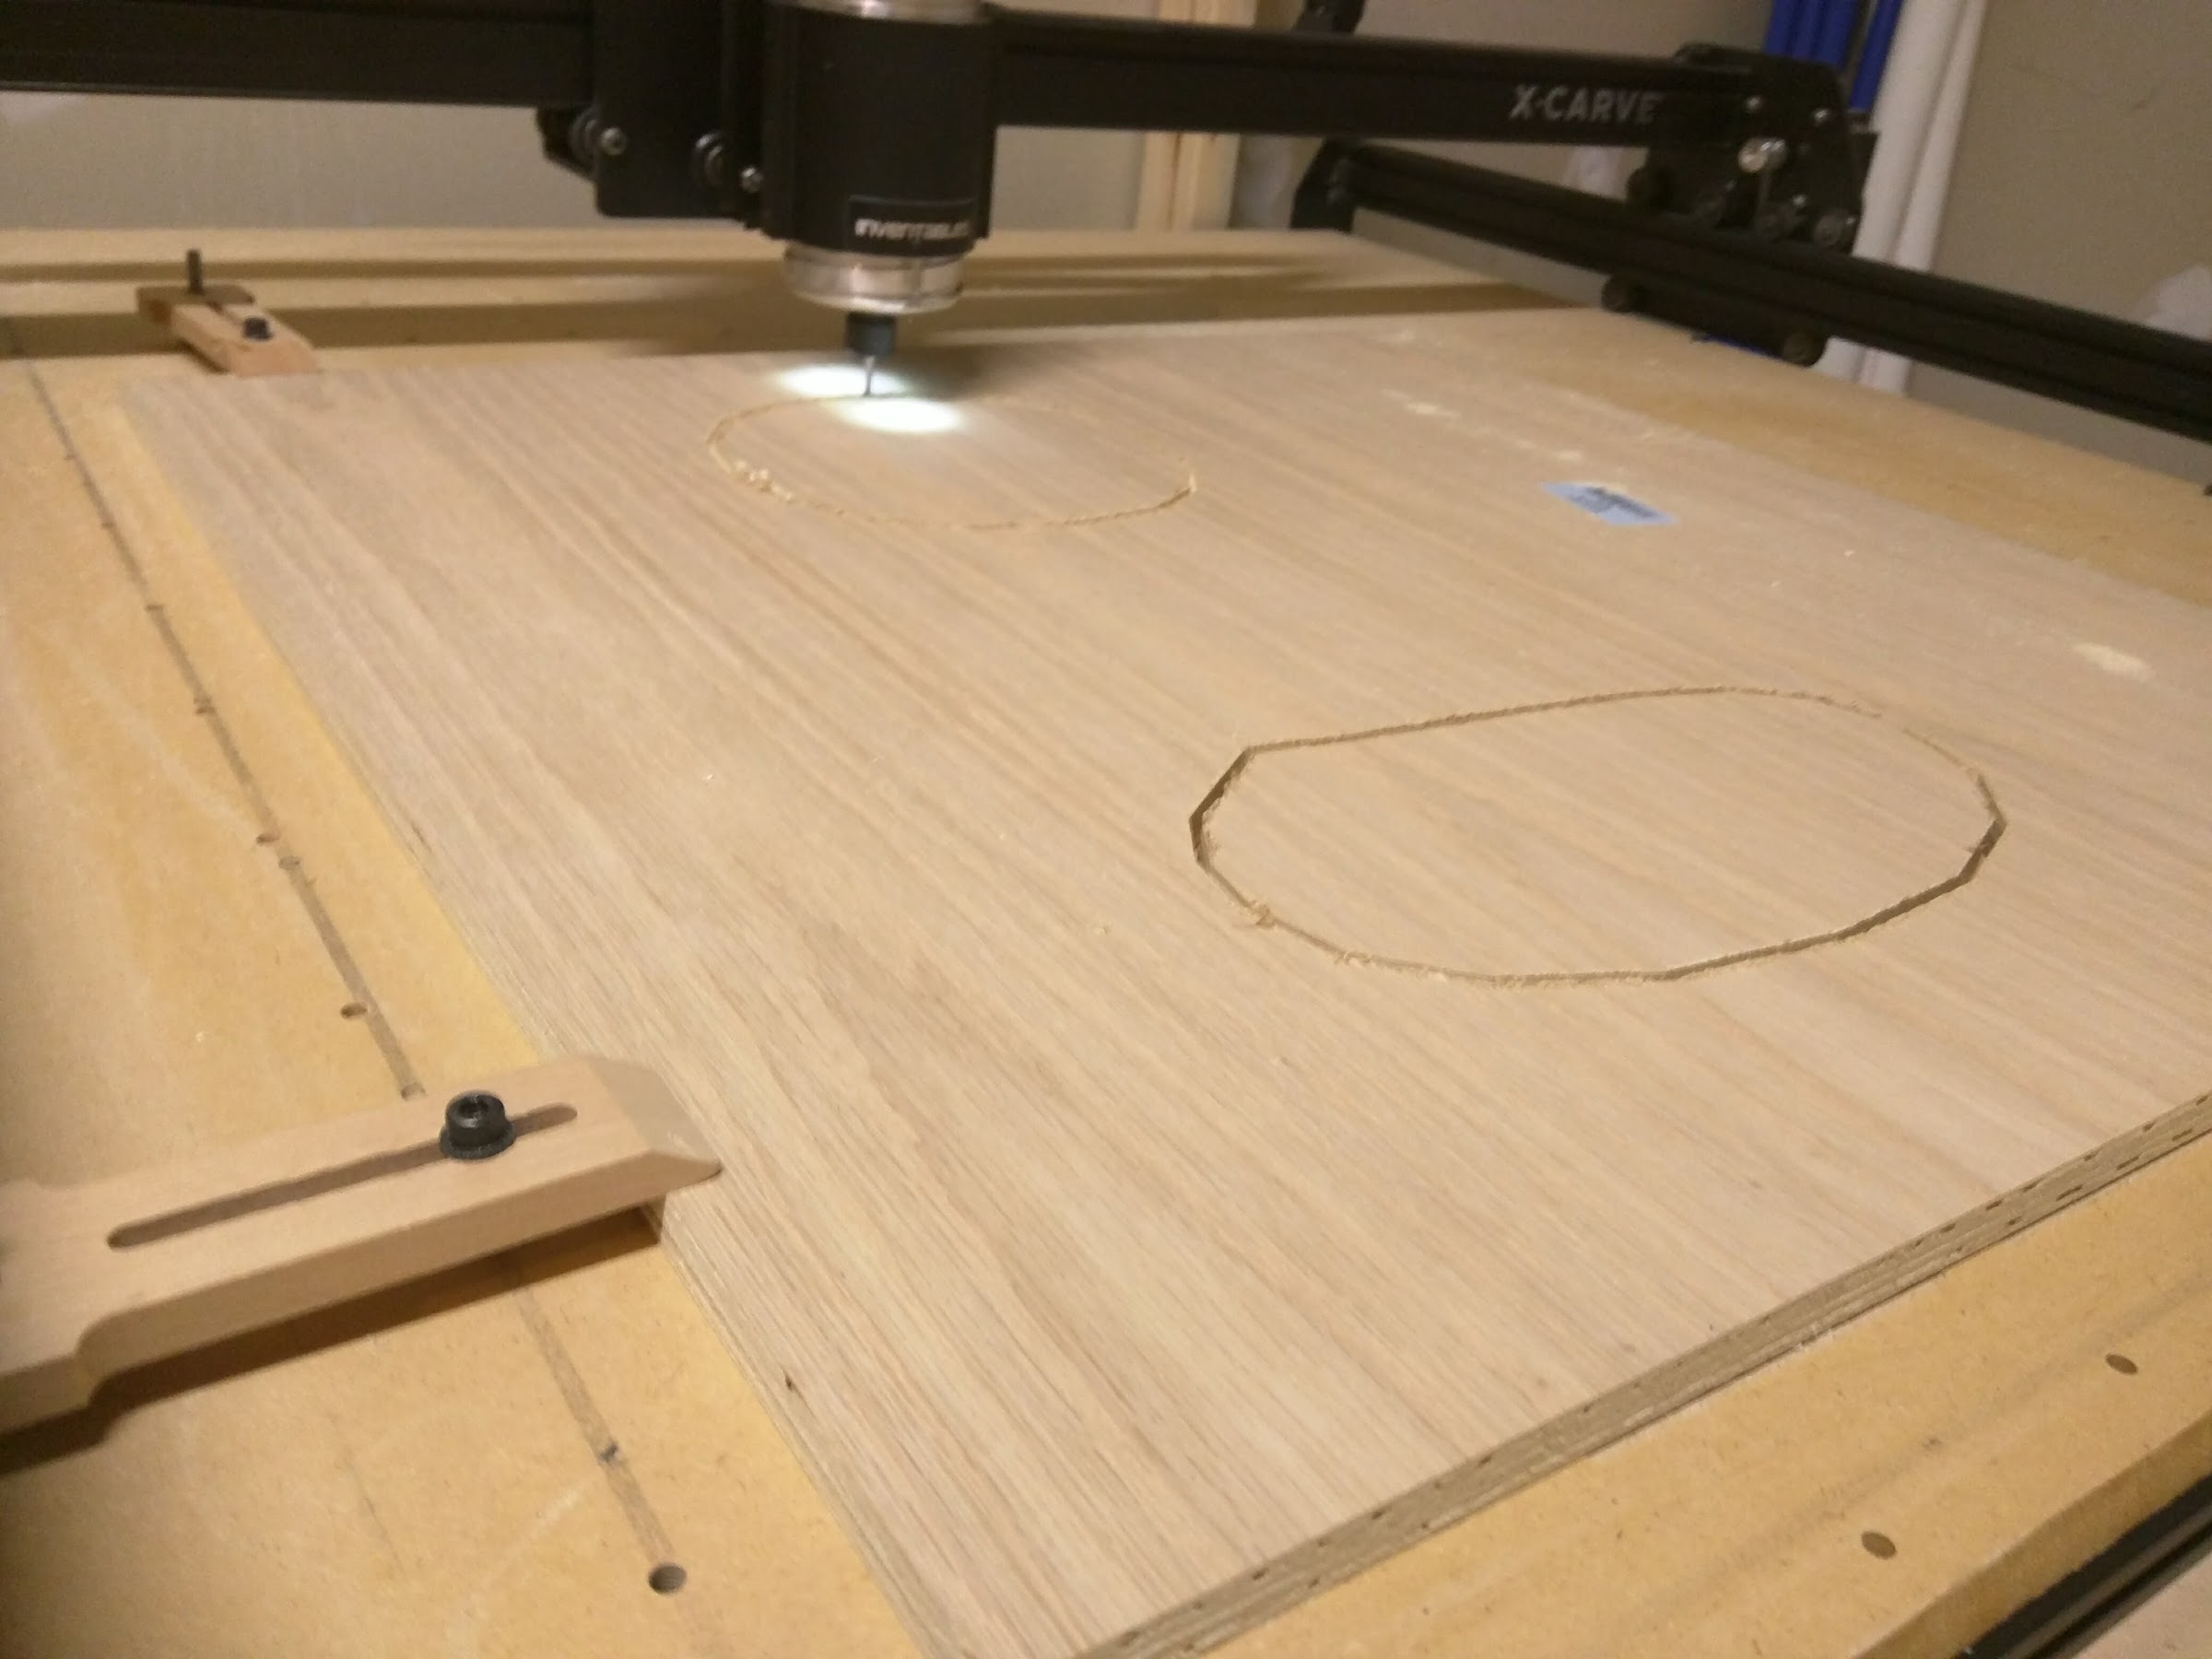
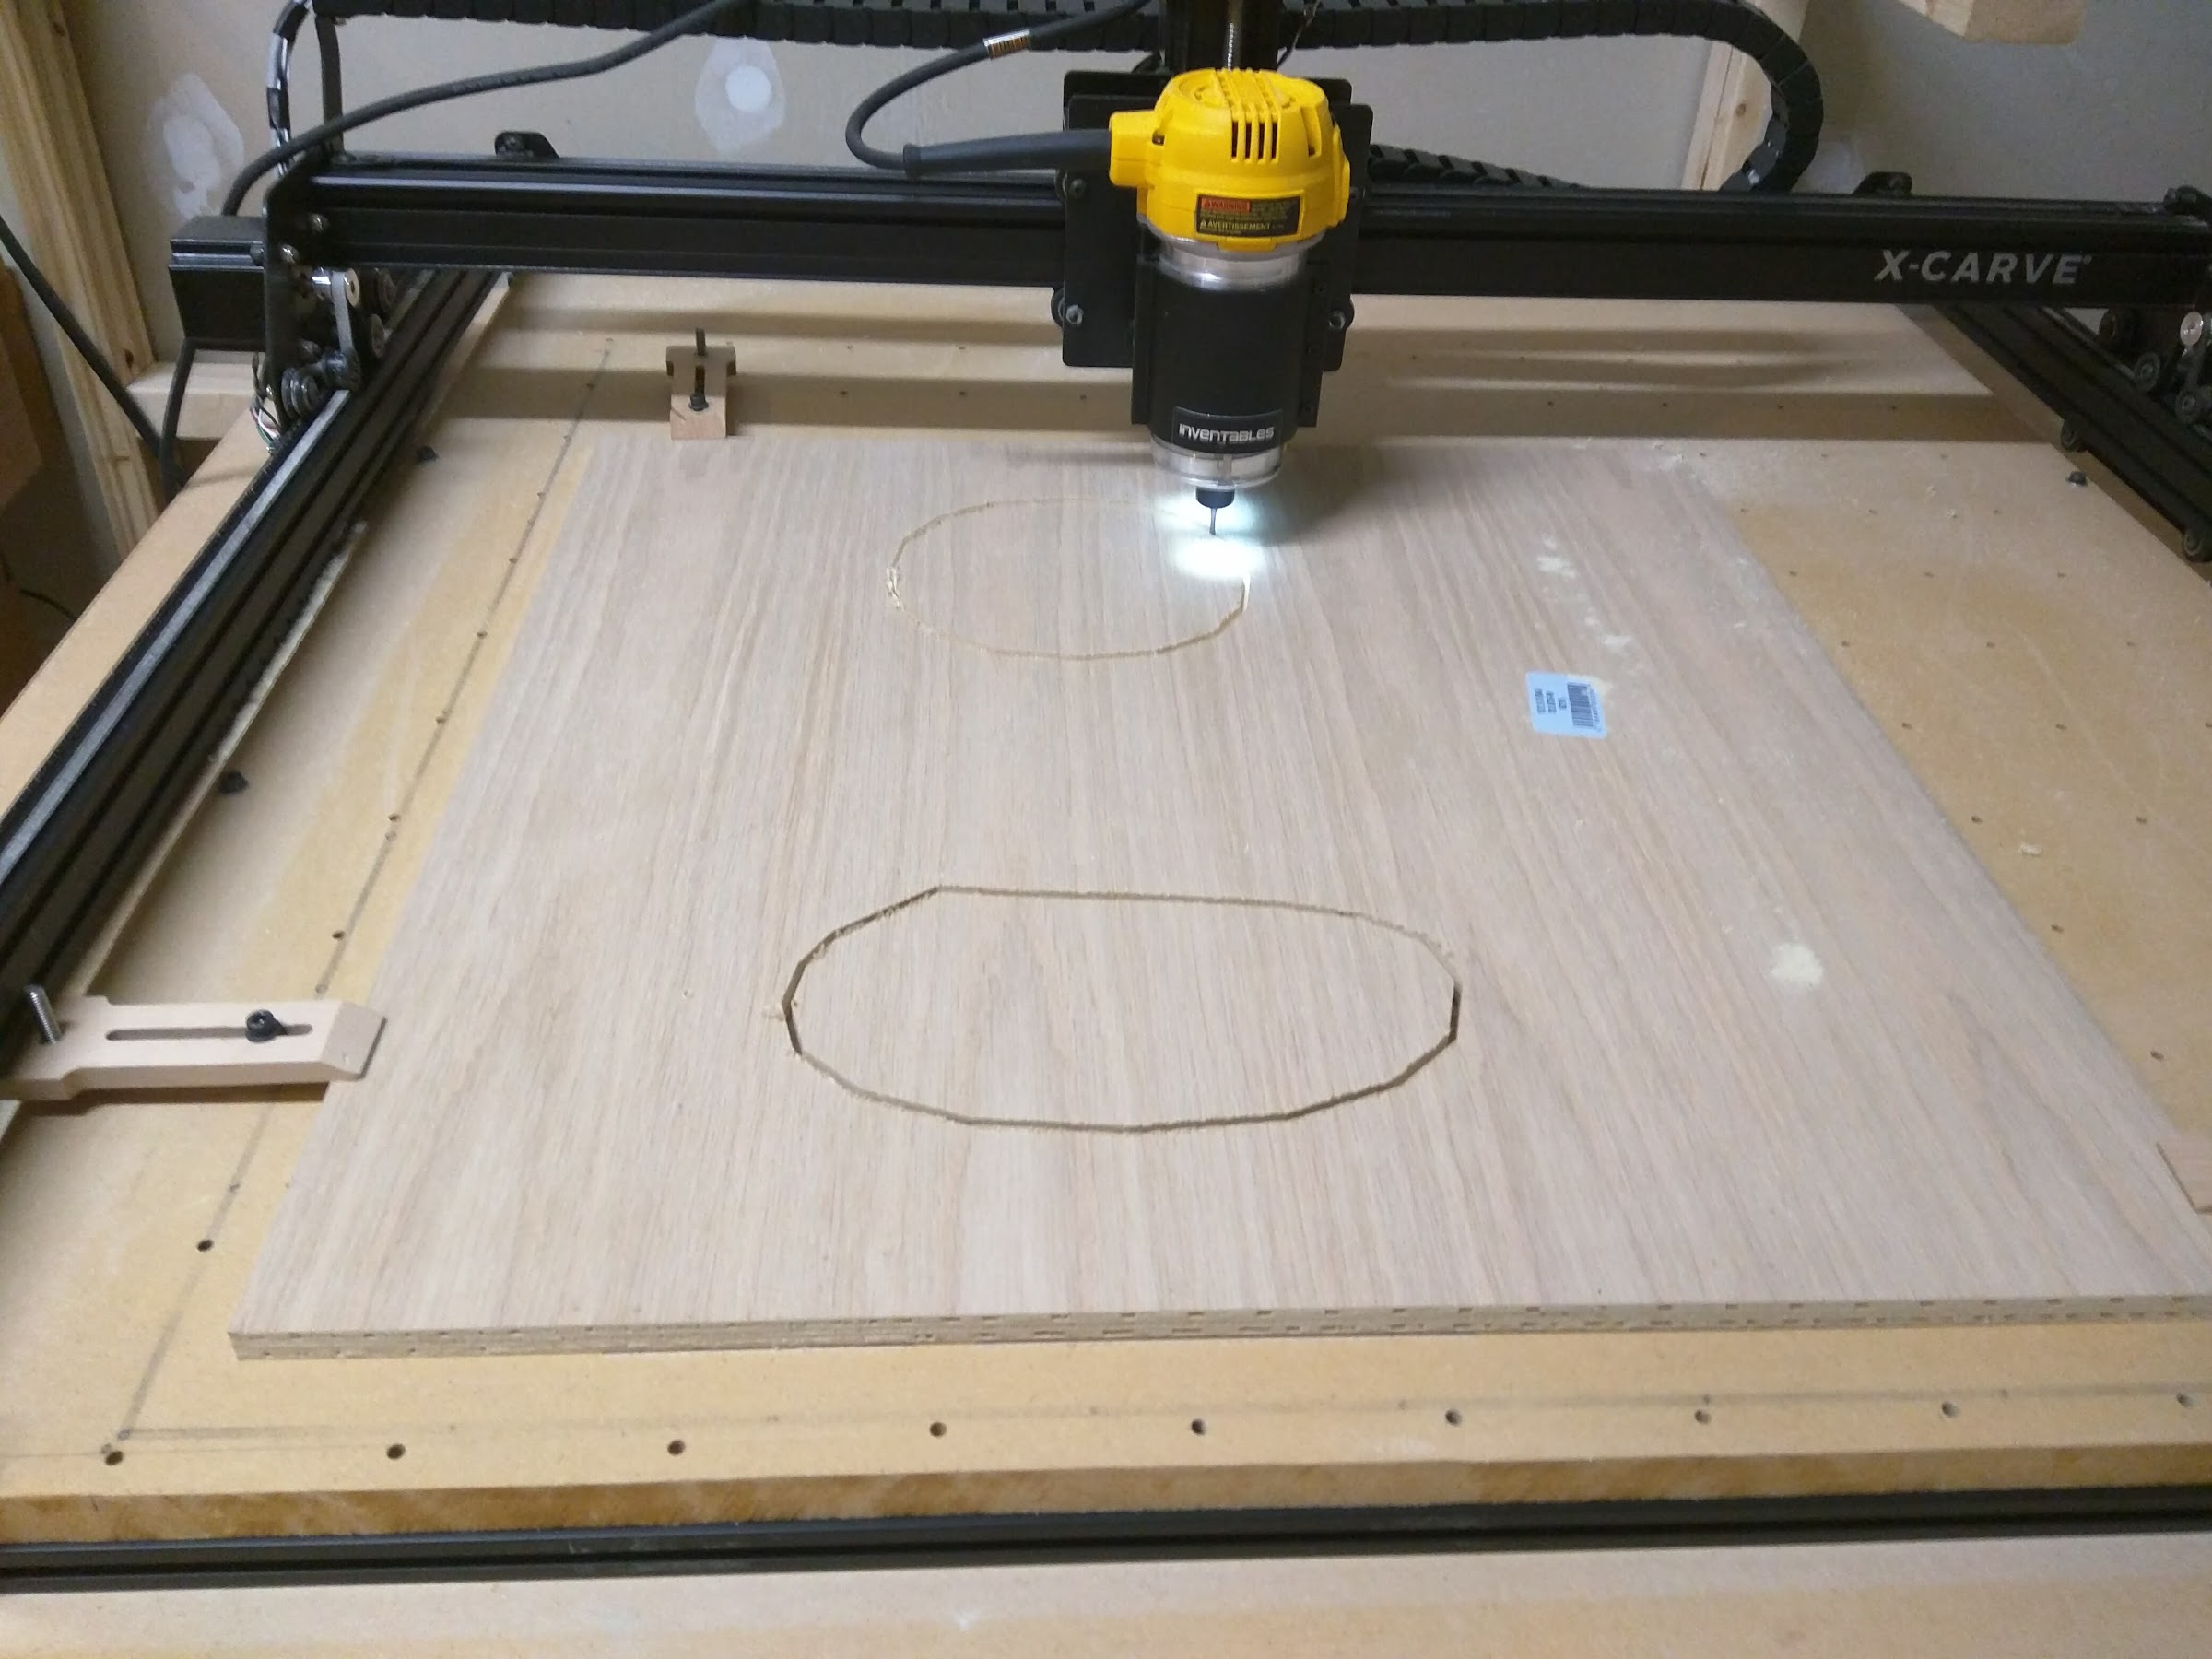
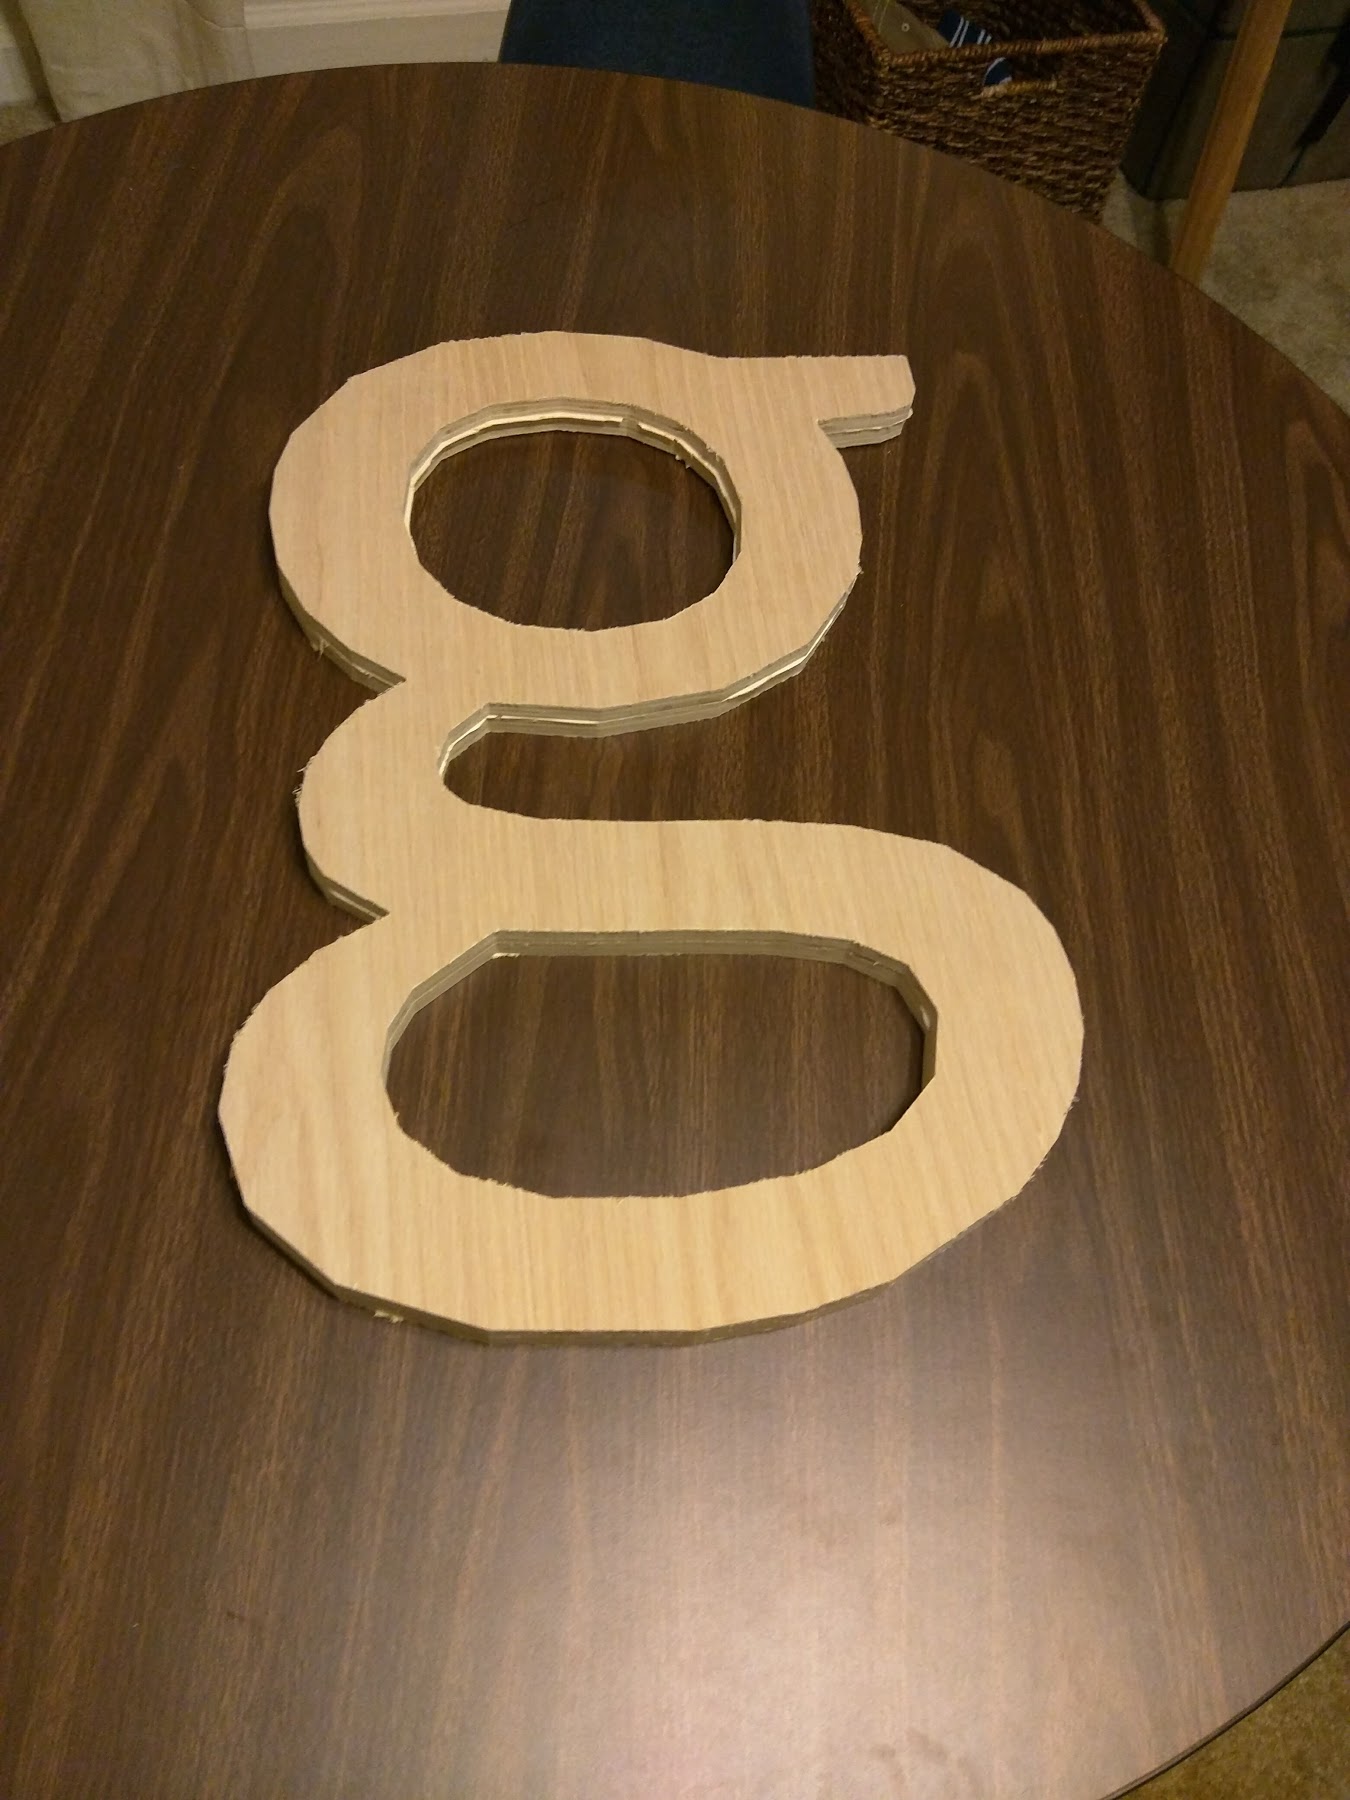
Here is another project that was cut on the CNC table. This was two pieces of plywood, glued together and cut. Once completed, the edges were smoothed, then it was painted and hung.

The final product looks better than that last image.

One Sign

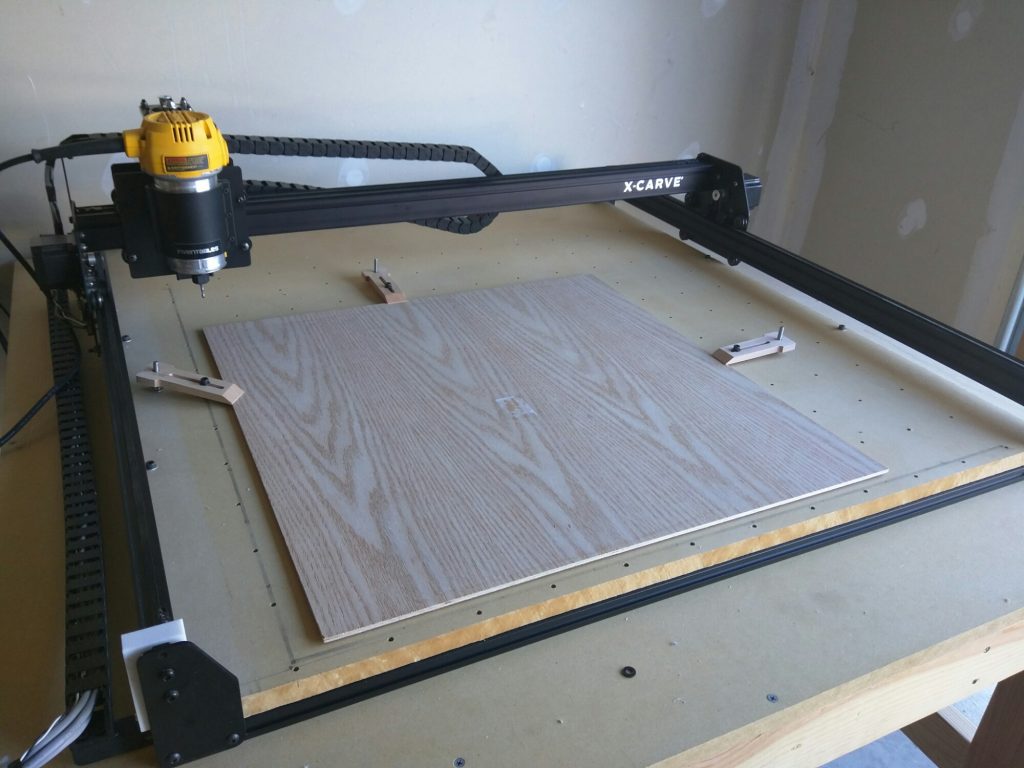
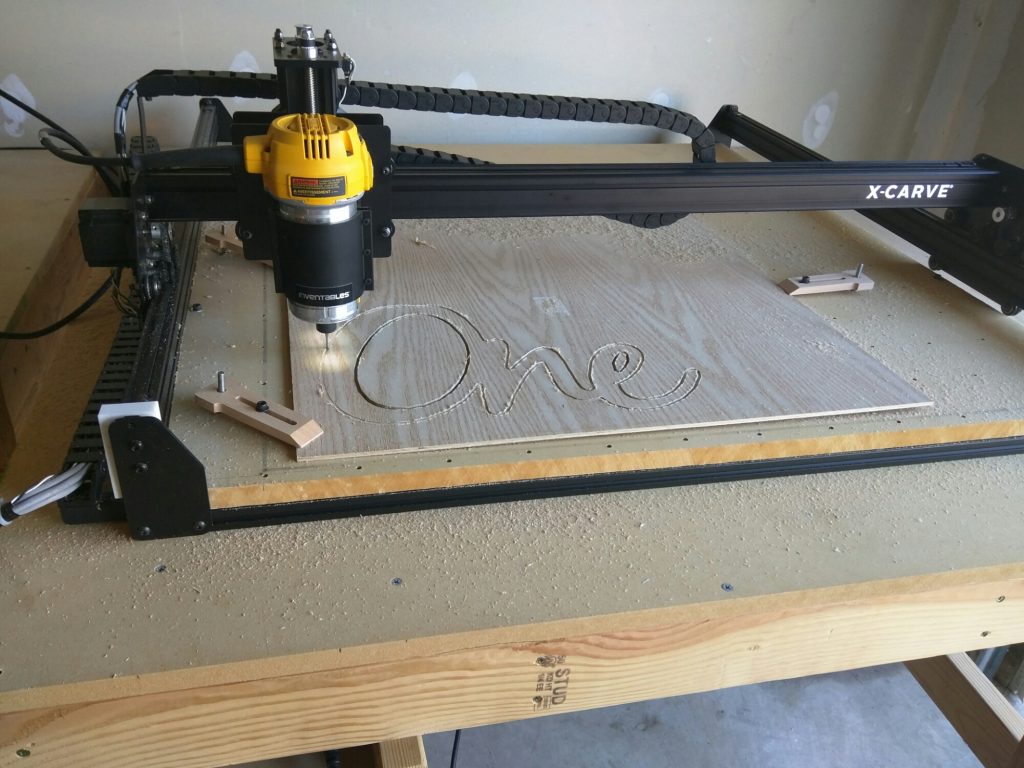
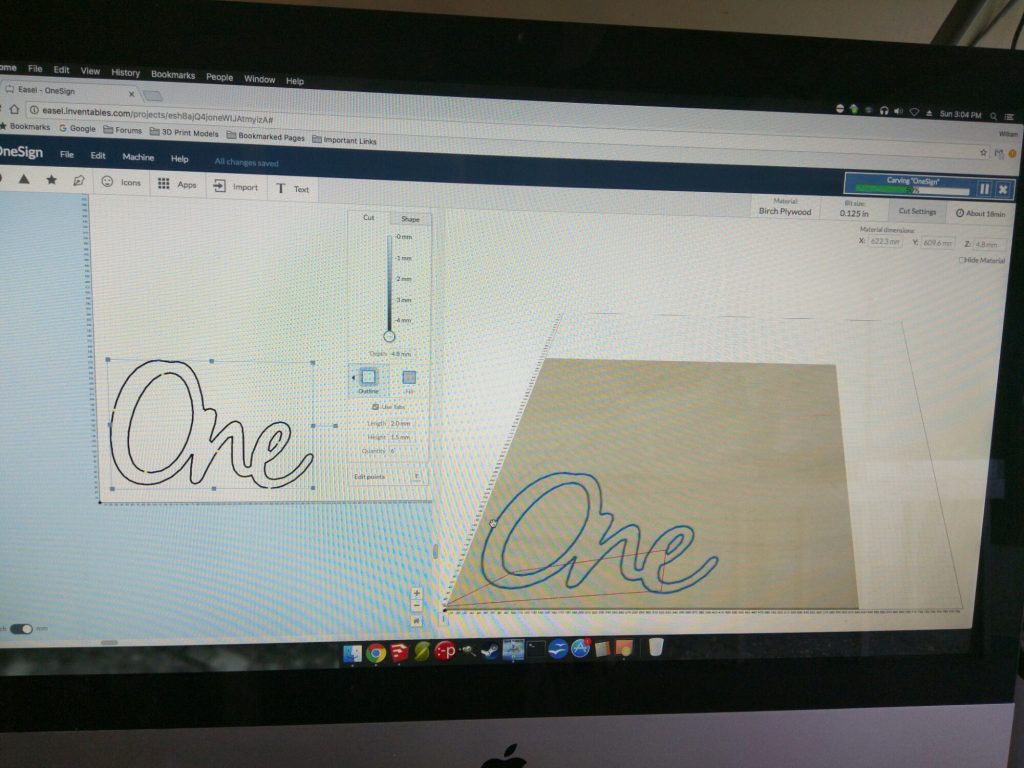
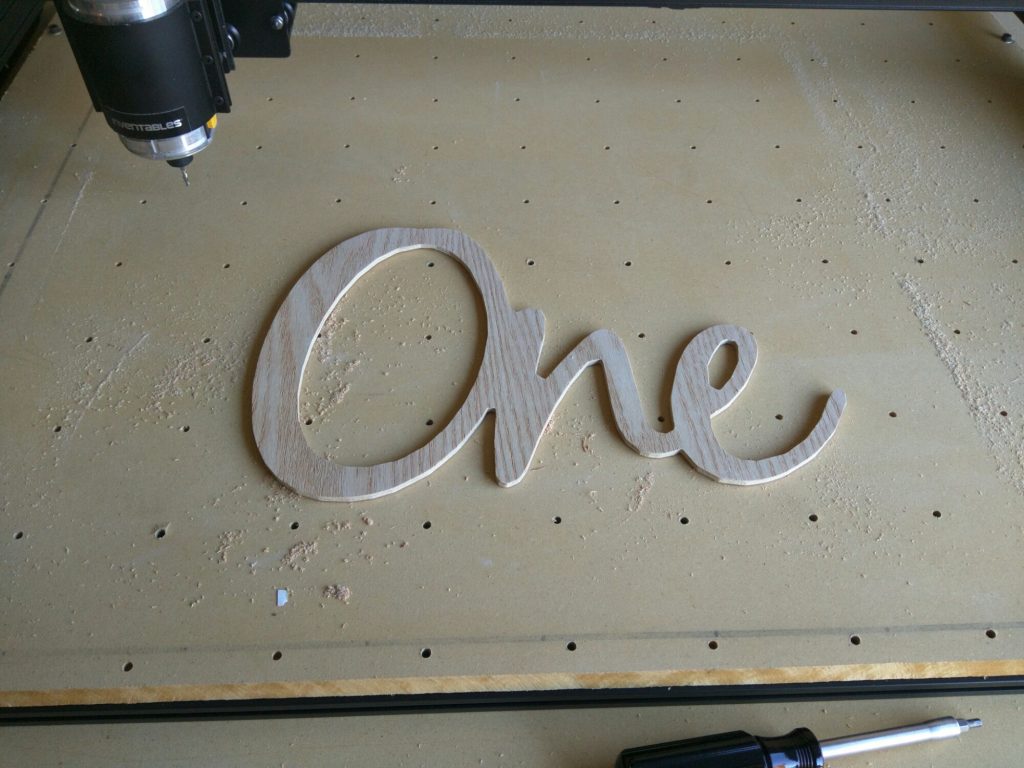
Finally knocked the dust off of the CNC table and started working again. One of my first projects was to create a simple sign for my daughter’s upcoming birthday. Here is the “One” sign result.