Custom Telescope
Starting this telescope project has been one of the most complex projects I've ever taken on. There are a lot of intricate and detailed procedures that will have an impact on building a telescope, and I think one of the biggest problems I am facing right now is understanding all of the terminology and the importance of all of these different components.
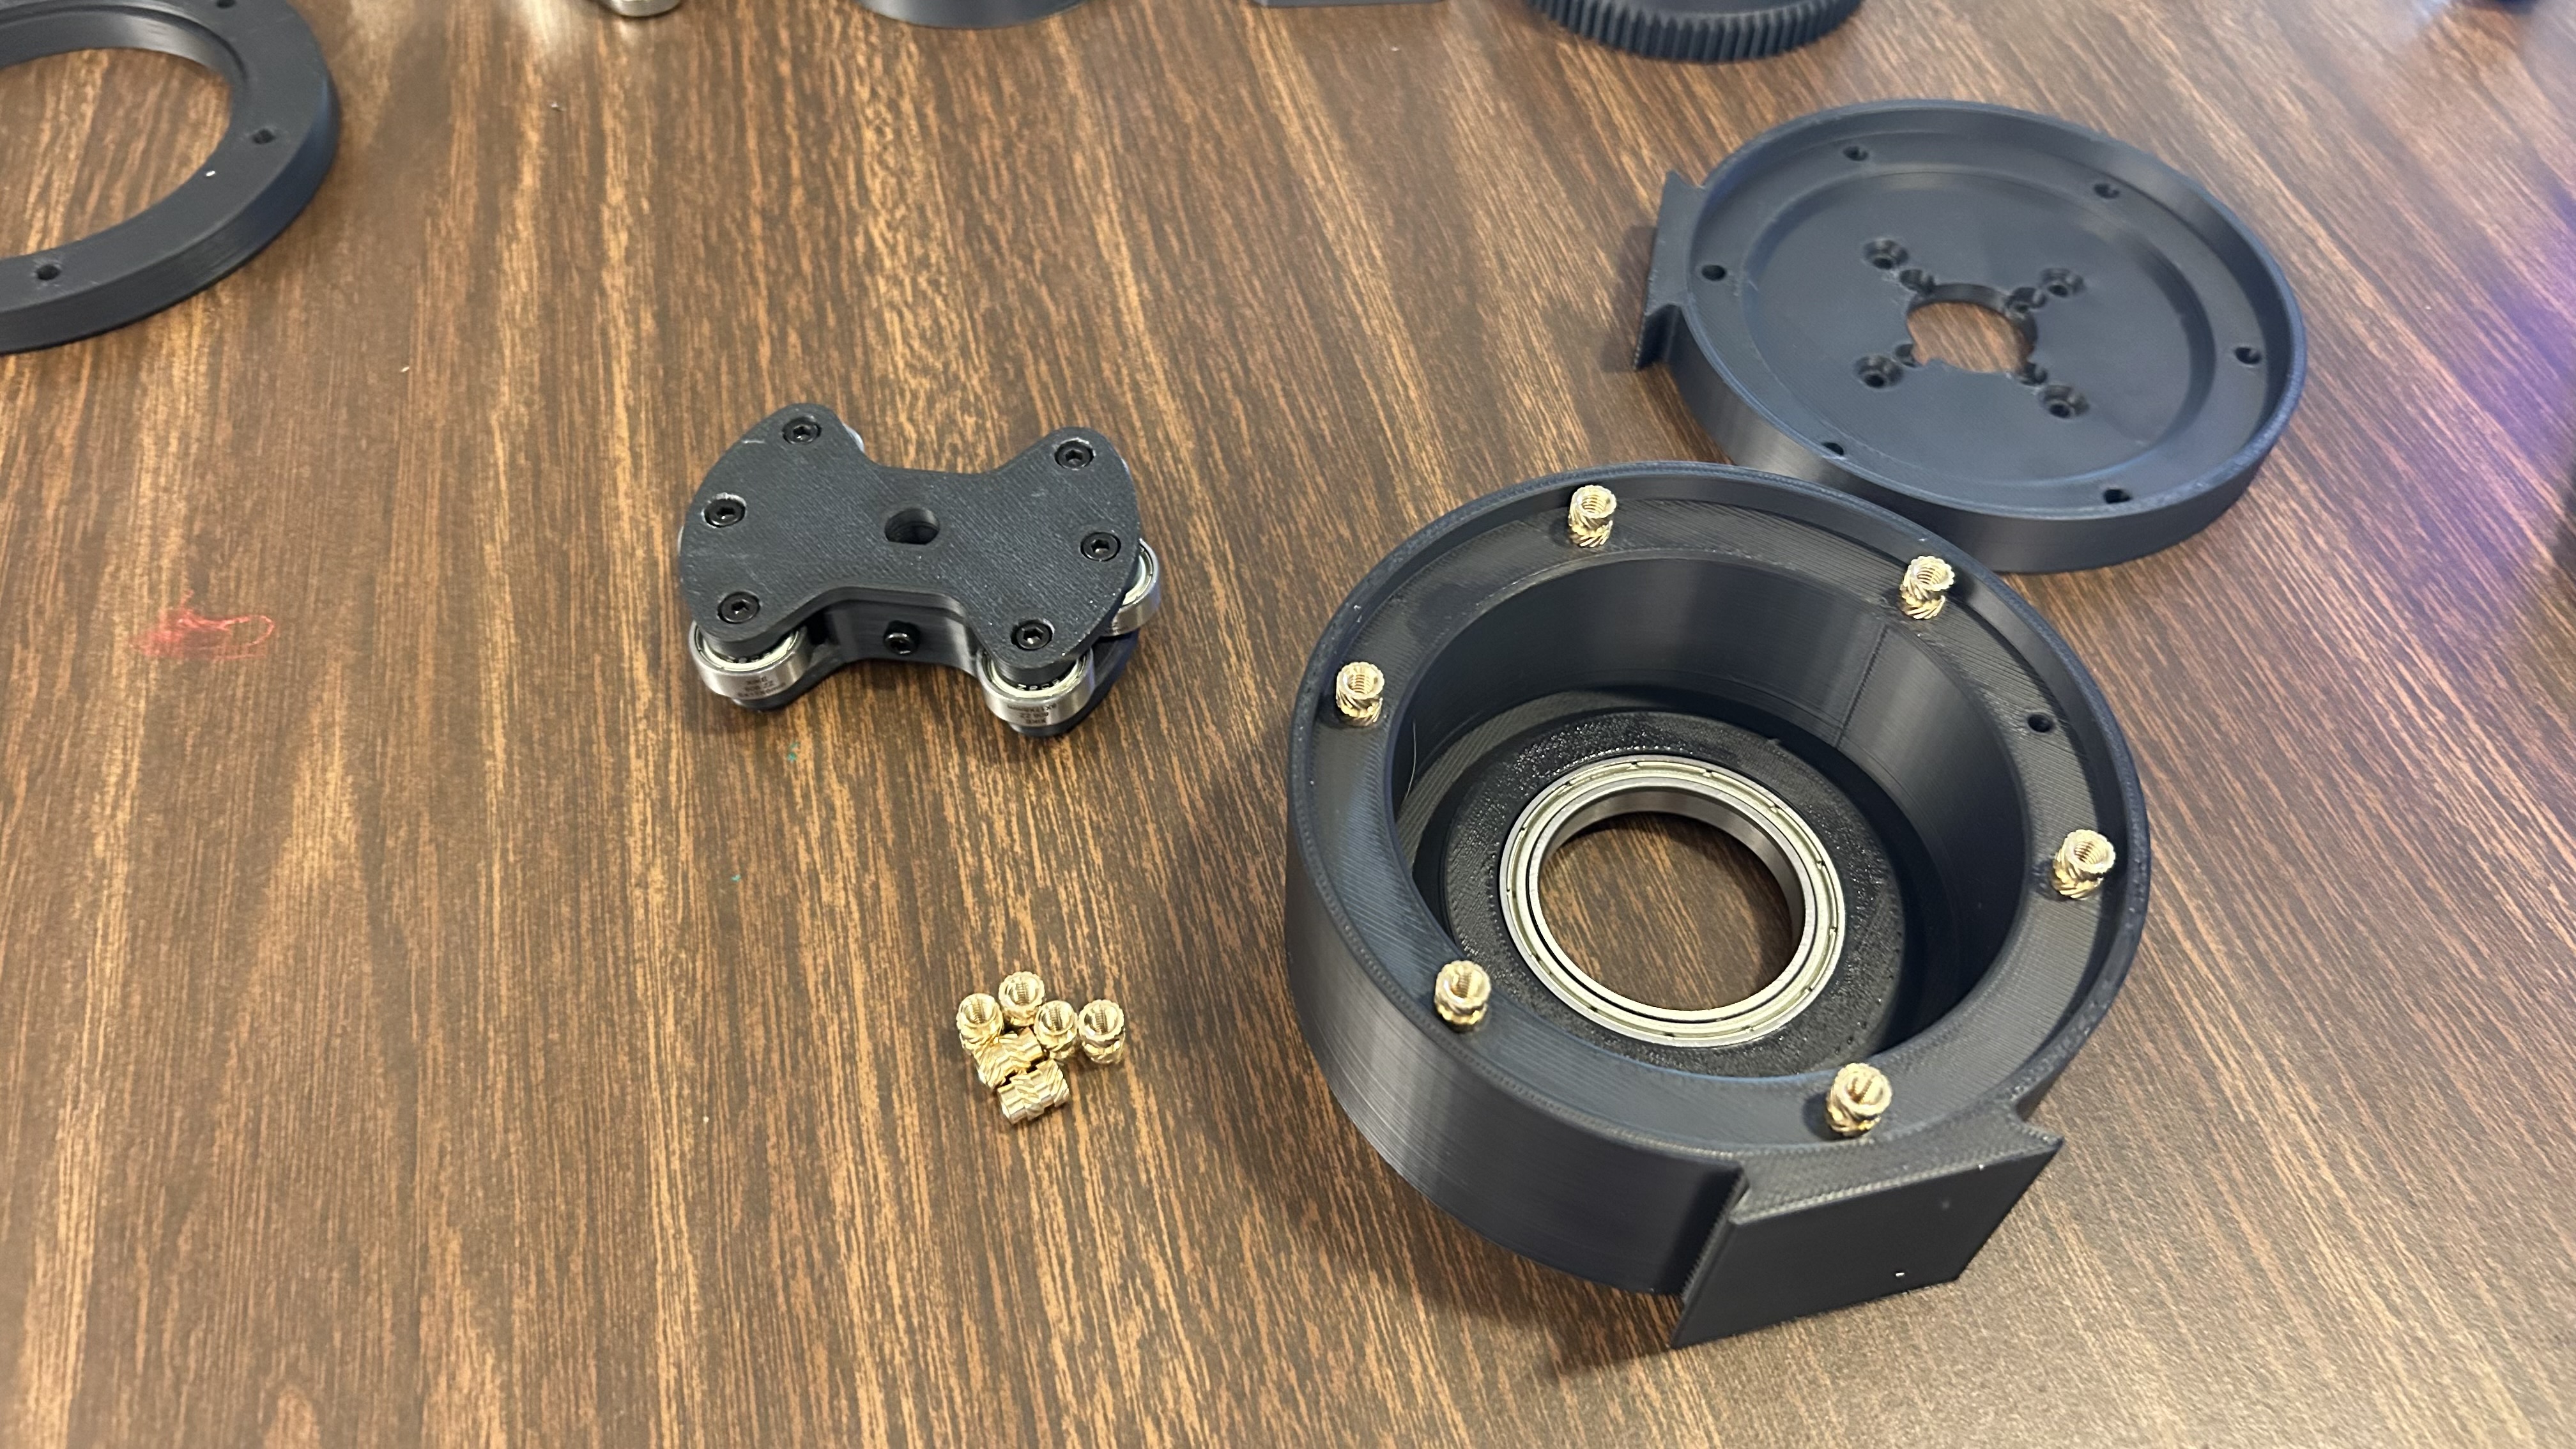
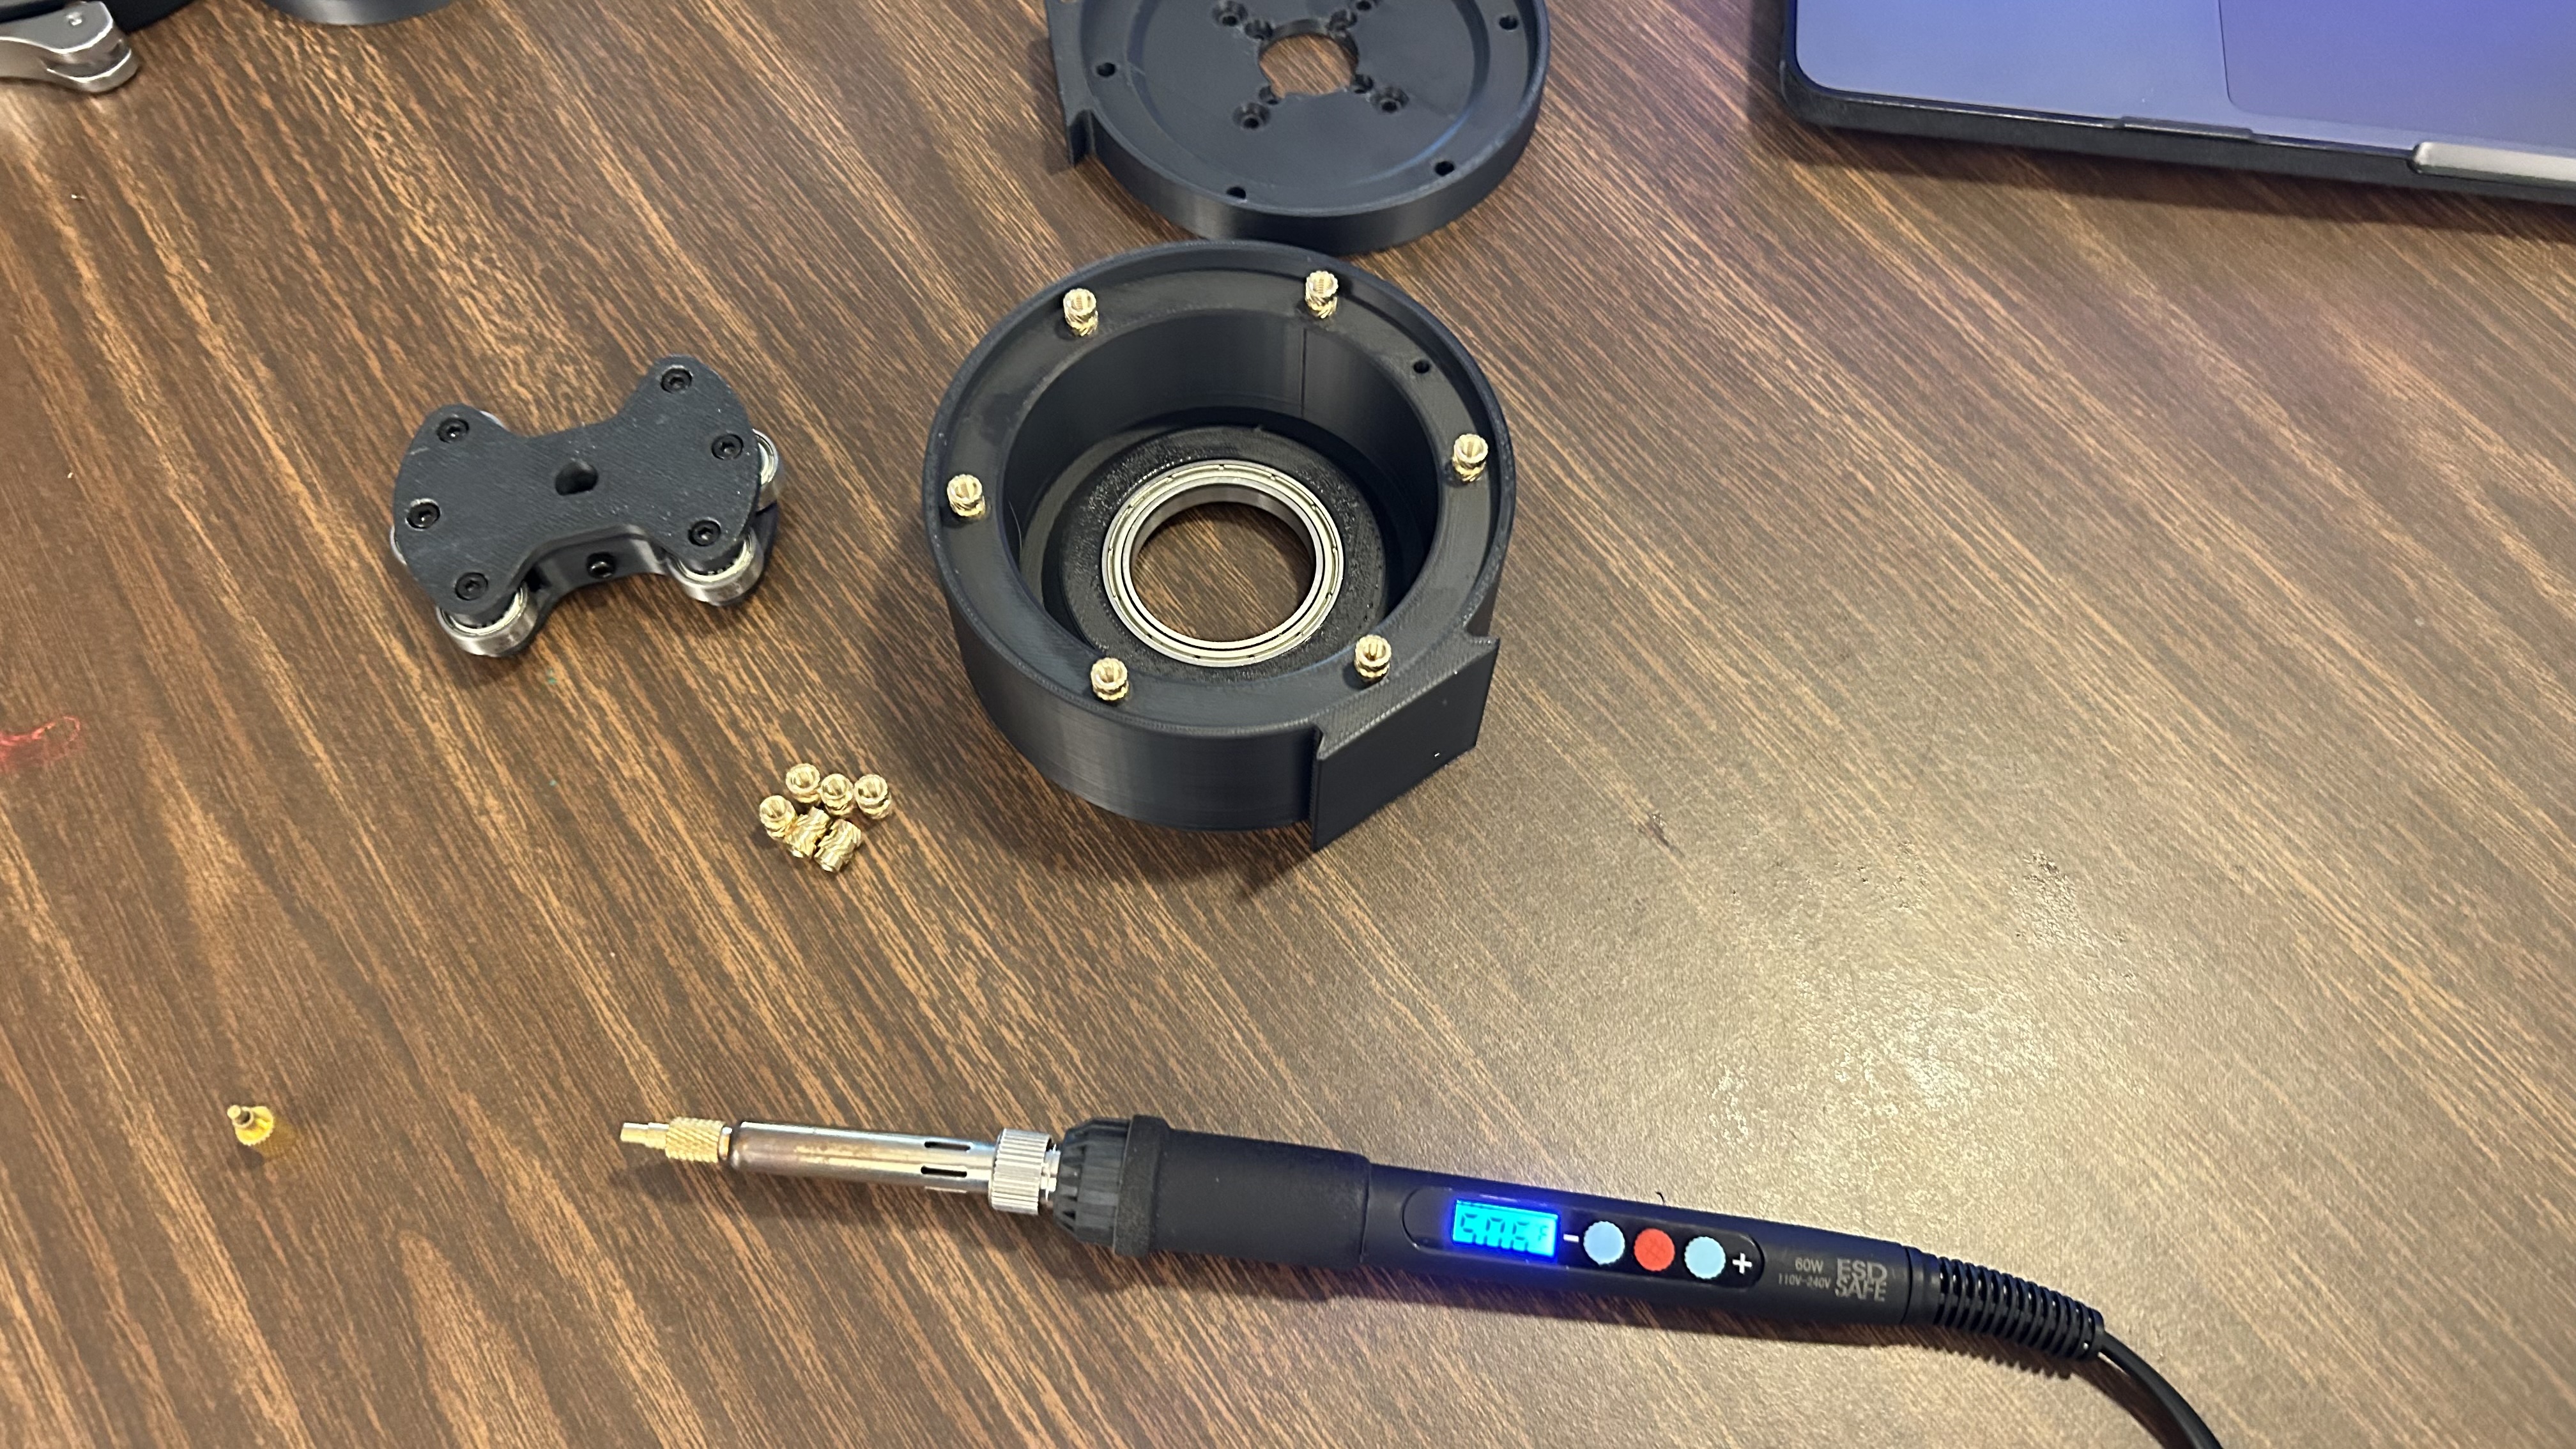
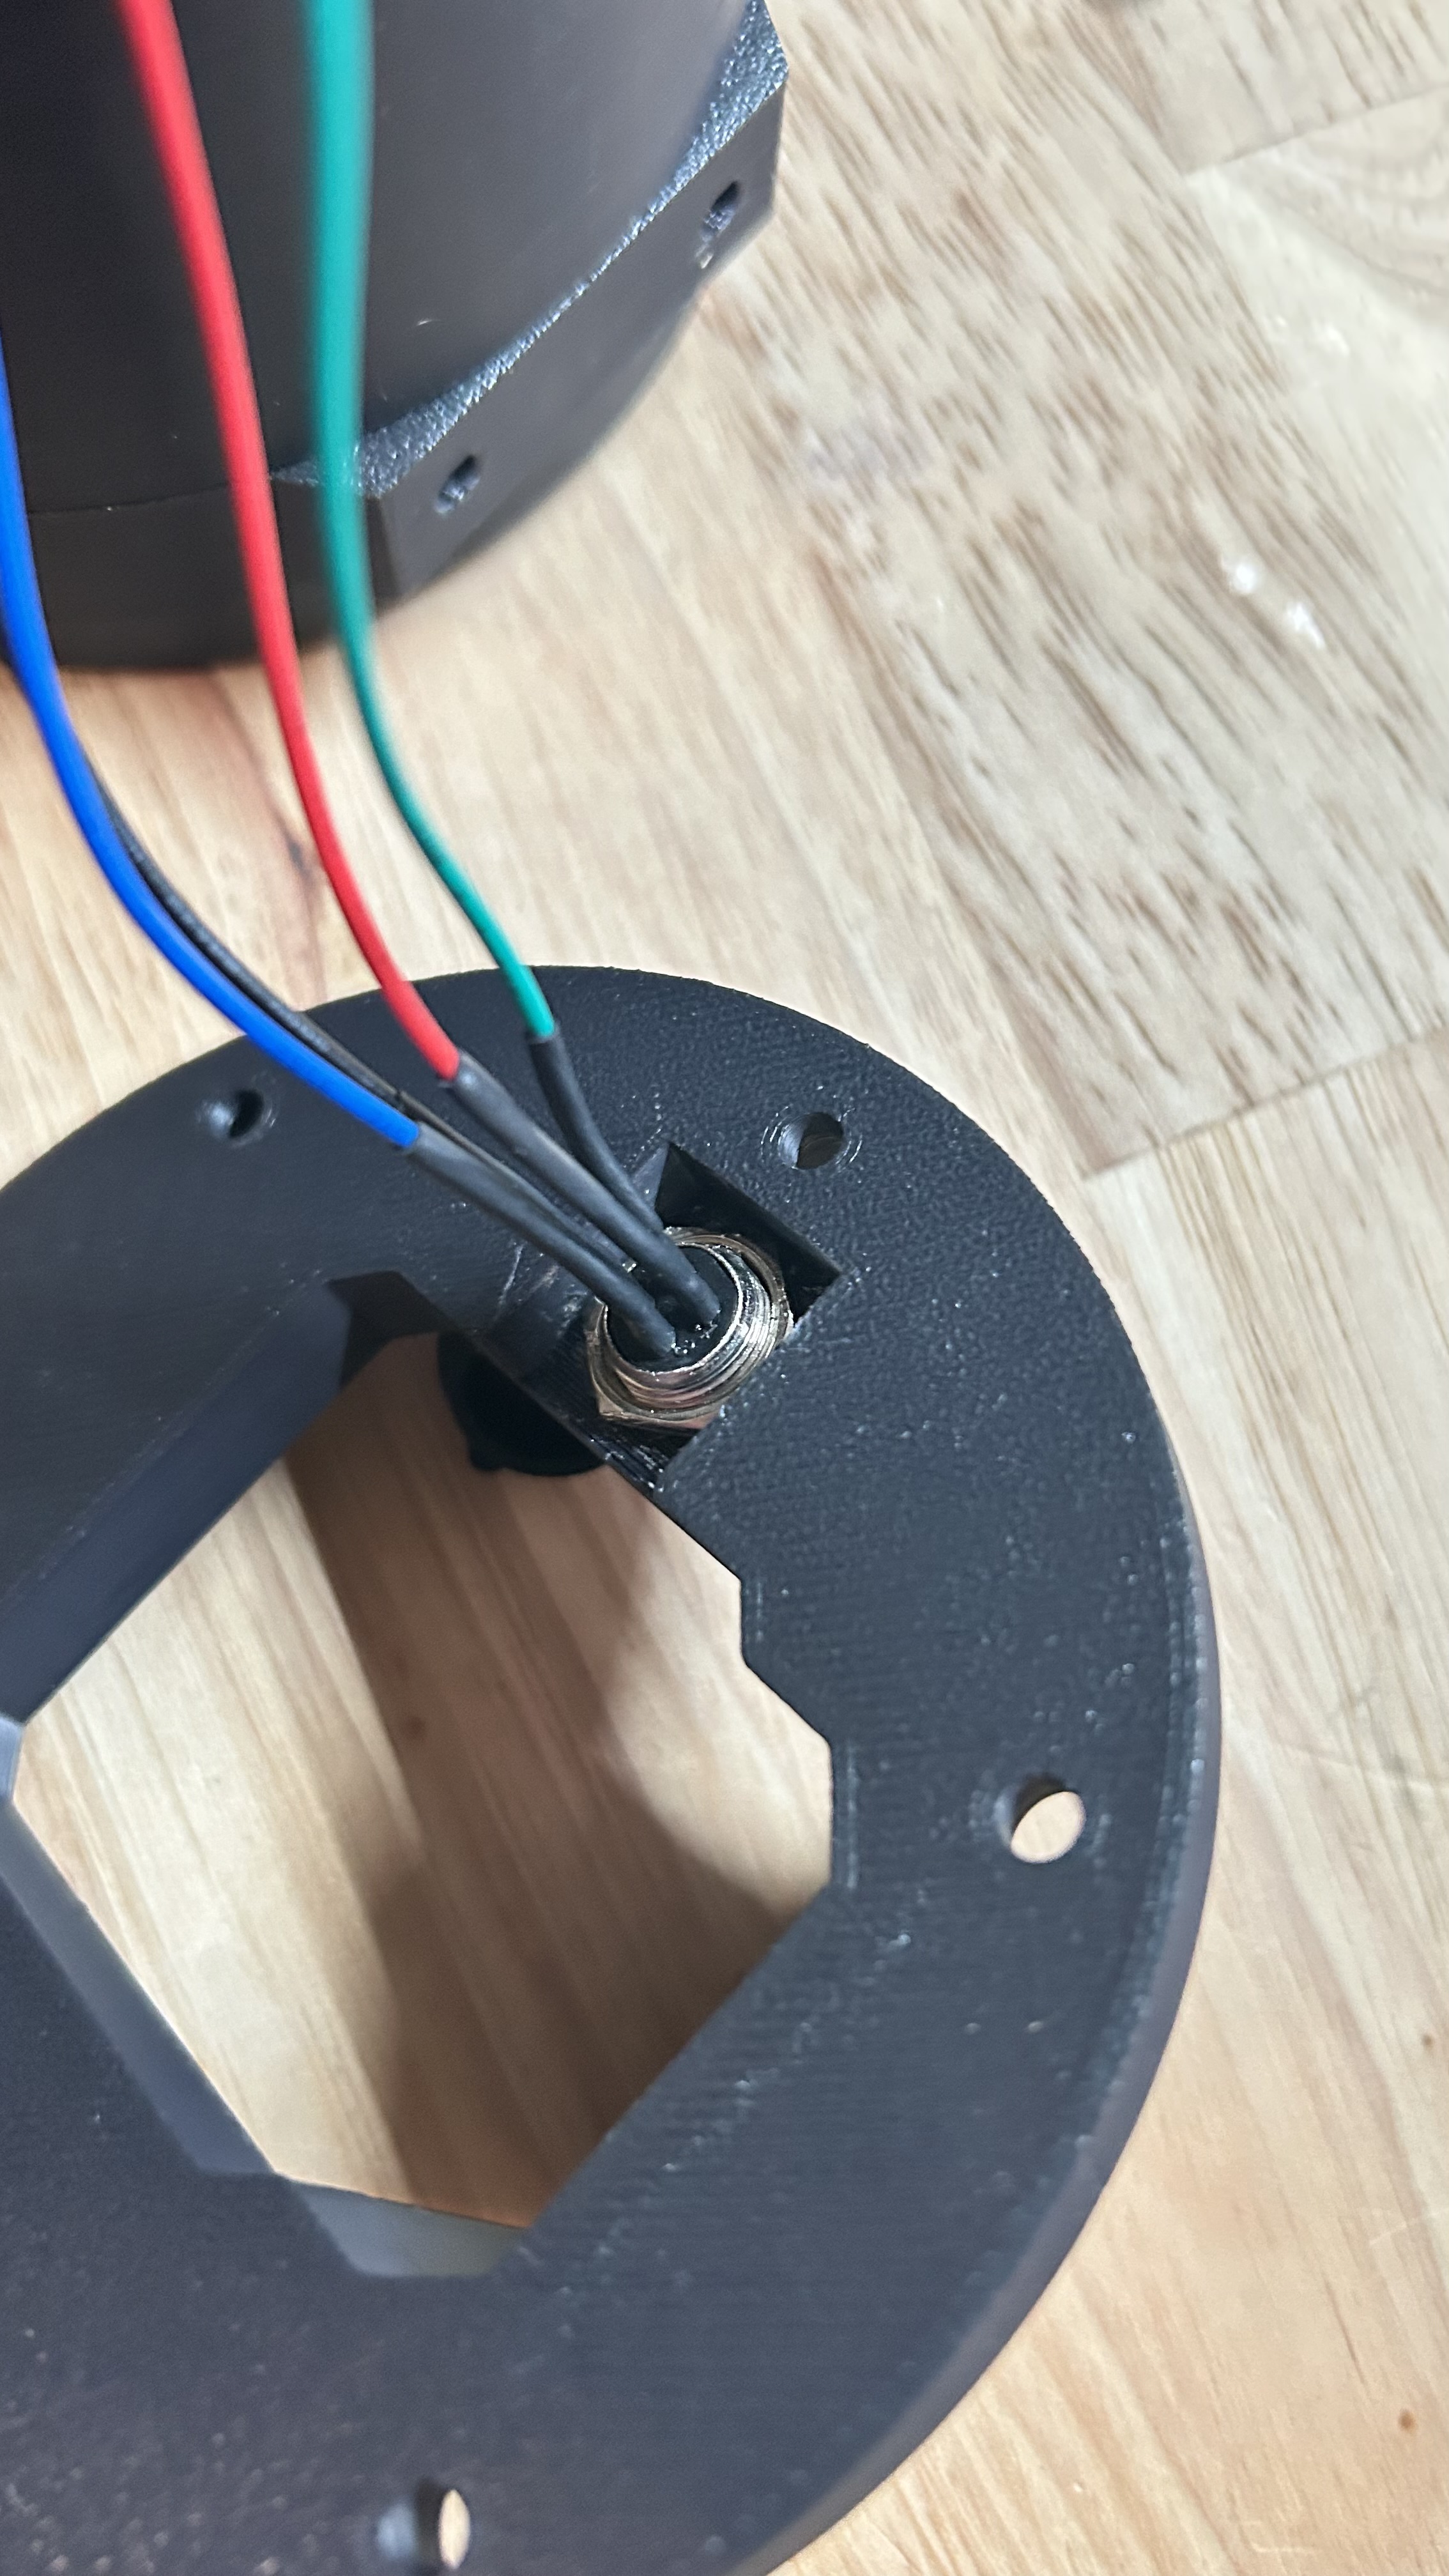
With that said, I usually dive in and begin somewhere, so I started with constructing the motors that will drive the telescope. I performed minimal research on which was the best, but based on what I could see from online vendors, successful industry units, and the concepts of stability, accuracy, and longevity; I decided to go with the Keen-One harmonic drives. These drives required significant 3D printing and the incorporation of some bearings, bolts, and arca-style clamps.
The most important component was the compatibility with OnStep. Since I decided to use the OnStep firmware, I needed something that I could use that other people have already tested and have proven successful.
Keen-One Harmonic Motor Drives
If you don't know about these drives; harmonic drives are excellent because they offer zero backlash (lost motion), high precision, high torque in a compact size, and high gear reduction in a single stage, making them ideal for precise applications where accuracy and reliability are critical.
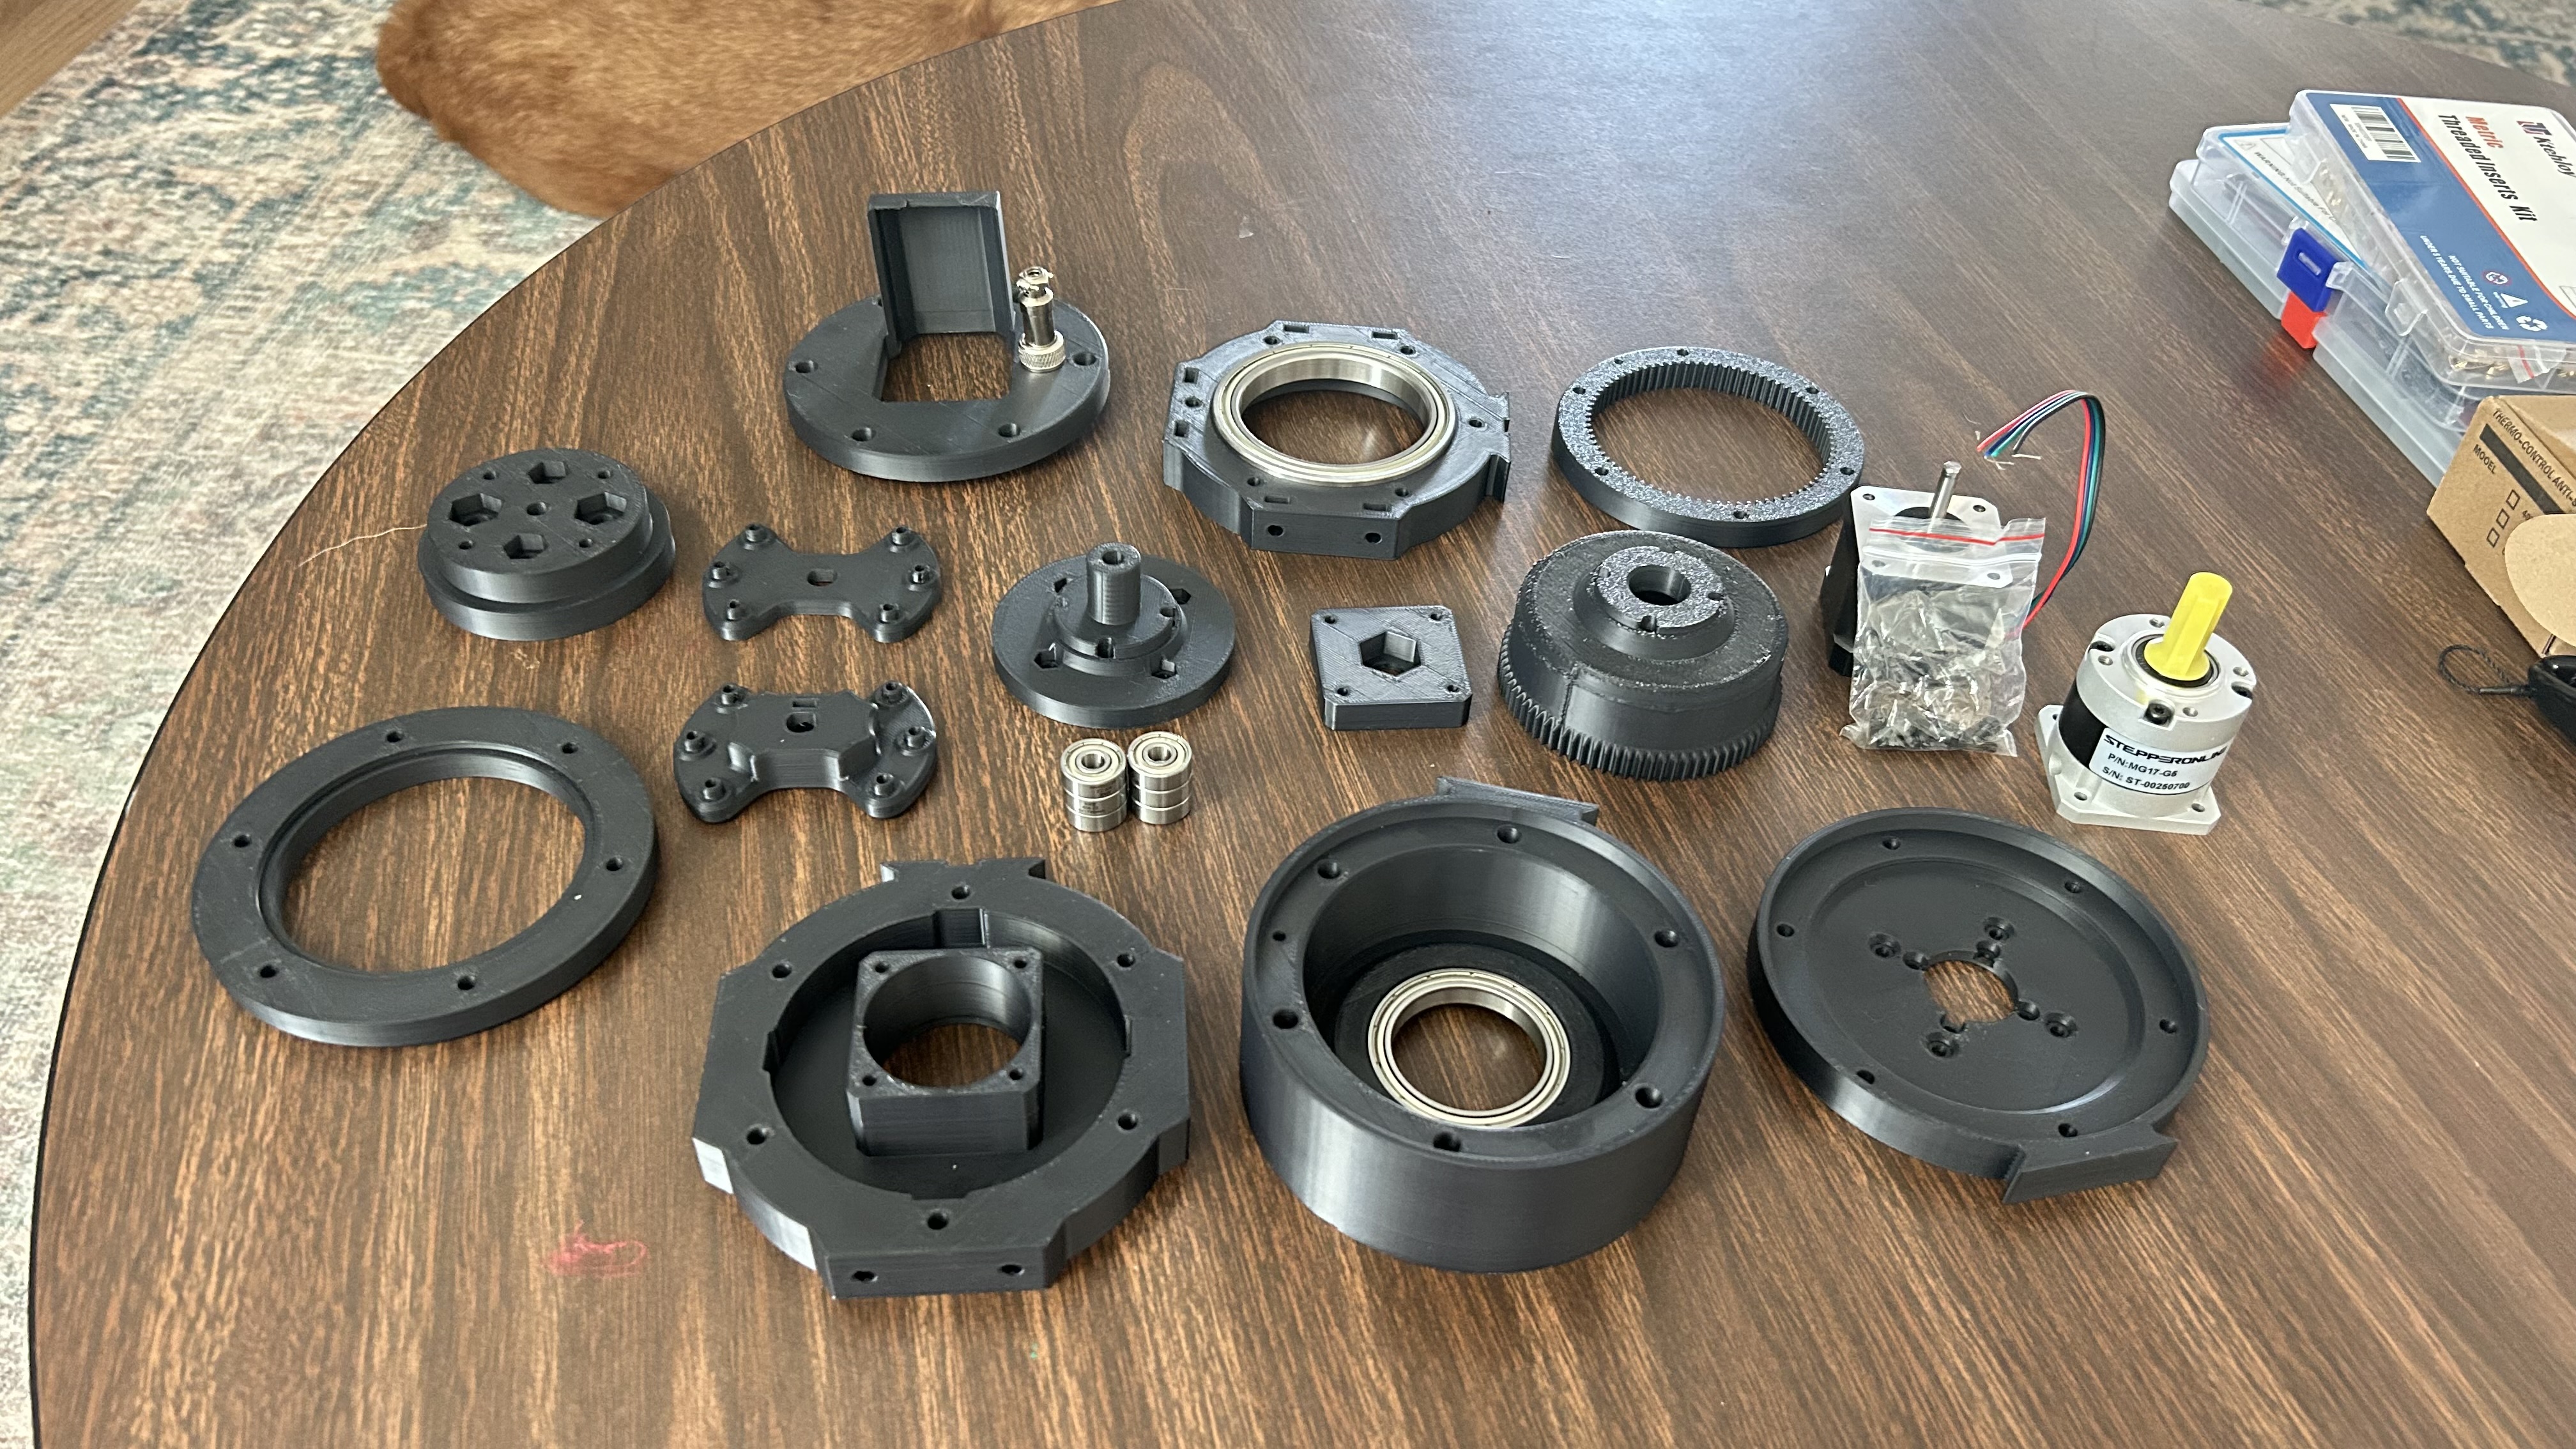
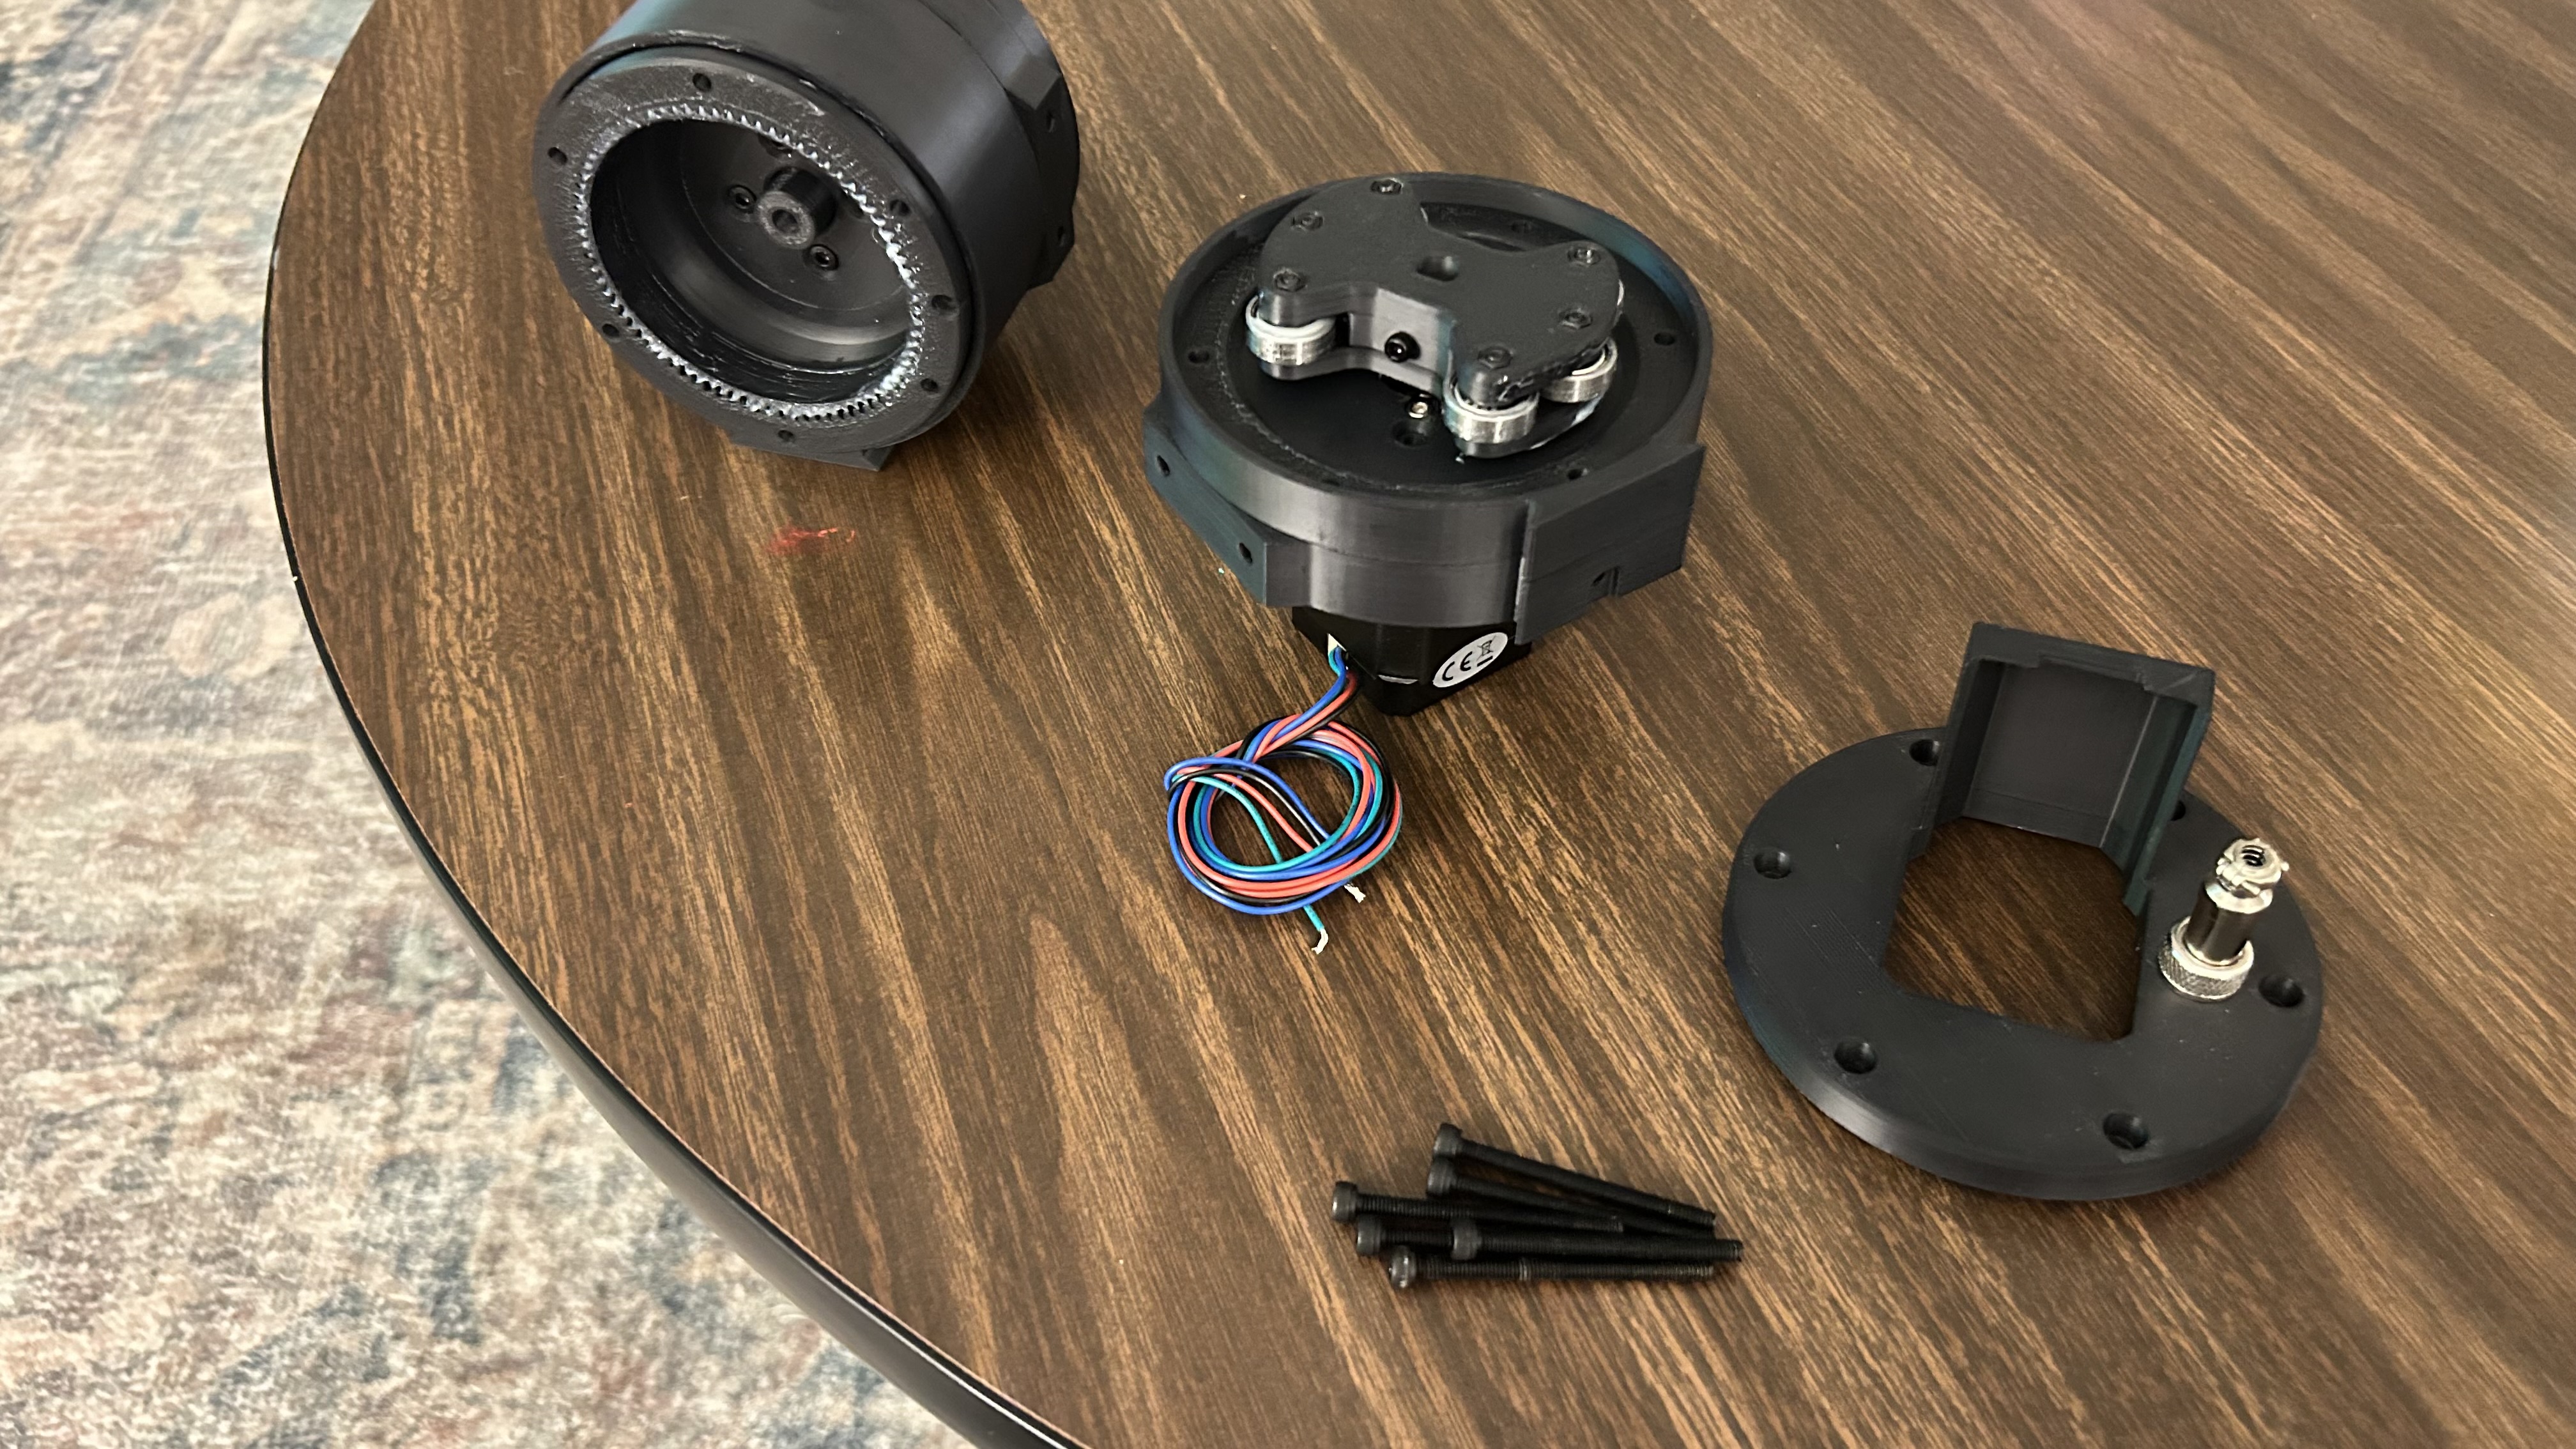
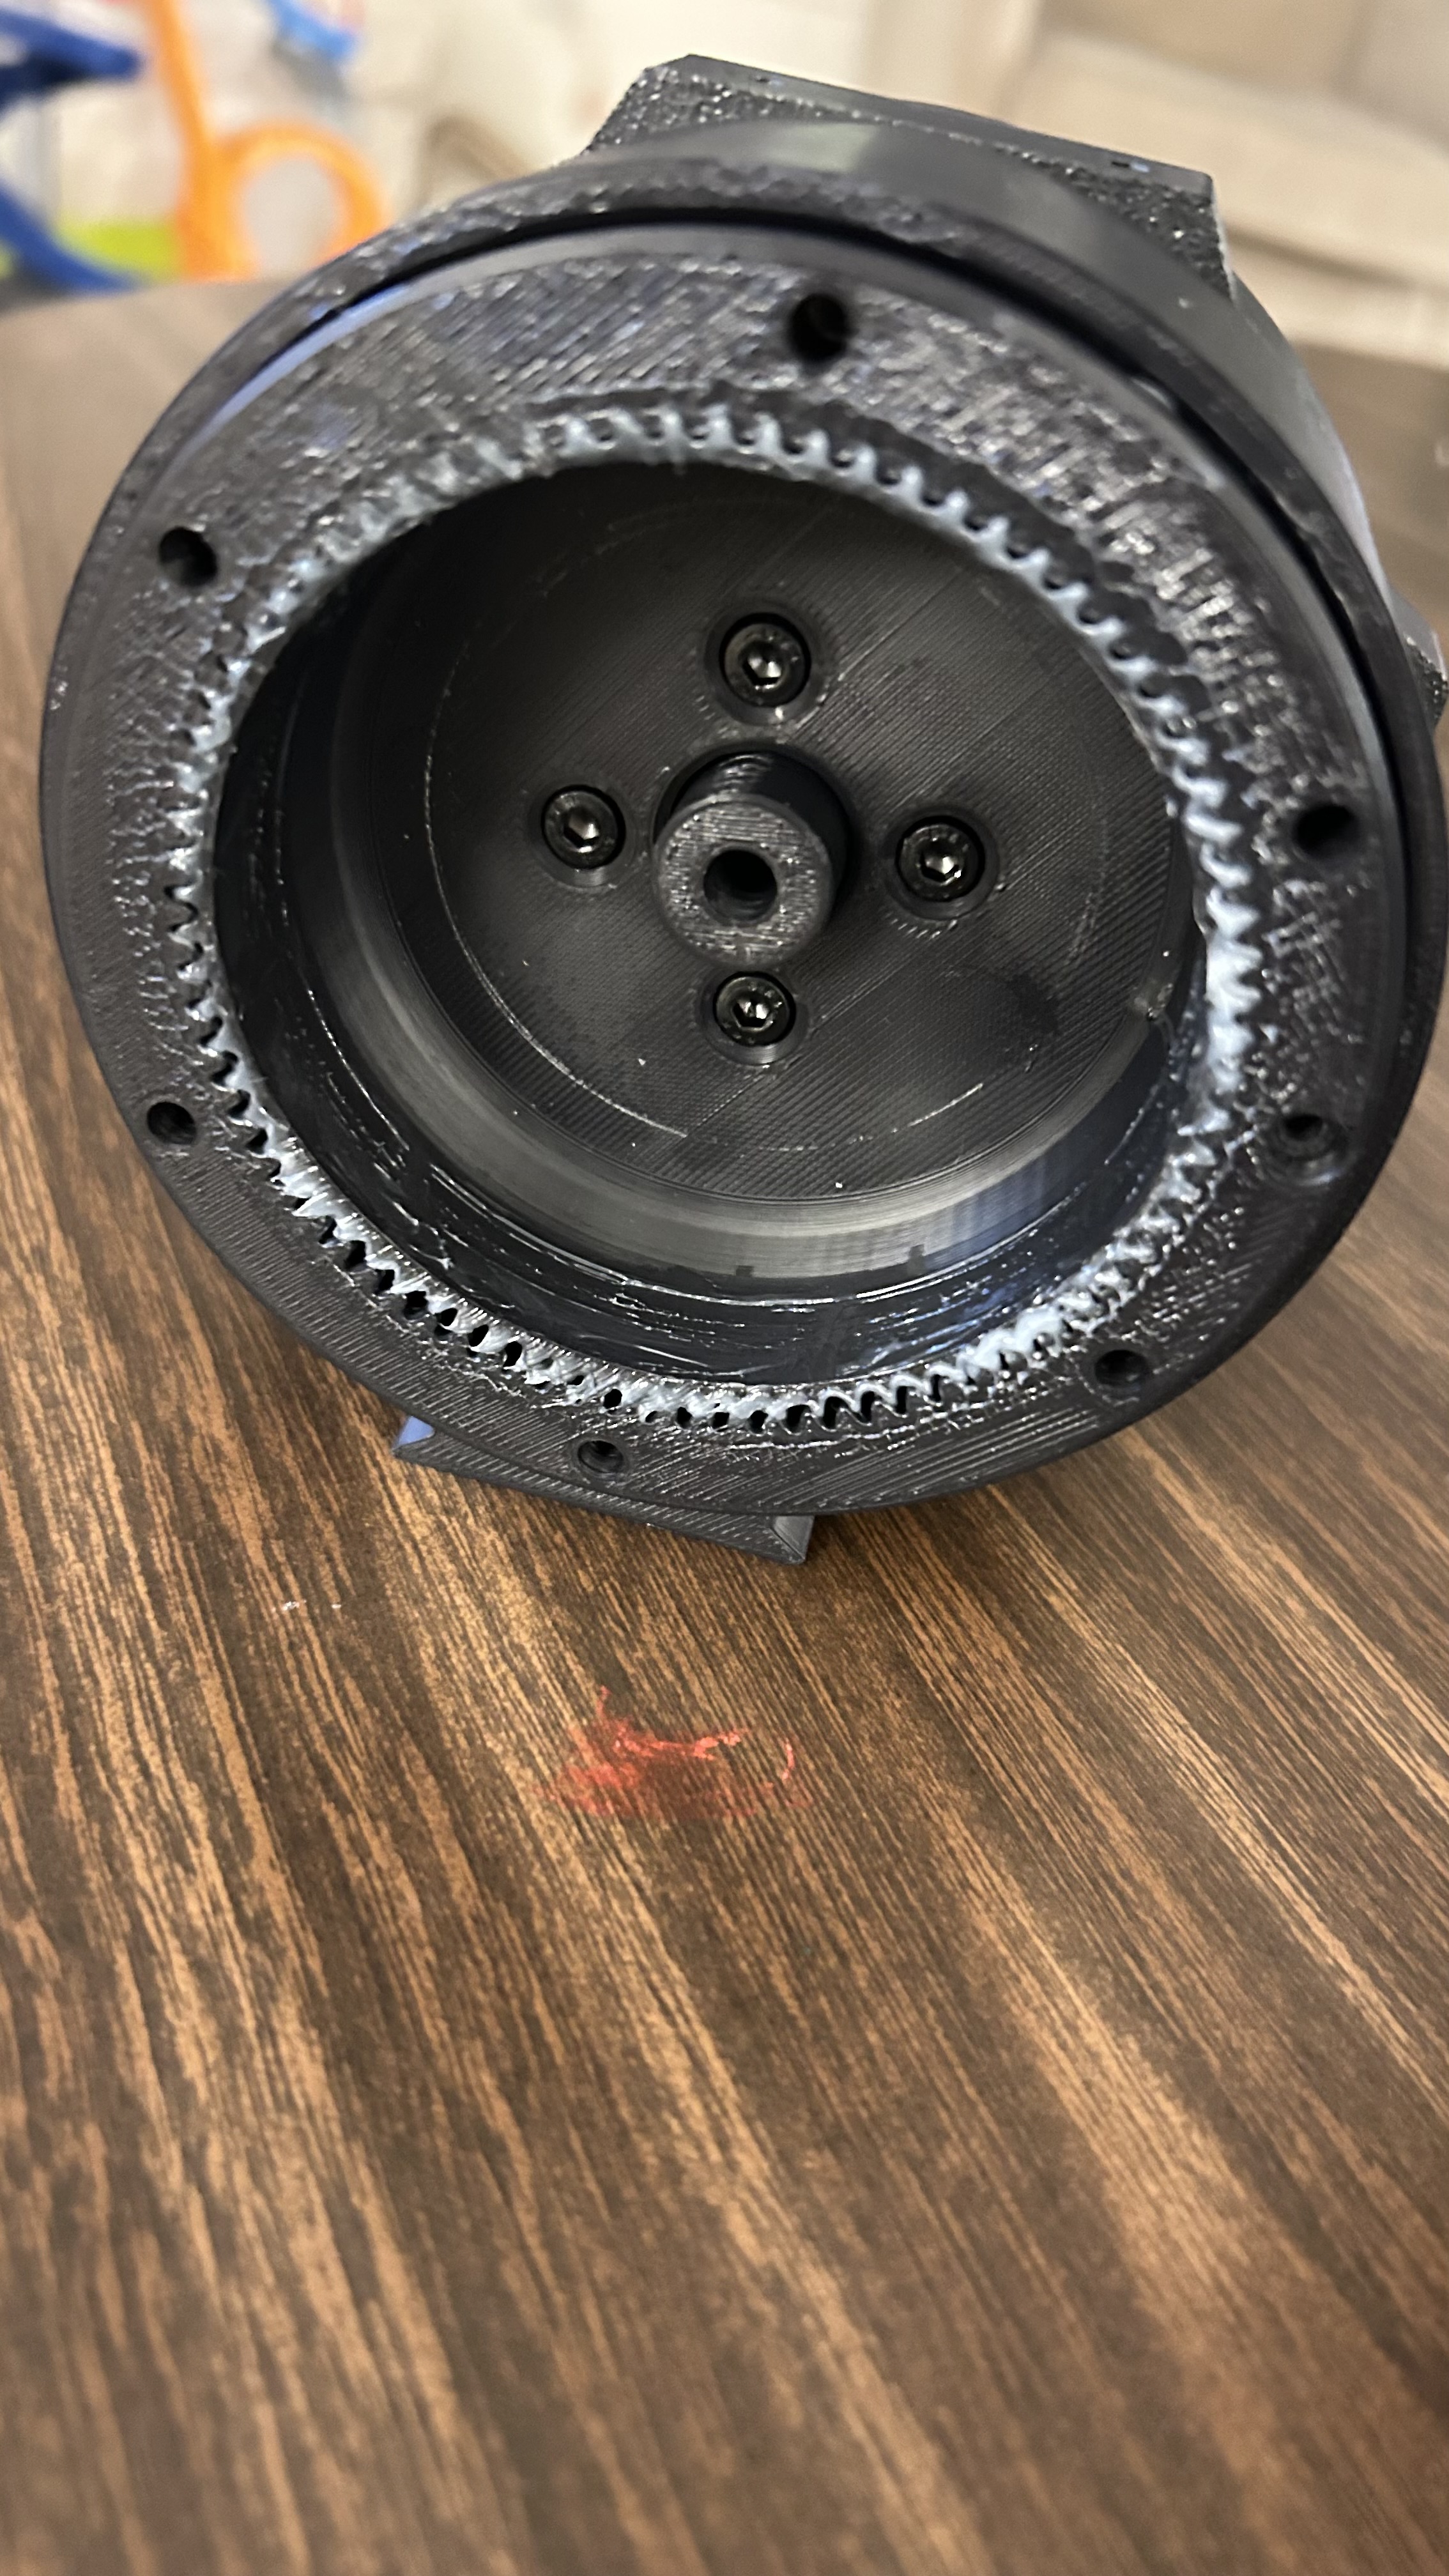
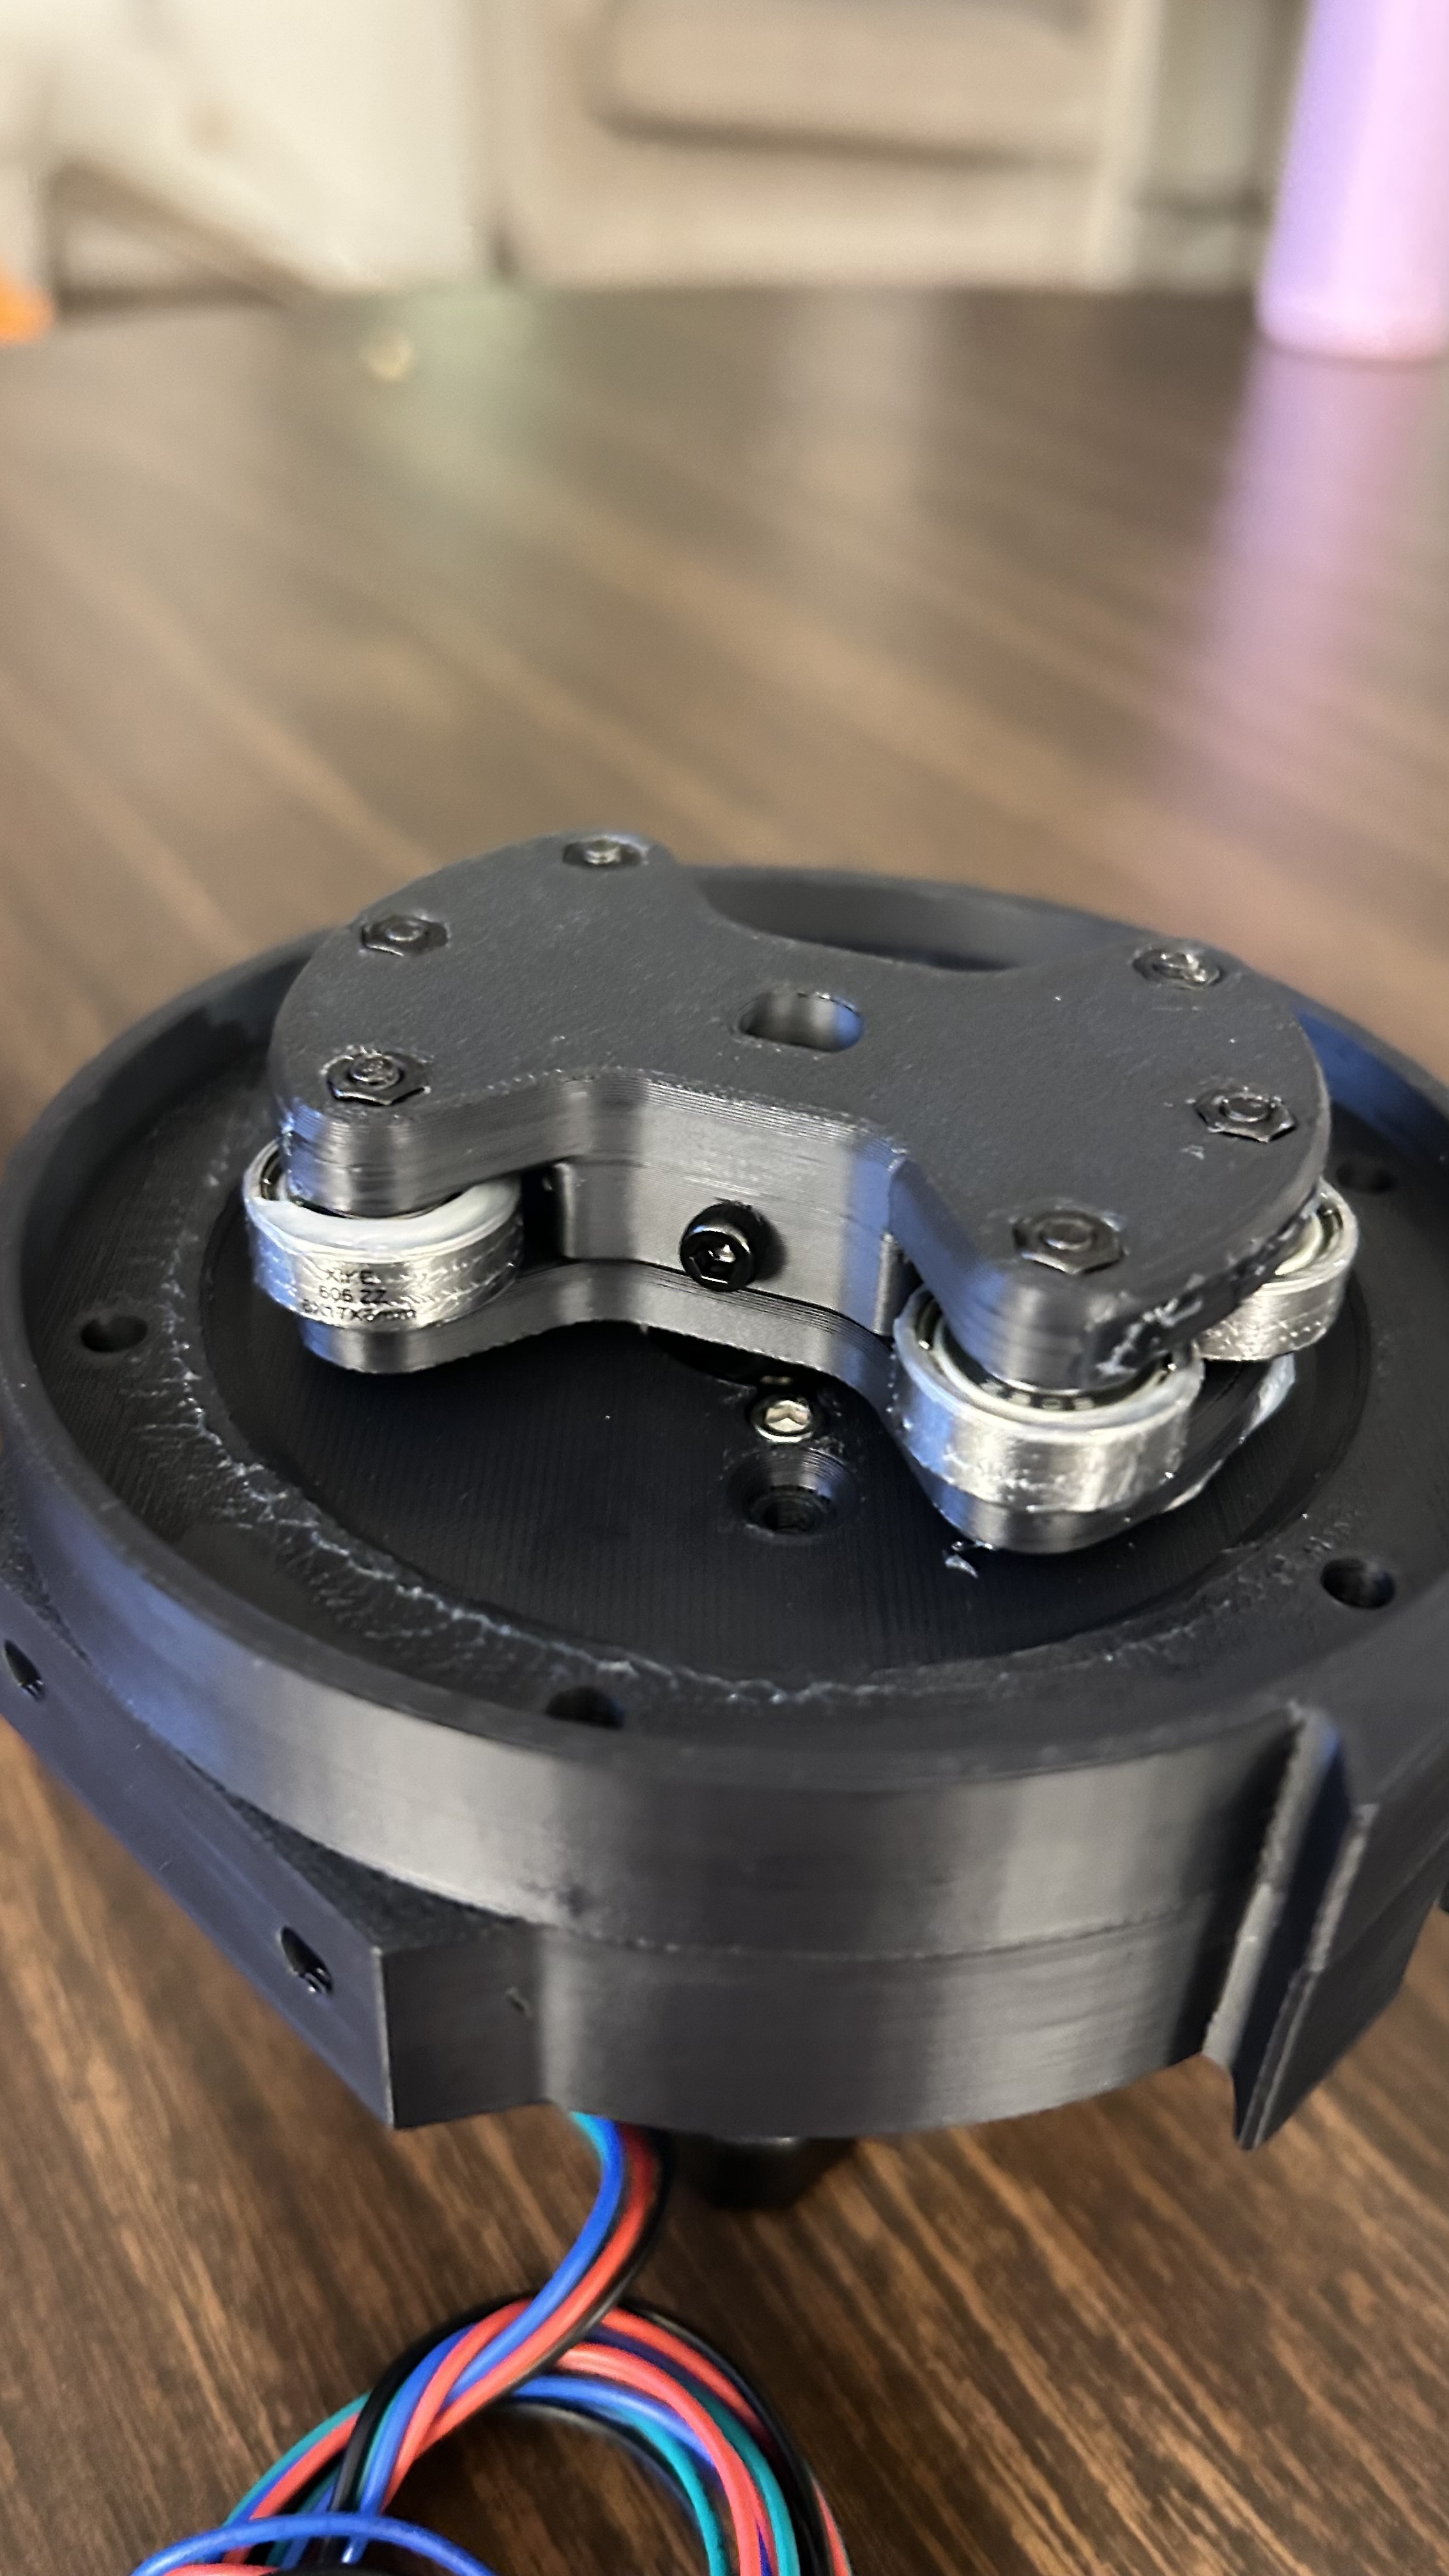
There are a few different variations of this drive, but I found the one linked above as the best option for now. Everything seemed to be pretty sturdy and easy to print.
3D Printer Settings:
I probably should have followed the instructions, but I ventured off and made some modifications to the print settings based on what I thought would be best. I printed everything (including the wave generator and cup gear) with ASA and changed these settings to the following values leaving everything else default:
- 75% infill
- 4 wall loops
- Tri-hexagon infill pattern (I remembered something about pyramids being one of the strongest shapes, so this logic checked out)
- 0.15mm layers
Unlike most projects where I like to get everything I can on one print bed, I printed each part individually to minimize the spiderwebbing. I think this puts the best focus on one part as well, and minimizes the issues that could come from the retraction.
I read that the cup gear has gone through different variations and testing for this motor build, and the author settled on using a material that had strength and durability properties; I settled on ASA for convenience. (I'm not sure if I am going to regret this, but the part seems extremely sturdy right now, so I am going to stick with it).
OnStep Logic System
The logic system seemed to introduce so many variables that I wasn't ready for. While it was lauded for being the best open-source option available, it seemed that the community was helpful when you could reach them. Furthermore, the documentation seems to be dated and/or lacking (but written in a way that you should just understand what to infer from the context).
I joined the OnStep community on Groups.io which took about a week for the acceptance approval and first-post approval to go through. But now that I am past that, it seems like reaching out to the community won't be a struggle.
The community is extremely helpful and they do not suffer from the 'Stack Exchange' or 'Reddit' persona issue where a bunch of ungrateful assholes choose to belittle you for the basic questions. This community is amazing and has been extremely helpful!
I chose to go with the SKR Pro 1.2 for my logic board as it was extremely powerful, versatile for the ability to expand and add later, and relatively easy to manage. There are a few requirements for creating the firmware, and you also need to have an understanding of how these controller boards work. They are initially designed for 3D printers, but with the right changes to the firmware, you are able to make them work for other projects (like astrophotography).
There are two types of people who are going to land here; people who are trying to start something while taking the cheap route (that's me), and people who are interested in what I am doing (that's an extremely small group). For my cheap people; do not be cheap on the drivers. Get the TMC2209 stepper drivers. The A4988 drivers suck and they don't use UART, so you are stuck with manually changing the trim pot for current control. (The little twisty that needs a screw driver to adjust on the stepper driver board... the potentiometer). The TMC2209 is an elite stepper driver controller and will be perfect for this project... and it's only an extra few bucks (like.. $25 total for 4 of them). I chose to go with the BigTreeTech TMC2209's to match the manufacturer of the SKR Pro 1.2 (BigTreeTech).