Arch Linux ARM on Orange Pi 5 Max: Part 1
I’m already at a disadvantage with my setup as my primary computer is a MacBook Pro M3. As I’ve learned over the years; Mac laptops are amazing computers and have a superior battery life, but they really lack that extra support. Regardless, I have found my way 95% of the time and I am willing to give it a go.
Remember what your goal is. You’ve set out to install Arch Linux on the Raspberry Pi 5 Max, and get the most out of the device features while getting the most out of the latest mainline kernel.
The project is the beginning phase for creating a simple automation tool to process images taken from the SeeStar S30 astrophotography telescope.
–
Requirements
-
CIFS for mounting samba shares (the S30 uses samba as its main file‐sharing capability).
If this falls short, you have options. There were reports of mtpfs working as well. Research is always an option if things go south.
-
Hailo M.2 module support for AI processing / offloading the workload of the RK3588 processor.
-
Wifi and Bluetooth support (not for any particular reason, but just to have it.)
Of note, if the onboard AP6611s wifi/bluetooth module doesn’t work, the alternative is to use the TP‐Link AC1300 USB wifi dongle.
–
Phase 1
Getting the Arch Linux ARM image installed and booting Arch Linux ARM on the Orange Pi 5 Max.
There were a few places to obtain the Arch Linux ARM image, or it could have easily been built, but ultimately, the archlinux‐installer project seemed like an easy solution to start with. Images were readily available for the Orange Pi 5 Max that appear to have more up‐to‐date blobs for dtb/dts with regard to device support.
Images were available to download and seemed pretty current.
The installation guide seemed relatively easy to follow along as well.
Knowing that there are huddles ahead, cutting corners when possible is always acceptable, especially if this corner is trivial and doesn’t impact the end‐goal outlined in the requirements. Work smarter, not harder.
Getting the image onto the EMMC chip.
Using the Mac terminal, home‐brew tools, and a little bit of time, it seems relatively easy to install.
Direct flashing to the EMMC is the best option in my opinion because it’s quick and simple. The requirements are rkdeveloptool, mini‐loader .bin file, USB OTG cable for the connection to the Maskrom port (top‐left USB port on the Orange Pi 5 Max), and the Arch Linux .img file.
-
Plug the USB into the computer and the maskrom USB port.
-
Before connecting the power, hold down the boot rom button next to GPIO pins.
-
From a terminal check if the board was detected in maskrom mode:
rkdeveloptool ldShould get a response like this:

-
Next, download the boot loader (this is where the mini‐loader .bin file comes in):
rkdeveloptool db /Users/roberts/Development/software/OrangePi/opi5m/cfg-bin-files/MiniLoaderAll.binLooking for that succeeded.

-
Erase the flash. (Just in case anything might be there). Who knows if this is actually required, I just read it everywhere that it’s a good practice. So, in keeping with the tradition, wipe it!
rkdeveloptool efTakes about 15 seconds, and that complete message (that doesn’t have any errors around it) is always a welcomed site!

-
Flash the image. This is the longest part of the process. 5–10 minutes. Make sure to get that beginning sector right as well.
rkdeveloptool wl 0Bathroom break while waiting for the completion…

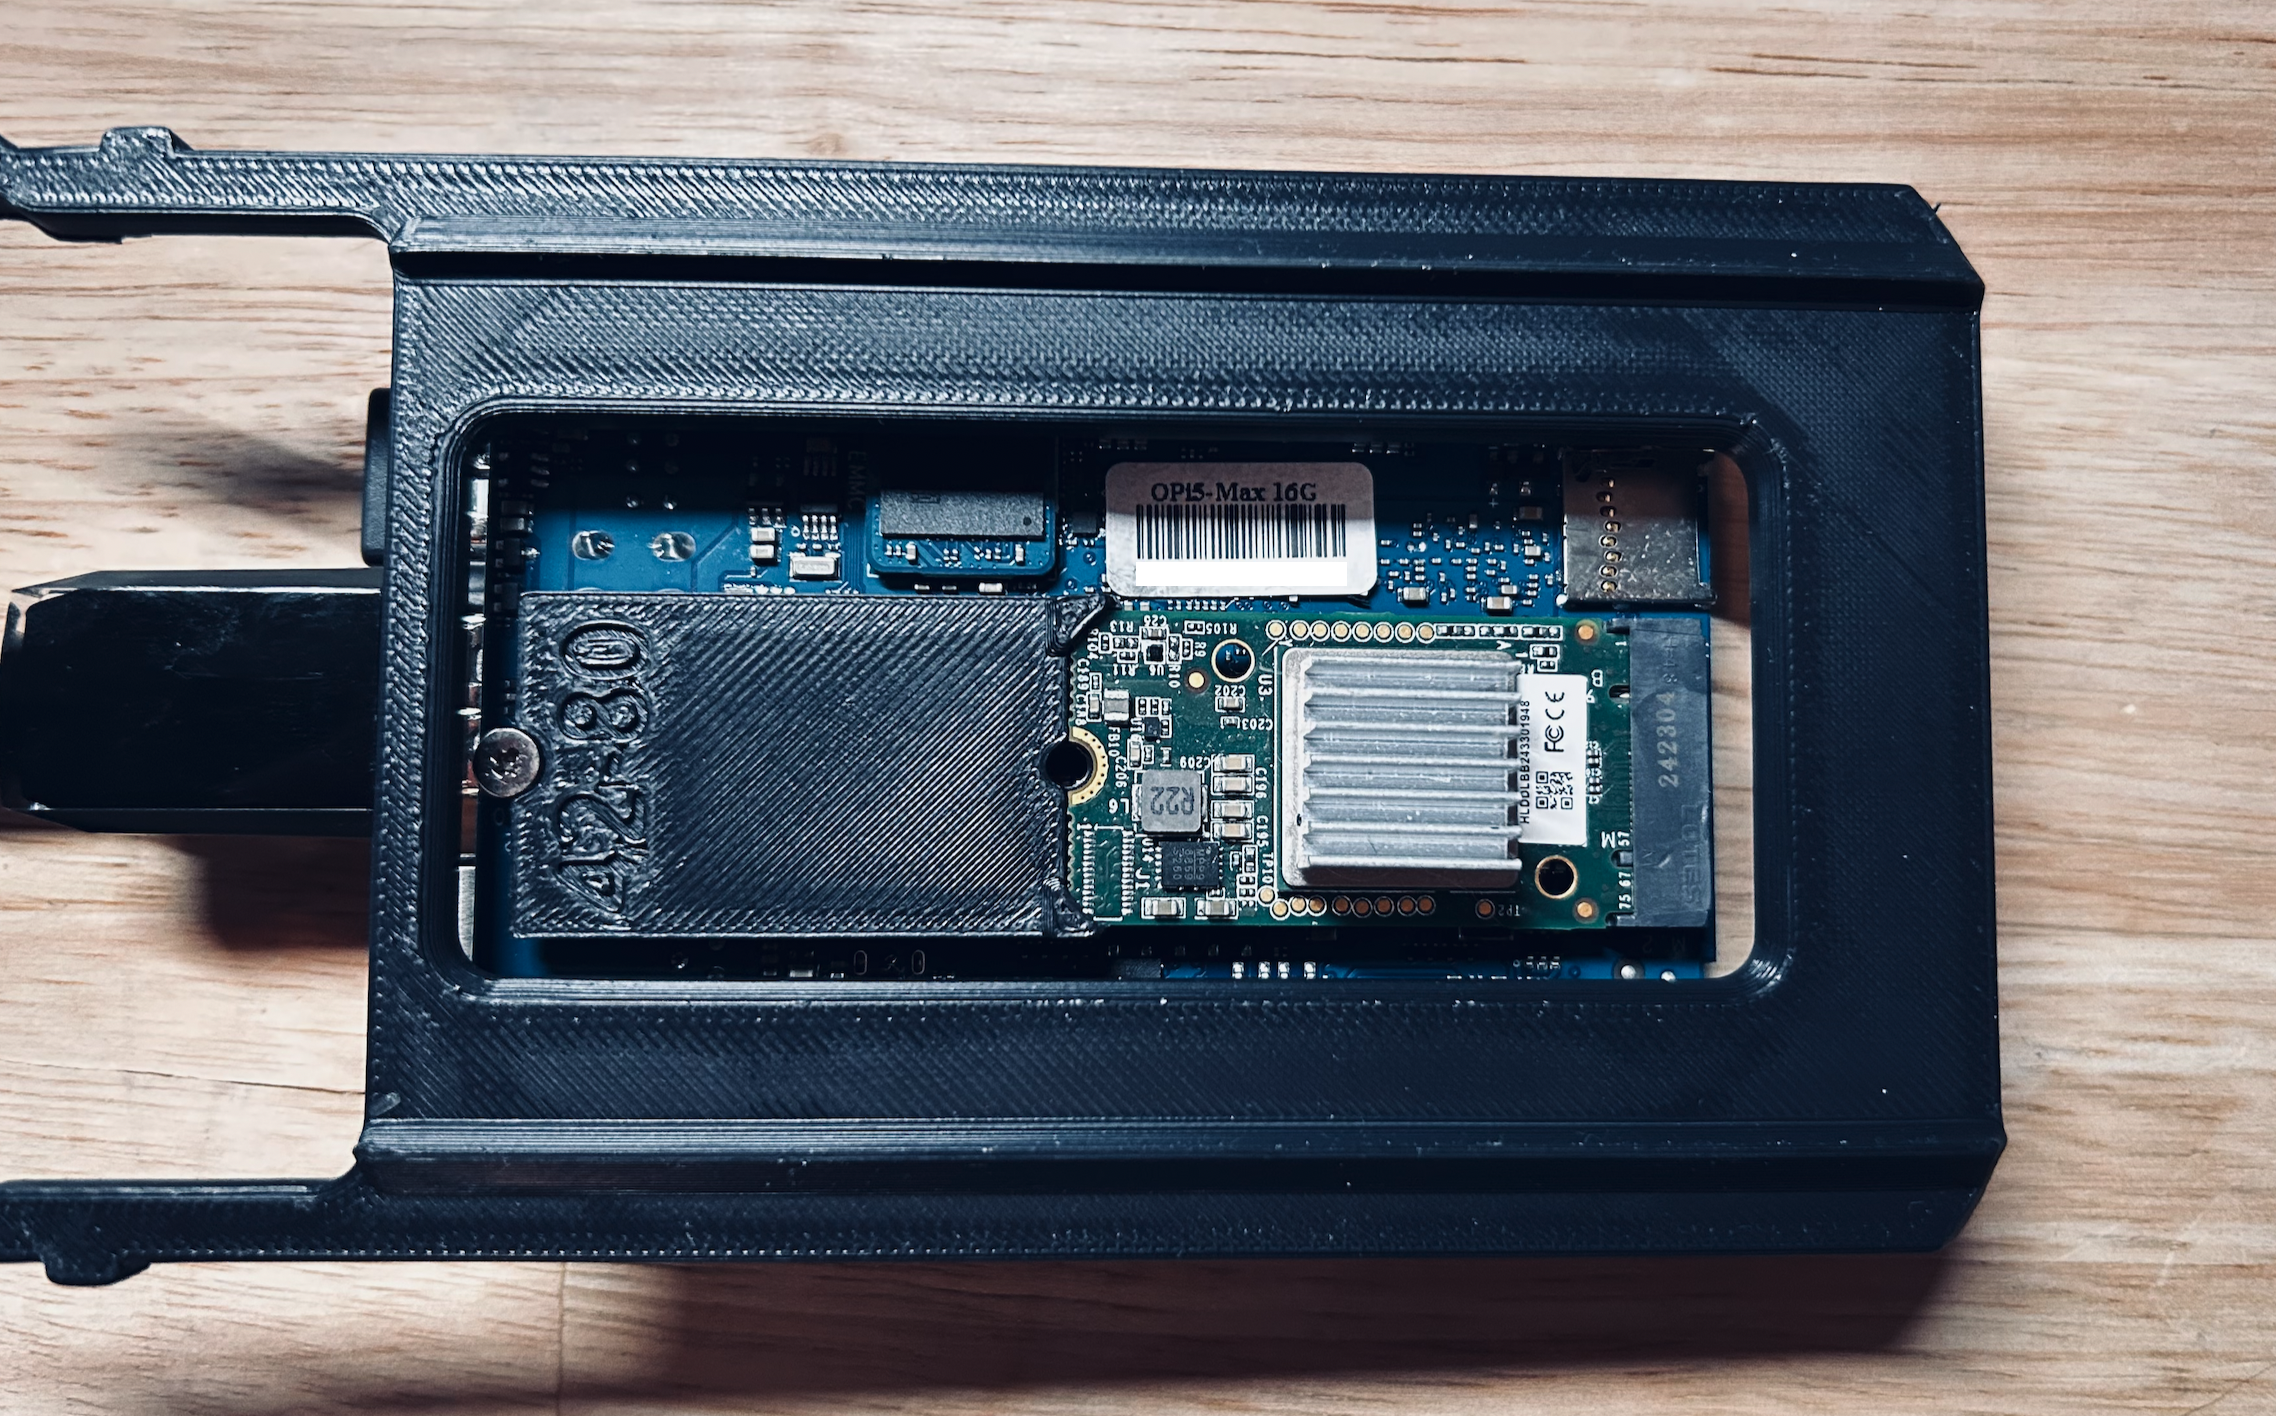
Started a 3D print for an M.2 extender to be able to mount the Hailo module in the back side of the board.And, the 100% LBA from file completion. Image is loaded, and should boot.

-
Reset the device (or just pull the power). I pulled the power to mount the Hailo module.
The M.2 extender worked pretty good. It holds the module in place. It should be even better once a case is designed that will fit the module and have multiple fans on it.
Note: Design a case for the Orange Pi 5 Max that will fit the Hailo module with its *heat sink and have enough height for two fans. Need adequate cooling for this thing. Don’t want to be temperature throttled because of a careless oversight.
After the flash, the installer loaded, then the Orange Pi performed a reboot, and when it restarted, the installer was on the screen. This is off to a great start.
According to the install guide, connecting to wifi was a requirement. Once that was complete, the installation was extremely simple with only a few choices to make (kernel, desktop environment, user name and password), and that was about it. It seemed to go by pretty quickly.
Of note, The recommended kernel was this Joshua’s 6.10 kernel. Joshua‐Riek Github. Haven’t heard of it, but again, get it to a working state first, then expand the horizon of possibilities.
Xfce was clearly the desktop of choice. Minimal footprint, low resource consumption. This is only important because of the deployment on an SBC.